

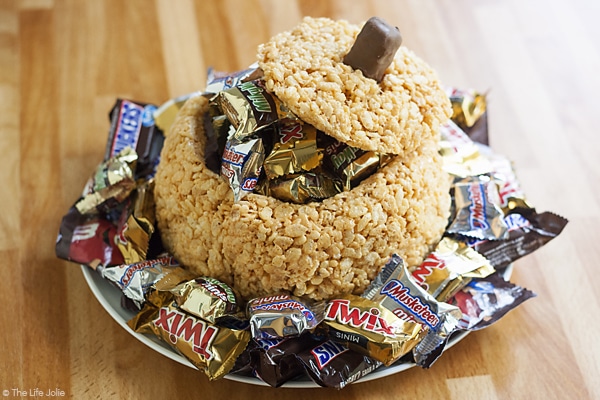
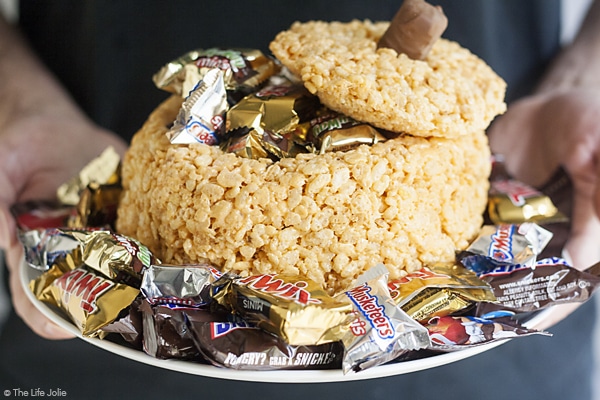
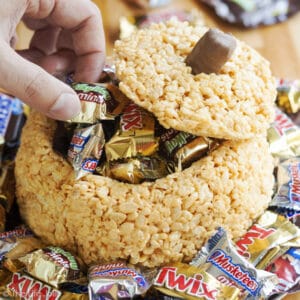
This Rice Krispie Treat Pumpkin is the perfect addition to your holiday table. It's an easy, kid friendly dessert that looks awesome filled with candy and is so much fun for a Halloween party or Thanksgiving!
This post contains Affiliate Links. Please see the disclaimer here.
I'm not always the craftiest. I try my hardest and give every project I commit to the college shot. While I'm not terrible with crafts, I'd say I have about a 50% success rate. Needless to say, I still have many projects where I end up looking like the "Nailed it" side of the comparison (ie- not good).
The reason I say this is because last night when I was editing my photos for this post, I asked J if he thought they were ok. You see, photography is something I've been working hard to get better at and I've started to really enjoy photographing food. But like most people, I have my insecure moments.

When he looked at the photos he said "yeah, they're good. Just not what you usually do." And when I asked him what he meant by that, he said that this is more of a project than a recipe. In a way, he's right. I mean, who hasn't made Rice Krispie Treats, right?
But after I got such an awesomely supportive response with my Rice Krispie Treat Turkey, I just had to throw together another for Halloween. And believe-you-me I have some other ideas cooking up in my brain for Rice Krispie Treats as well!
This isn't terribly difficult to make. I used a single batch of Rice Krispie Treats which yielded a small pumpkin perfect for an intimate family gathering along with other desserts. You could easily double or triple this for a larger group as well.
In initial test runs, I attempted to built this pumpkin around a balloon. The plan was that once the pumpkin was set I would pop the balloon and be left with a perfectly shaped pumpkin, kind of like when you do paper mache. Suffice it to say that was a total fail.
Now if you're feeling extra brave and craftier than I am, you can crave a face into it as well. Our pumpkin was simply too small for this to work. It was still adorable, though much more orange in person. Use a very sharp knife and extra care when you're hollowing out your pumpkin. A husband who is handy with a knife is also helpful. 🙂
Other great fall desserts are:
No-Bake Pumpkin Cheesecake Mini Pies
Helpful tools:
Non-Stick Foil (this is key when you're sculpting Rice Krispie Treats)
Rice Krispie Treat Pumpkin
Ingredients
- 3 Tablespoon butter
- 4 cups mini marshmallows
- Yellow and red food coloring
- 6 cups Rice Krispies cereal
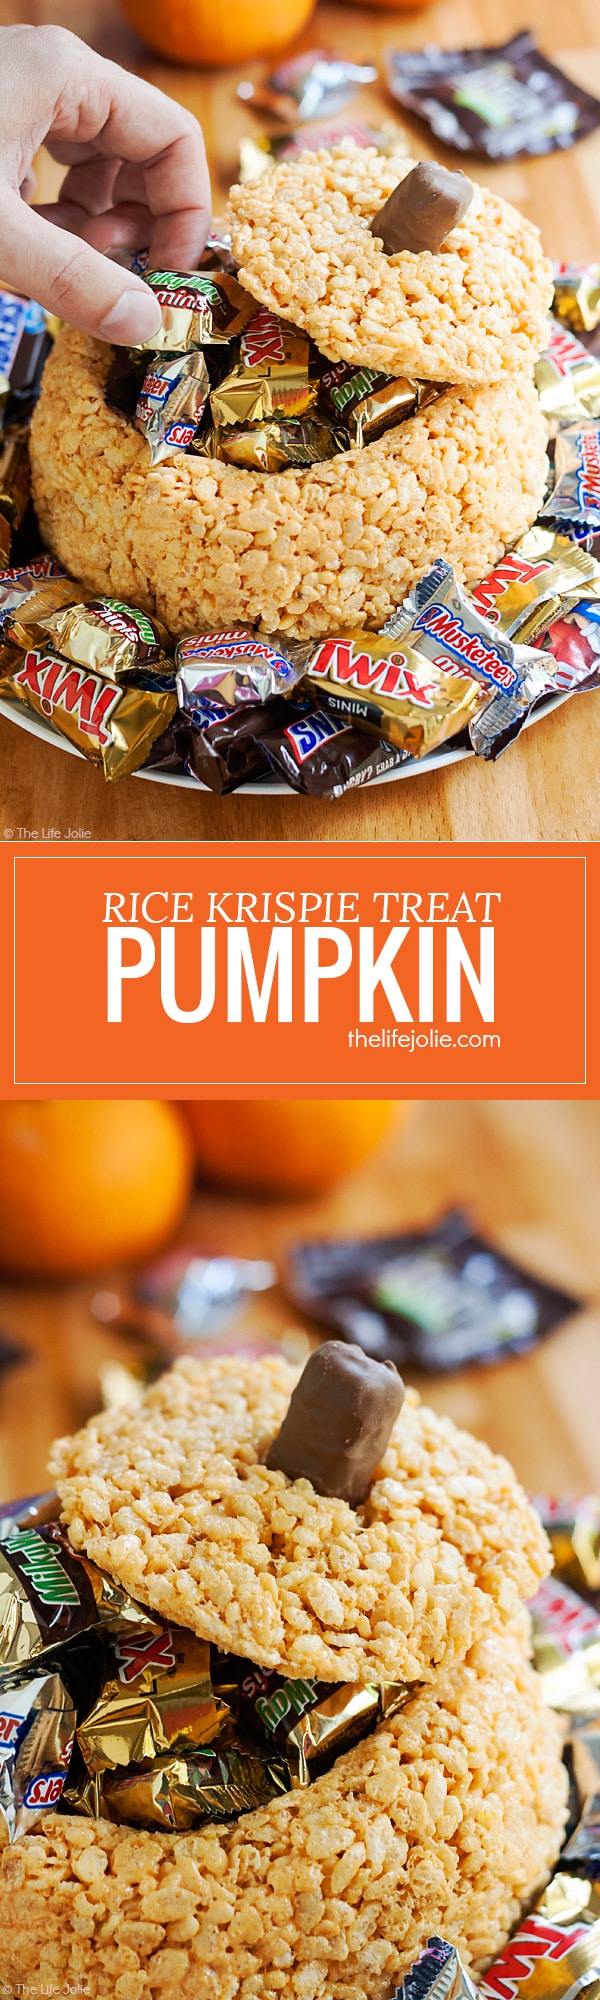
- The candy of your choice I used a fun-size Twix bar for the stem
- Non-Stick Foil
- Cooking Spray
Instructions
- Melt butter in a non-stick pan over low heat.
- Add marshmallows to the pan, stirring until melted.
- Stir in food coloring. I did around 12 drops of yellow then 4 drops of red and mine was a light orange. You can tailor this to the shade you want but I'd encourage you to err on the side of a 3:1 ratio of yellow to red, respectively.
- Once you have the shade of orange you want, add the Rice Krispies and remove the pot from the heat. Stir until everything is well combined.
- Lay out a piece of non-stick foil (with the non-stick side facing up and pour the Rice Krispie mixture onto it. Give it a moment or two to cool so that you don't burn your hands and in that time wash your hands well and spray them with cooking spray.
- Working quickly, shape the Rice Krispie mixture into a ball in the shape that you want for your pumpkin, we went with short and wide to make hollowing it out easier.
- Pack it tightly and wrap it in foil. If you're in a rush you can refrigerate for at least 2 hours, but overnight is preferable (and if you go the overnight route, refrigerating isn't necessary).
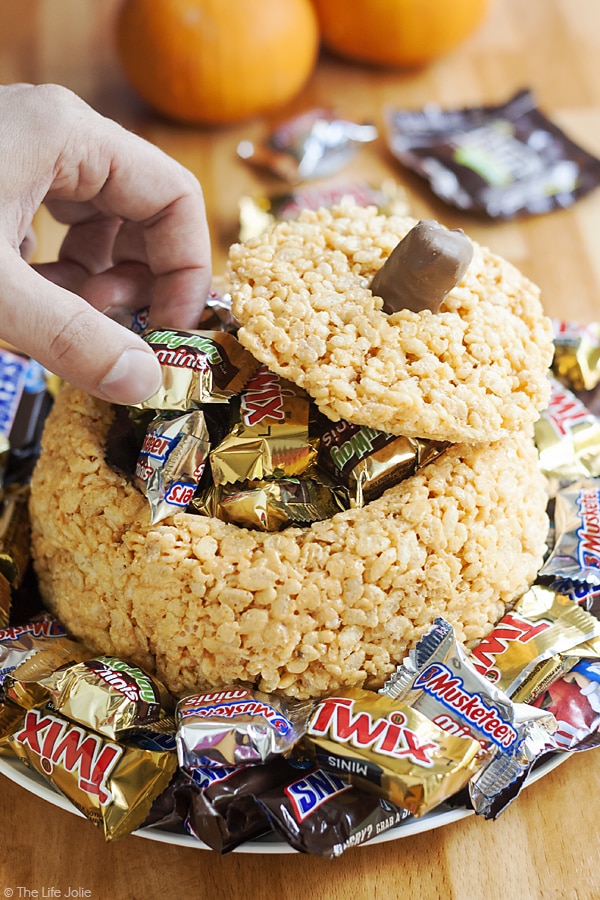
- Once the pumpkin is set, unwrap it and place it onto your serving plate. Coming in at an angle, the same way you do when you're carving a real pumpkin, cut the top off and set aside. Be careful not to cut all the way through.
- Once the top is off, carefully hollow out the pumpkin to your liking, making sure not to go through the bottom. If you're feeling extra crafty, you can even shape the pieces you cut out of the center of your pumpkin into mini pumpkins.
- To finish the top, slice the pointy tip off the bottom of top. On the top side of it, cut a hole that is slightly smaller than the mini candy bar you'll be using for the stem and carefully push the candy bar into the hole. You can always carefully press the outsides of the pumpkin in a bit to accommodate the top, just be gentle.
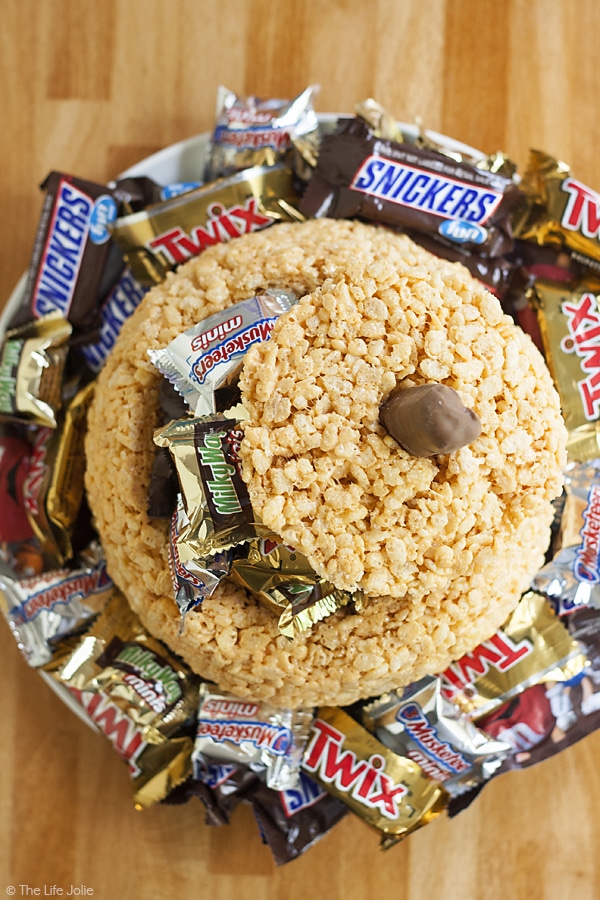
- Fill the pumpkin with the candy of your choice, and surround it with candy as well for added decoration. Place the top on at an angle and enjoy!
Notes
You can find a full index of my recipes here.
Don't forget to follow The Life Jolie on Pinterest for more recipe inspiration!
Linked up at
Leslie says
Jessy says
Carol Borchardt says
Jessy says
Crystal Green says
Jessy says