


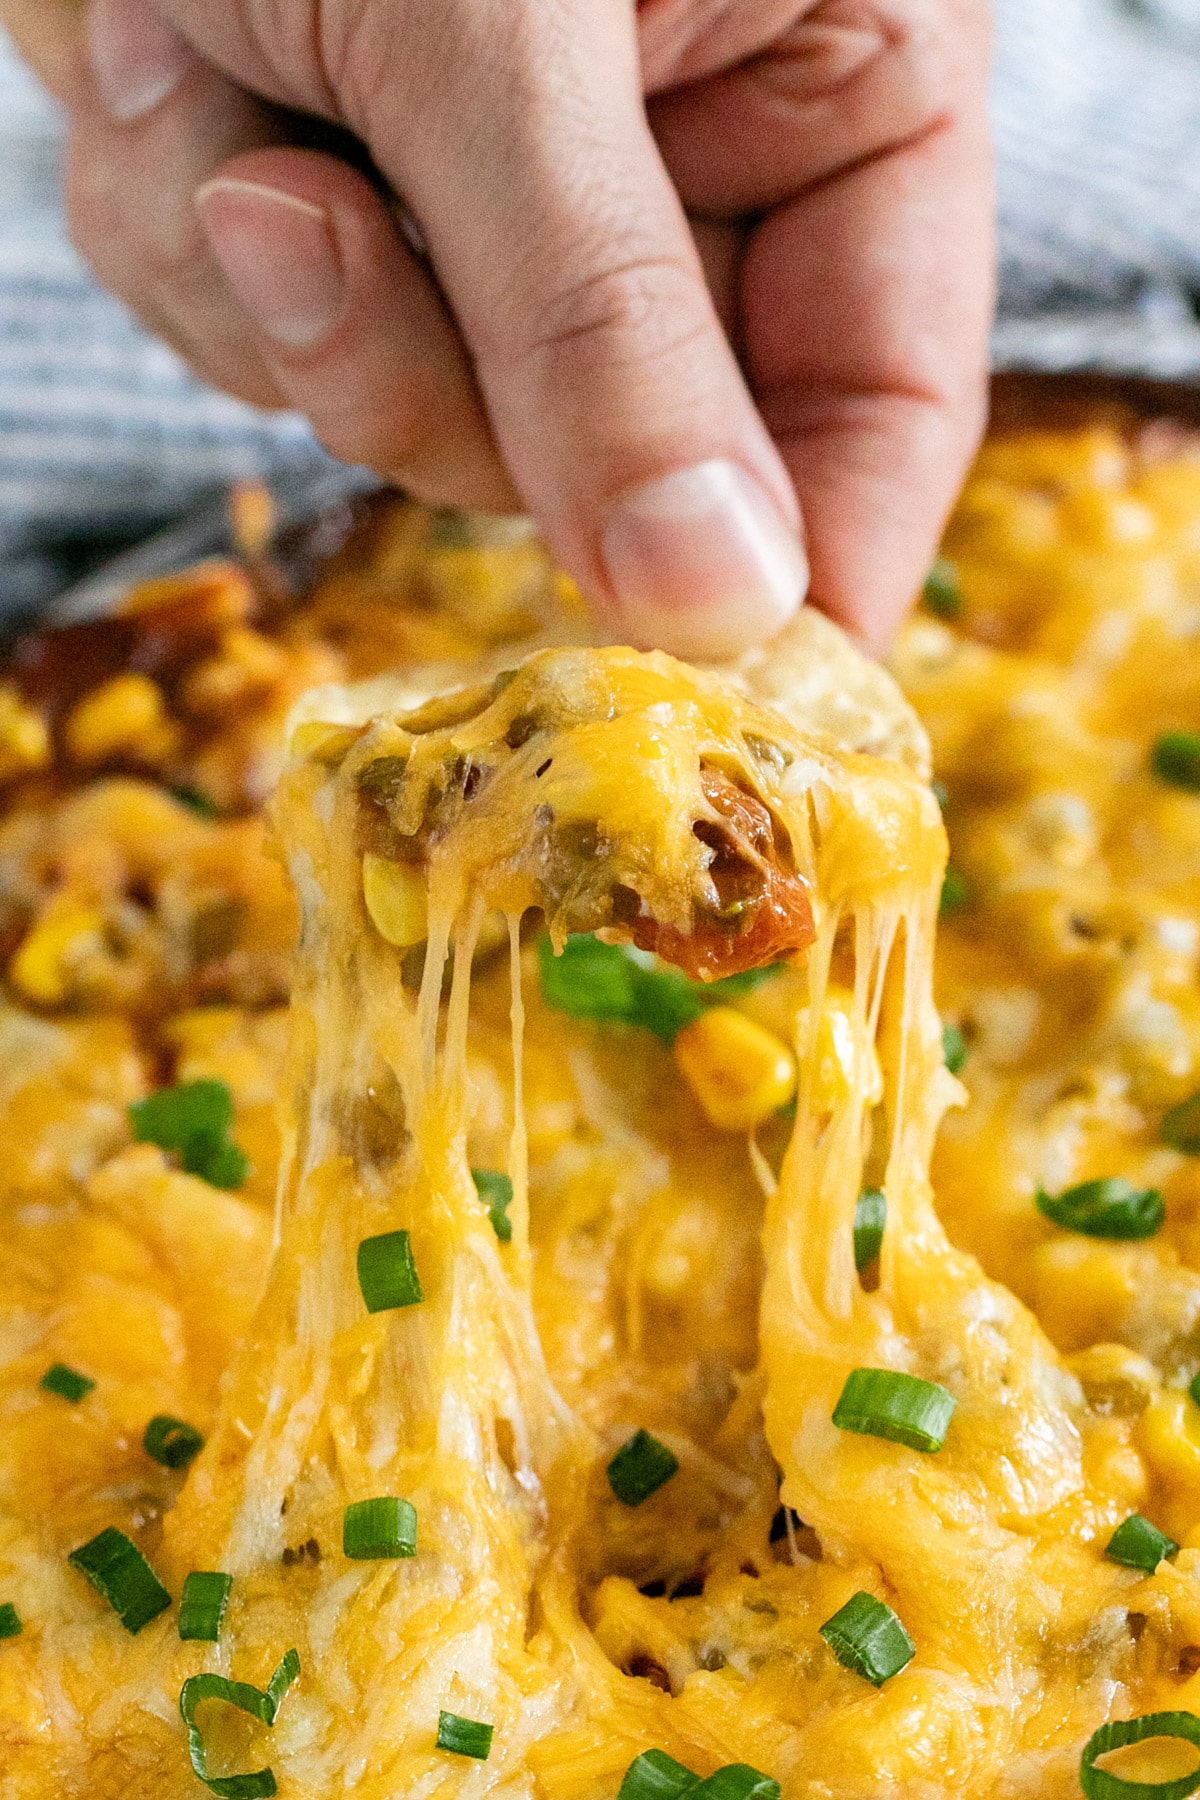
This hot bean dip recipe is a warm, cheesy take on the classic party favorite that comes together in about 30 minutes. It’s layered with creamy, savory ingredients and just a little heat, making it perfect for game day, parties, or easy get-togethers.
Jump to:
Why You’ll Love This Cheesy Bean Dip
If you love taco flavors and classic party dips, this recipe brings the best of both together. I’ve always been a fan of both traditional 7-layer dip and hot cheesy dips, and one day it finally clicked to combine them into one warm, layered version. That simple idea turned into a dip that’s now a staple for parties and get-togethers. It’s cozy, familiar, and loaded with flavor without being complicated.
It starts with a rich layer of cream cheese, followed by bean dip and chili for richness. Rotel, corn, and green chiles add texture and a little kick, all drained well so the dip stays thick and scoopable. Everything is finished with plenty of cheese, because melty tops make hot dips better. Even better, it only takes about 10 minutes to assemble before baking. Here's why this dip is a must-try:
- Stays warm and melty
- Quick to assemble
- Perfect for game day
- Feeds a crowd easily
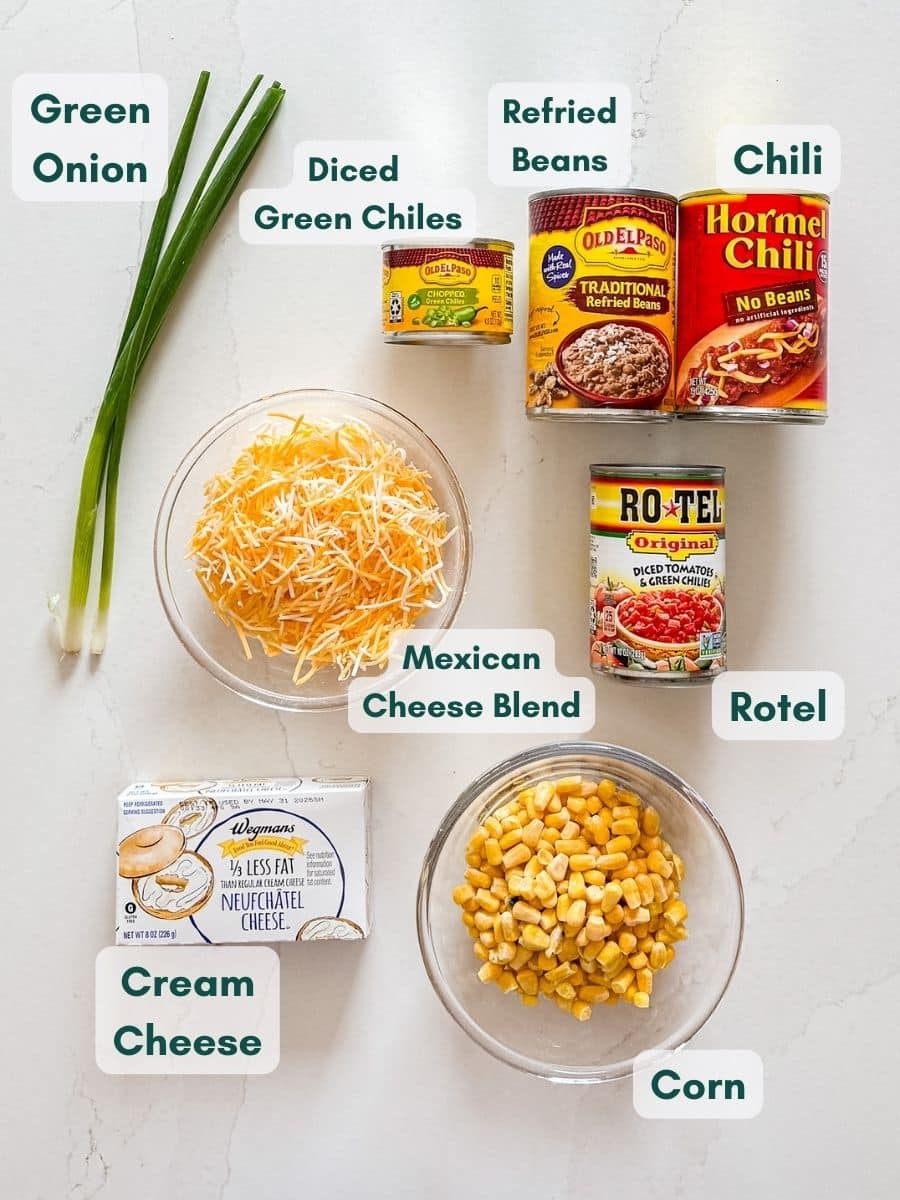
Ingredient Information And Substitutions
- Cream cheese- Creates a creamy base. You can use reduced-fat if preferred.
- Bean dip- Adds flavor and body. I've had trouble finding bean dip lately, but have been able to use refried beans with great success.
- Chili- Use bean-less or with beans, depending on preference. I prefer bean-less since there's already bean dip in the mix.
- Rotel- Brings acidity and mild heat. An off-brand can of diced tomatoes with green chiles works too.
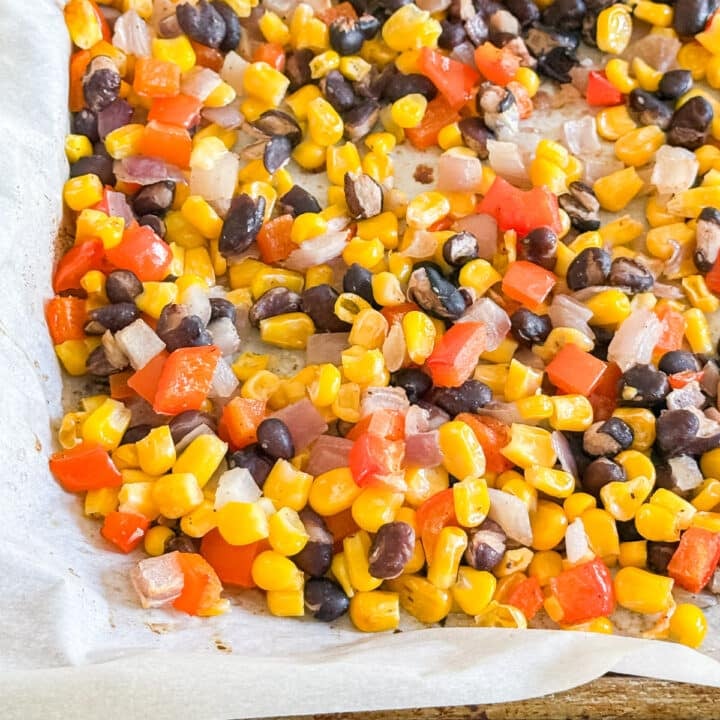
- Frozen corn- Adds sweetness and texture. Canned corn works too, but drain it really well.
- Diced green chiles- Adds mild heat. Omit if you prefer less spice.
- Shredded Mexican-blend cheese- Melts smoothly, but cheddar or Colby Jack are good alternatives.
- Scallions- Optional garnish for freshness. Chives can be used instead.
- Tortilla chips- For serving. Use sturdy chips for easy scooping.
How to Make This Easy Bean Dip
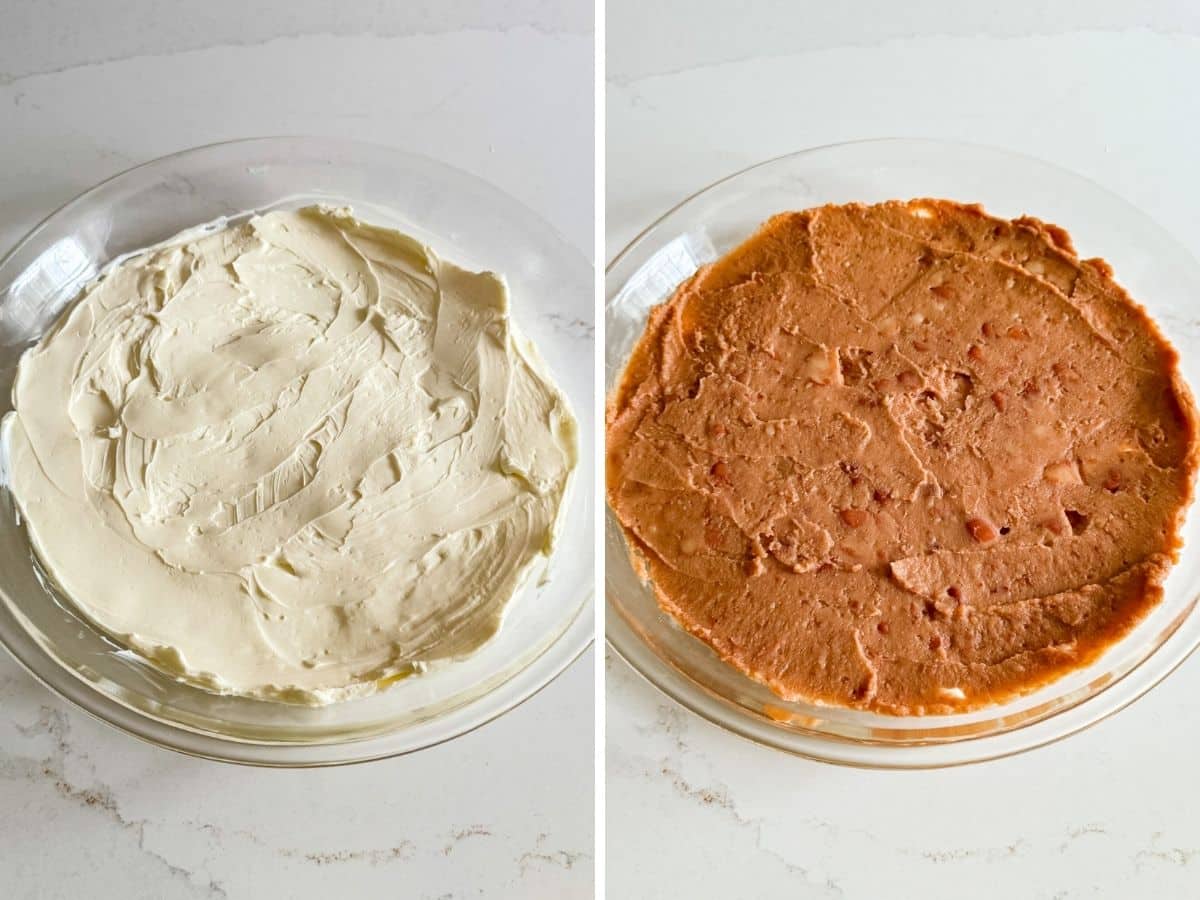
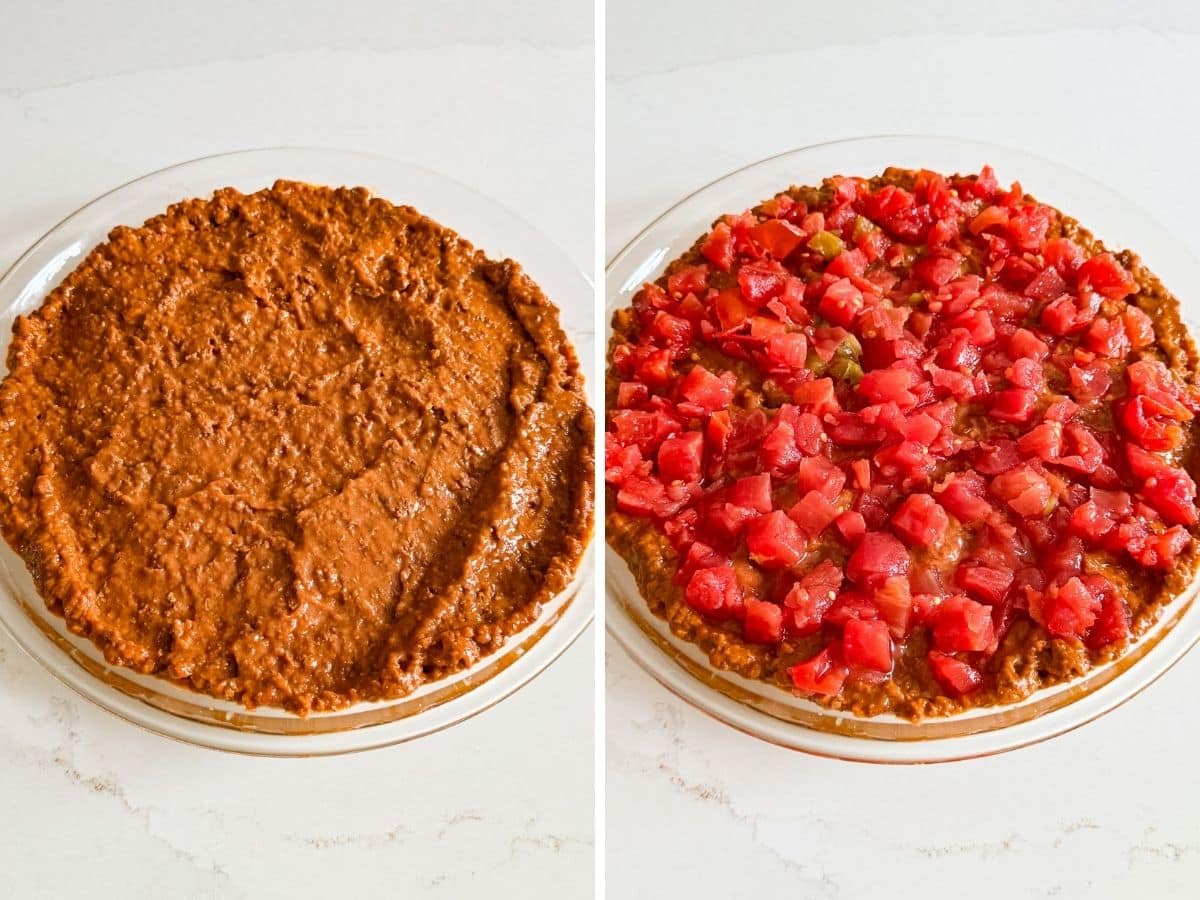
Step 1- Prep the base.
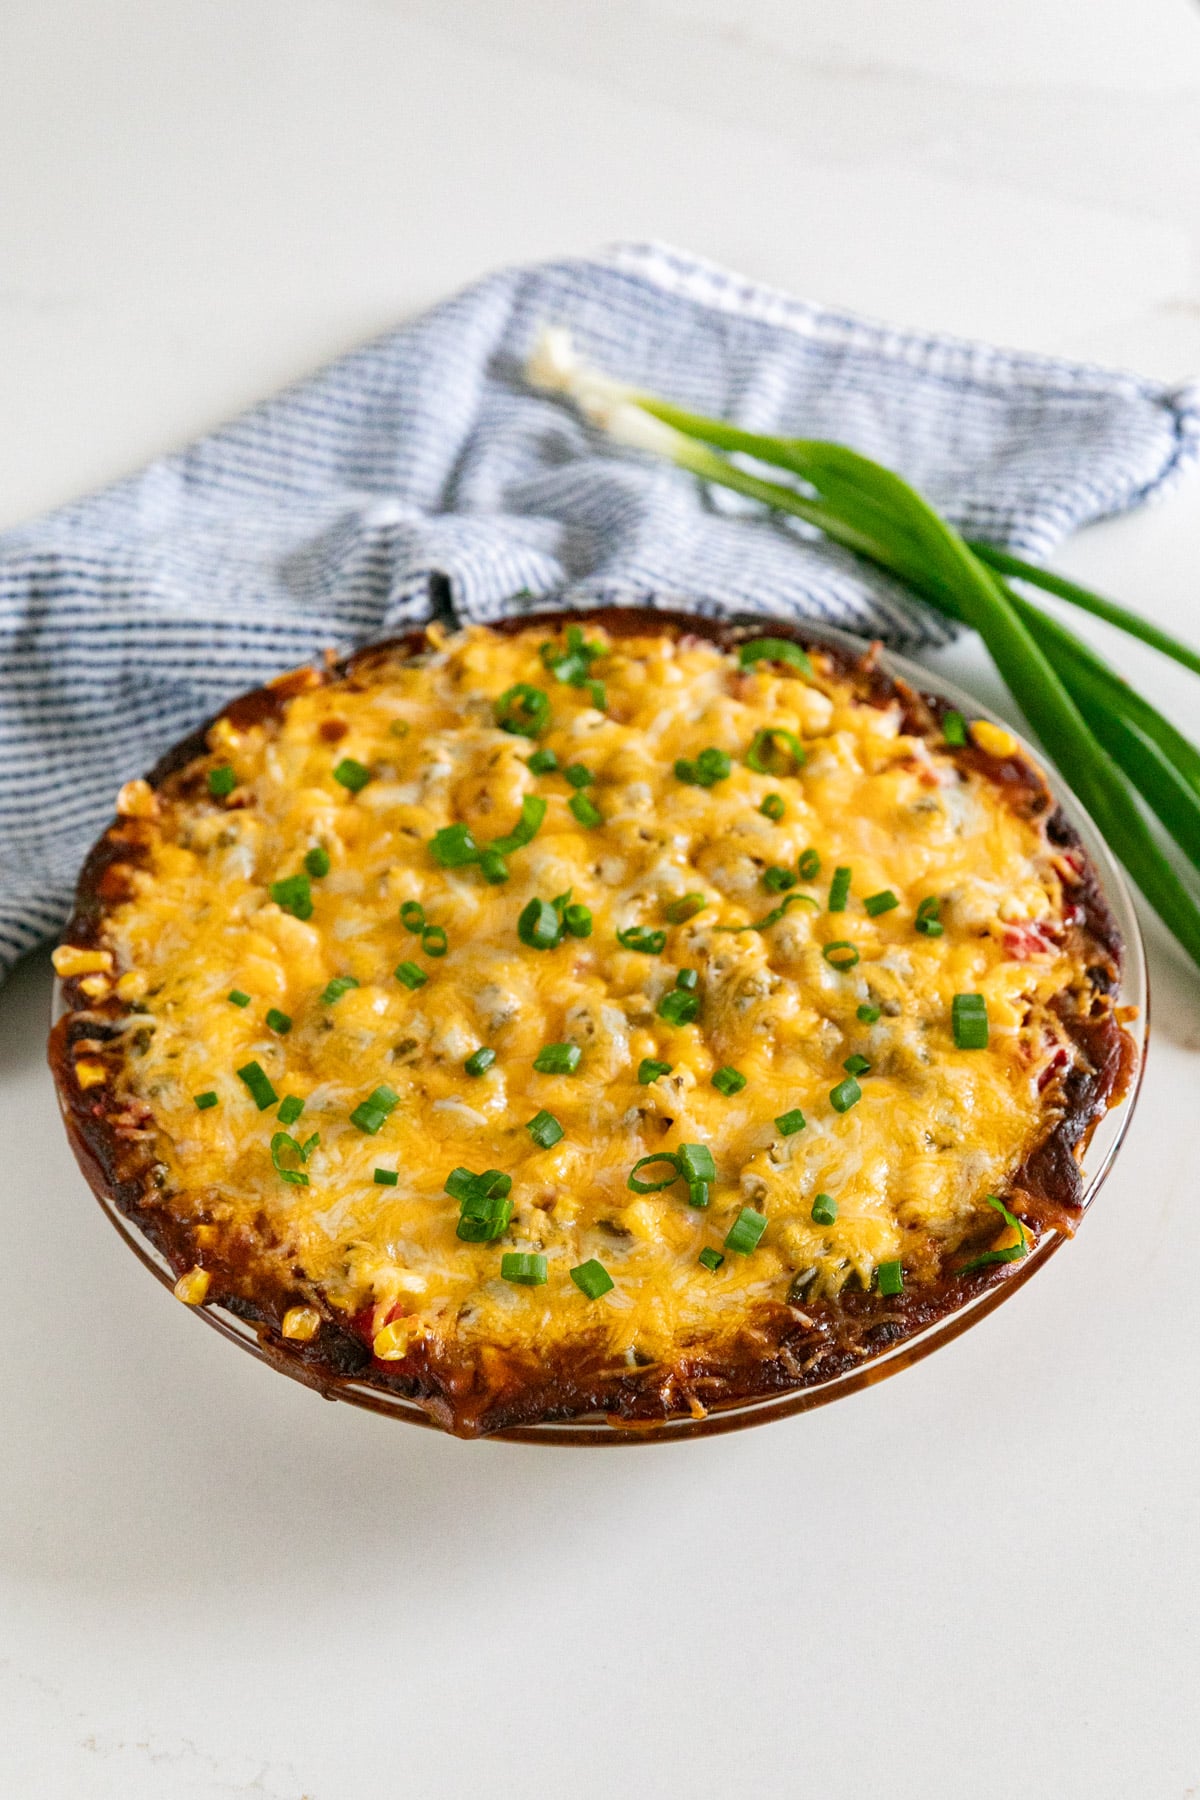
Preheat the oven to 400 degrees F. Spread the softened cream cheese evenly in a 9-inch pie plate, and then a layer of bean dip.
Step 2- Add the hearty layers.
Next, spread an even layer of chili, followed by the drained Rotel.
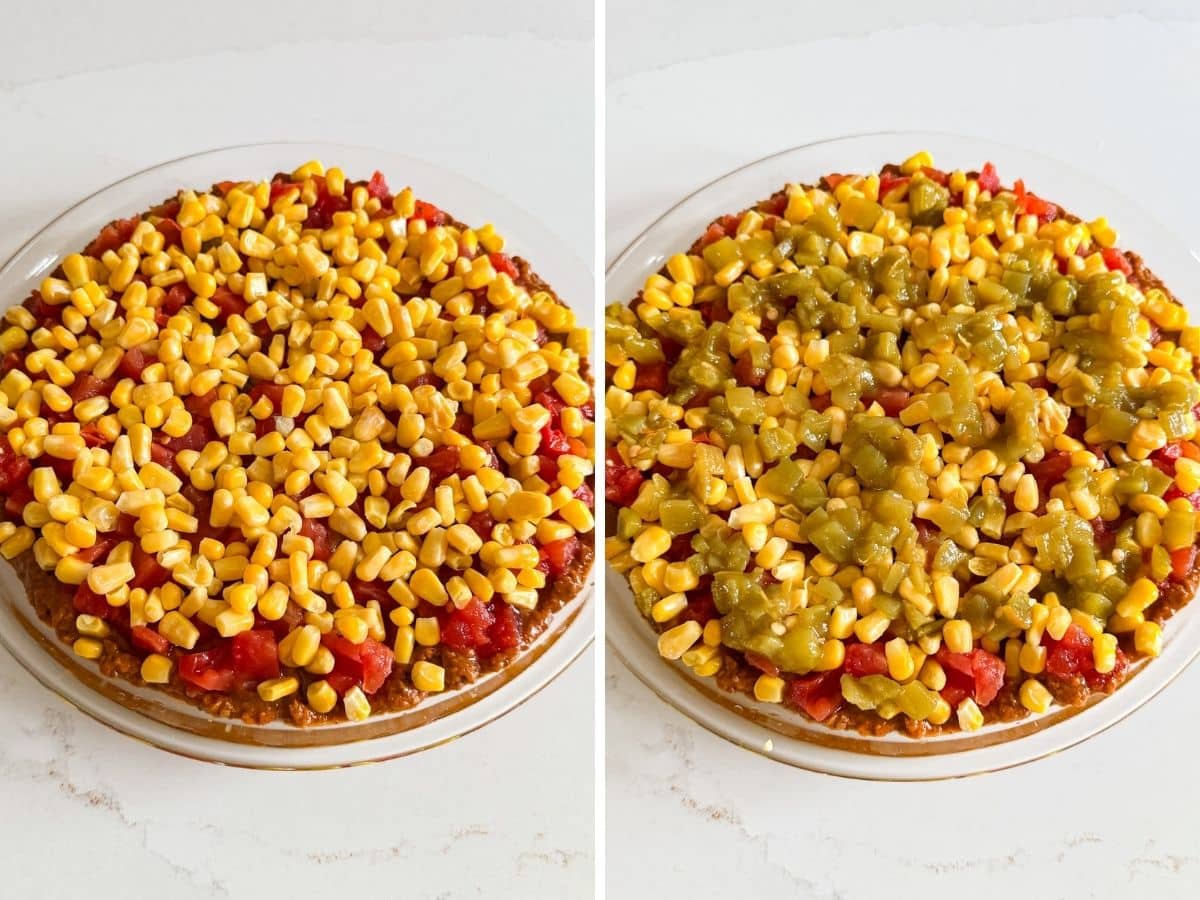
Step 3- Build the veggie layers.
Now layer on the corn and green chiles evenly over the Rotel.
Step 4- Bake until heated.
Bake uncovered for 20 minutes, until the dip is hot and heated through.
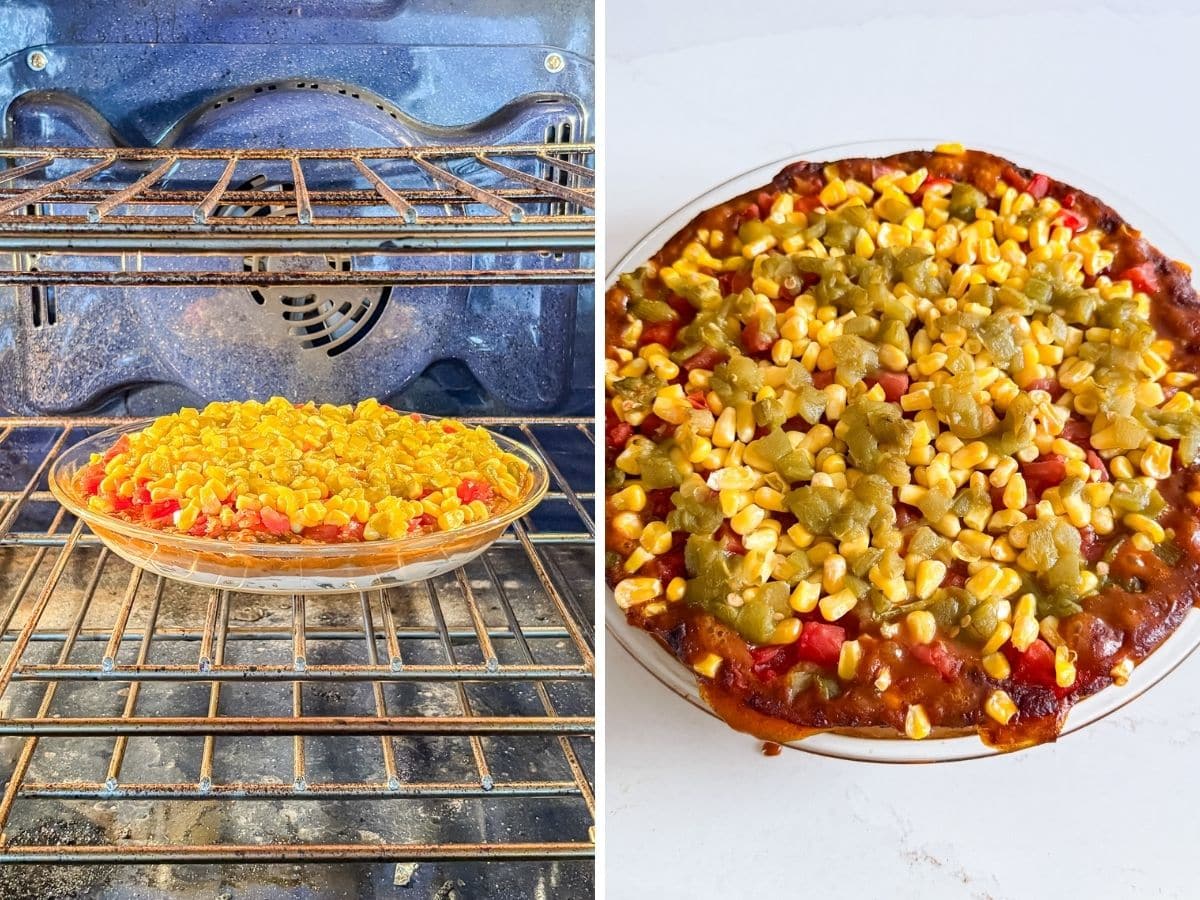
Step 5- Finish with cheese.
Remove from the oven, sprinkle the shredded cheese evenly over the top, and return to the oven for another 10 minutes, or until melted and bubbly.
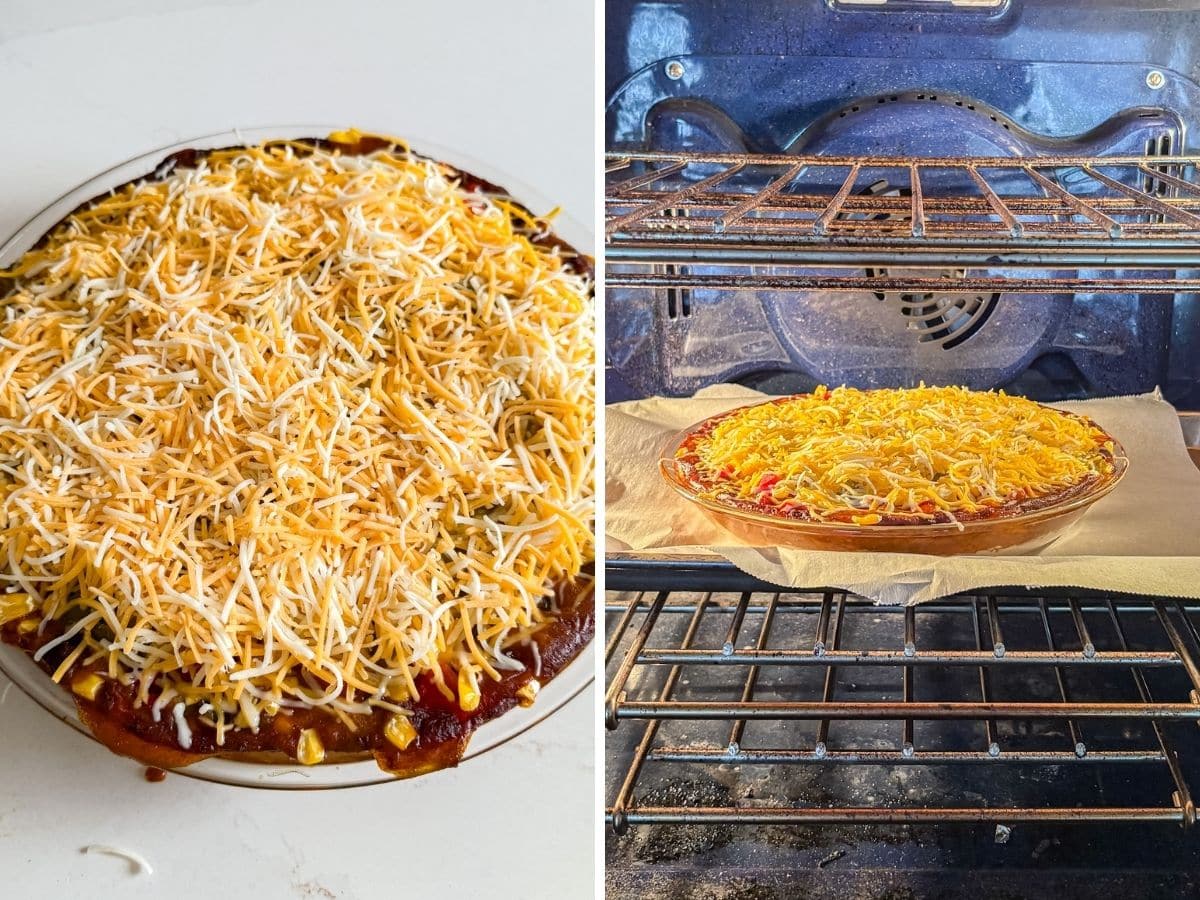
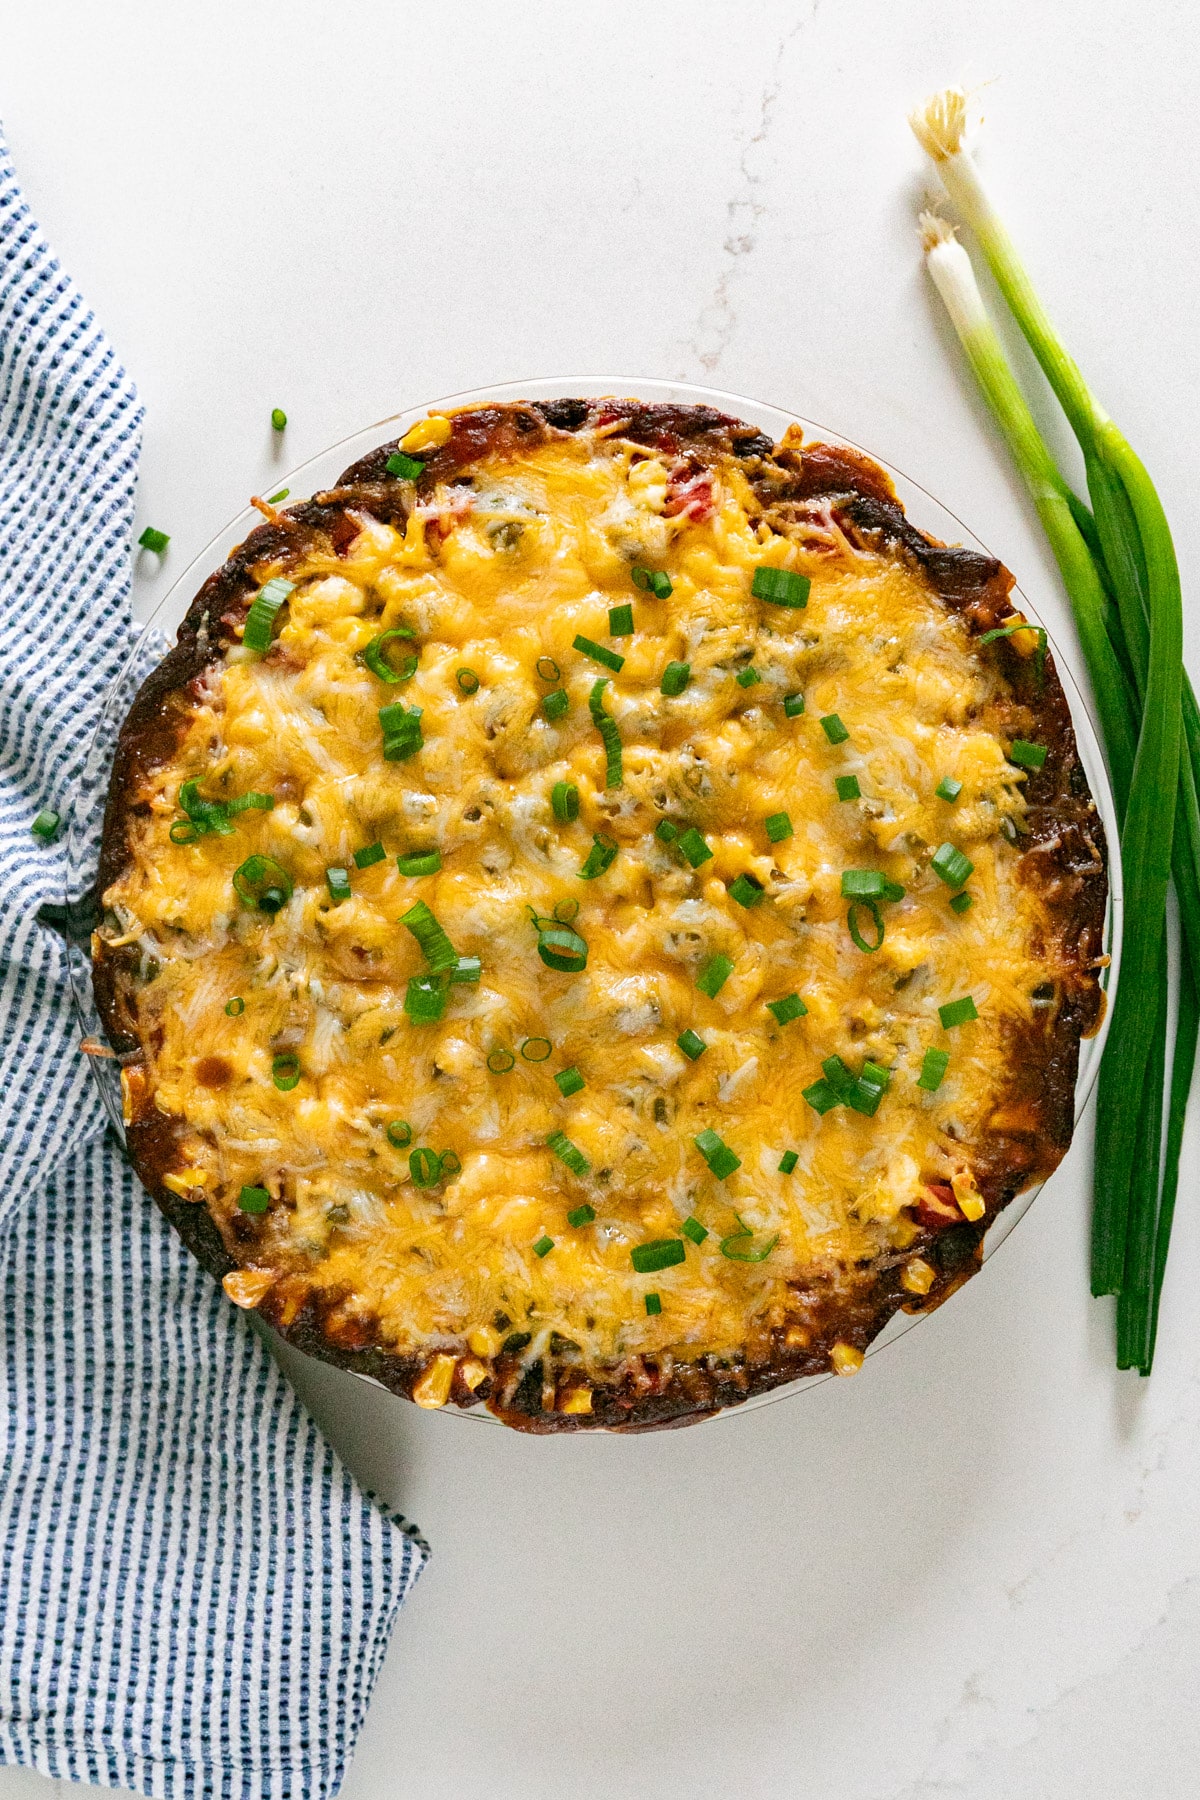
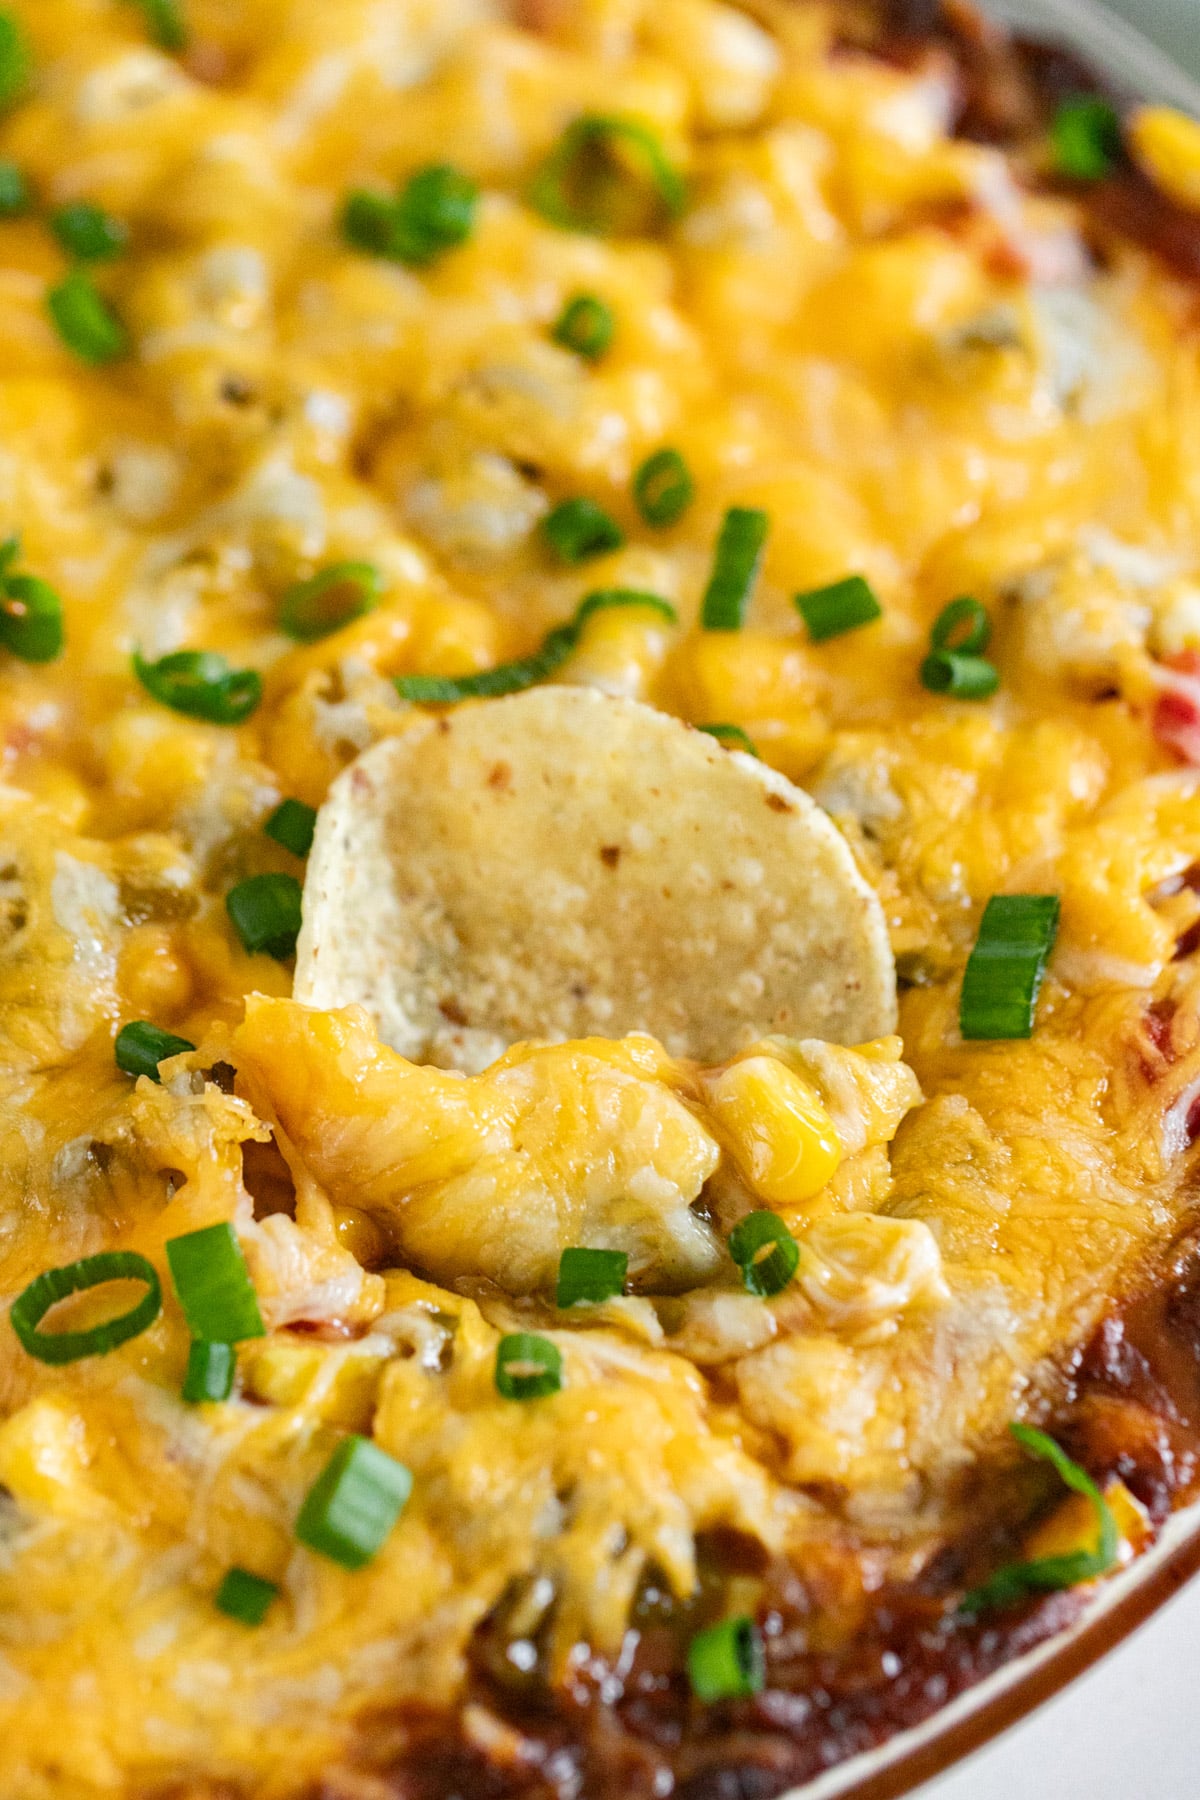
Step 6- Garnish and serve.
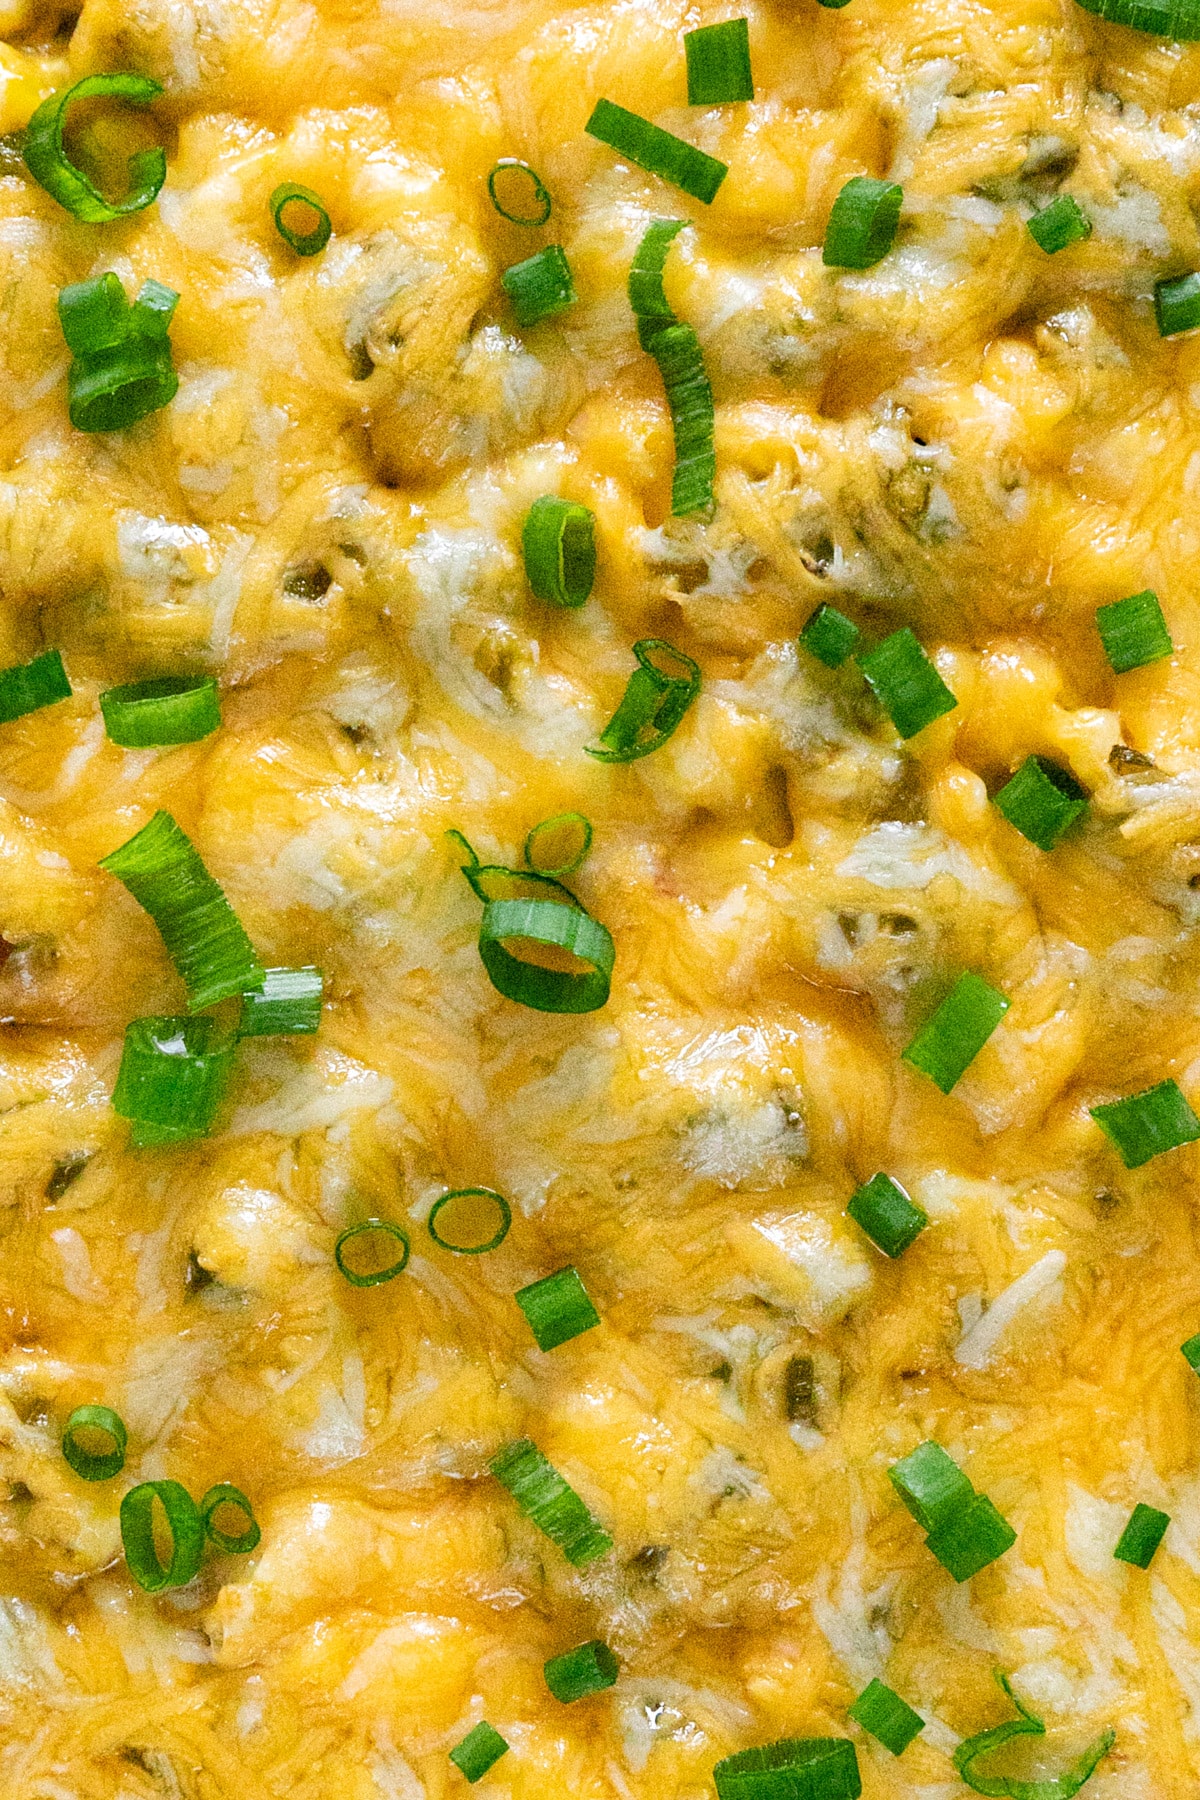
Top with chopped scallions and serve warm with tortilla chips.
Frequently Asked Questions
Yes. Assemble the dip completely, cover, and refrigerate. Bake just before serving.
Absolutely. Use a larger baking dish, like a 12" x 7" or even 9" x 14", and add a few extra minutes to the bake time as needed.
It’s mild overall, but if you want a little extra heat, try using spicy Rotel or adding a few sliced jalapeños to the top before baking.
Tips For Making This Hot Bean Dip
- Make sure your cream cheese is softened before spreading. This makes it much easier to create an even base and keeps the layers from mixing.
- Take a minute to drain the Rotel, corn, and green chiles really well. Too much liquid will make the dip watery and harder to scoop.
- Don’t stress about keeping the layers perfectly neat. Once it’s baked and bubbly, it all comes together, and no one will notice if things aren’t perfectly even.
- I like using a beanless chili so the layers stay more distinct, but chili with beans works just fine if that’s what you have on hand.
- This dip is great served straight from the baking dish while it’s hot and melty. If it starts to cool, a quick trip back into the oven brings it right back to life.
- Ingredients to prep ahead- Drain all canned ingredients and shred the cheese.
- Leftovers and storage- Store leftovers in an airtight container in the fridge for up to 3 days. Reheat in the oven or microwave until warmed through.
What To Serve With The Cream Cheese Bean Dip
This dip pairs perfectly with other easy party foods and simple sides to round out a snack spread. Add a few fresh or crunchy options alongside it to balance out the richness. You can pair it with:
Other Tasty Appetizers To Try


Love this recipe? Please leave a 5 star ⭐️⭐️⭐️⭐️⭐️ rating in the recipe card below ⬇️ and/or a review in the comment section further down. Check out my Amazon Store for all my favorite tools, including those used in this recipe. And follow @thelifejolie on Instagram and TikTok!

Hot Bean Dip Recipe
Equipment
Ingredients
- 8 ounces cream cheese softened
- 9 ounces bean dip or refried beans
- 15 ounces chili canned
- 10 ounces Rotel canned- drained
- 1 cup frozen corn thawed and drained
- 4 ounces diced green chiles canned- drained
- 1 ½ cups Mexican blend shredded cheese shredded or cheddar
- ¼ cup Chopped scallions for garnish
- Tortilla chips for dipping
Instructions
- Preheat the oven to 400 degrees F.
- In a 9 inch pie plate, spread the cream cheese in an even layer.
- Next spread an even layer of bean dip on top of the cream cheese.
- Spread an even layer of chili on top of the bean dip layer.
- Now spread the Rotel on top of the chili layer.
- After that spread the corn on top of the Rotel layer.
- Next spread the green chiles on top of the corn layer.
- Bake uncovered for 20 minutes.
- Remove the dip from the oven and sprinkle cheese on top.
- Bake for 10 more minutes or until the cheese is fully melted and it's hot and bubbly.
- Sprinkle with scallions and serve immediately with tortilla chips.
Video
Notes
- Make sure your cream cheese is softened before spreading. This makes it much easier to create an even base and keeps the layers from mixing.
- Take a minute to drain the Rotel, corn, and green chiles really well. Too much liquid will make the dip watery and harder to scoop.
- Don’t stress about keeping the layers perfectly neat. Once it’s baked and bubbly, it all comes together, and no one will notice if things aren’t perfectly even.
- I like using a beanless chili so the layers stay more distinct, but chili with beans works just fine if that’s what you have on hand.
- This dip is great served straight from the baking dish while it’s hot and melty. If it starts to cool, a quick trip back into the oven brings it right back to life.
- Ingredients to prep ahead- Drain all canned ingredients and shred the cheese.
- Leftovers and storage- Store leftovers in an airtight container in the fridge for up to 3 days. Reheat in the oven or microwave until warmed through.
Liz says
Jessy says