

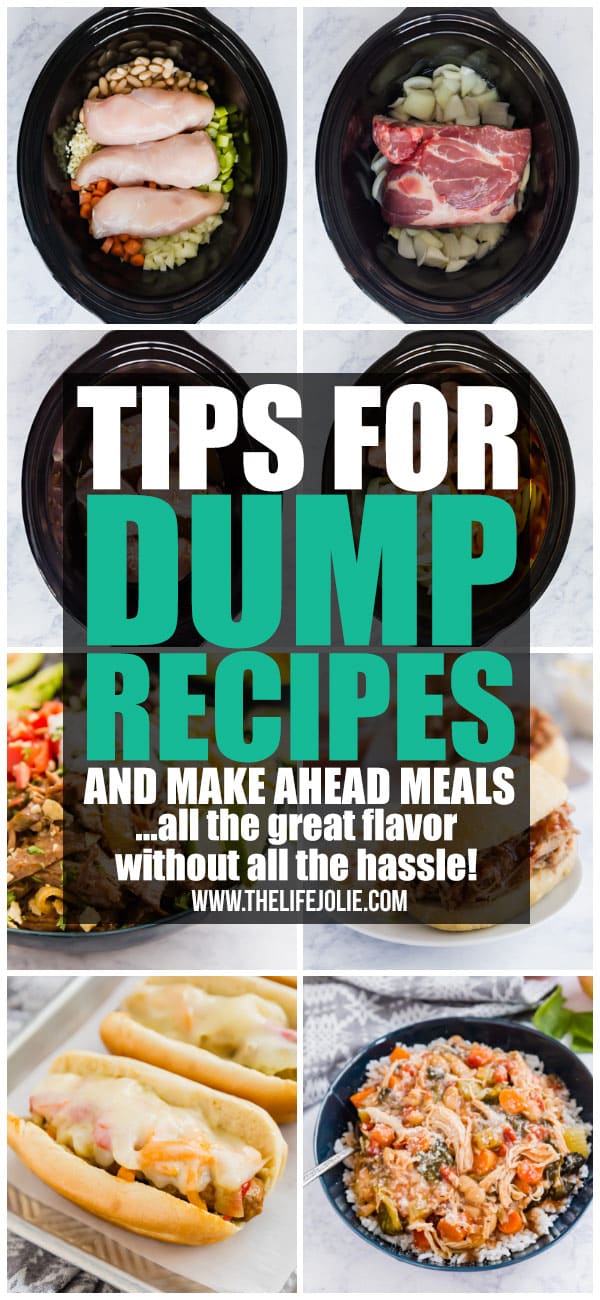
Here is my third post to prepare you for my Dump Recipe series, Dump It 'Til It's Hot which kicks off next week! If you've been following along, I introduced the series and shared some of my favorite tools for making dump dinners. And today I'm excited to share some great tips for making dump recipes and make ahead meals easier!
This post contains Affiliate Links. Please see the disclaimer here.
Prepping these easy dinner recipes:
- Schedule the preparation into your week- And stick to it. You'll be glad you did!
- Inventory and organize your pantry and freezer- Do this prior to shopping that way you'll know what pantry items you already have and you'll know how much space you have in the freezer.
- Shop sales and stock up on meat- and any ingredients that might be pricier.
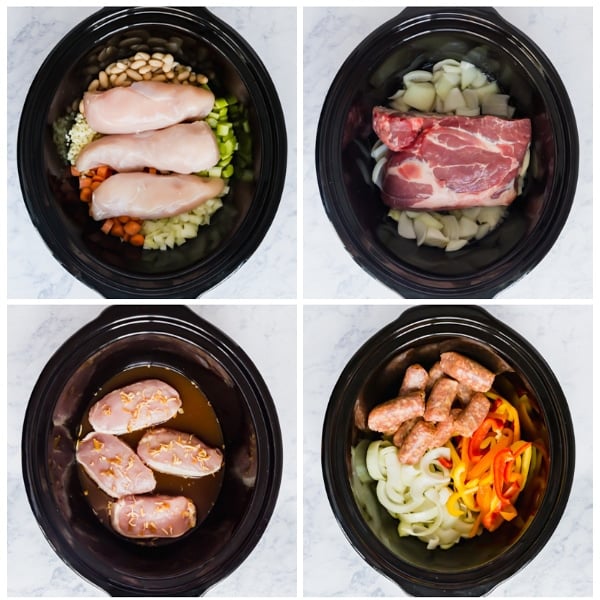
- Mis en place- One thing that's important in any cooking situation is the prepare and measure out all your ingredients before combining them. This is known as the mis en place.
- Batch prep- One way to work smarter and not harder is to take some time and batch prepare a bunch of these meals (you can easily double or triple the recipes) to use as freezer meals and thaw later when you're ready to cook them. One of the bonuses I created exclusively for my email subscribers is a chart that lets you know exactly how much of each ingredient you'll need to measure out for all five of that month's recipes, to save you time. Subscribe here to gain access to that and all the other bonuses.
- If you don't want to batch cook- That's totally ok too. You can also do it bit-by-bit. An efficient way to do this is to double the recipe when you're prepping a single recipes for dinner. Then freeze one batch and cook the other right away.
- Make sure you use high-quality freezer bags and containers- To better preserve the food quality if you're freezing them. I like these.
- Label freezer bags- I like to label mine ahead of time with name of the recipe, the date, basic directions ("thaw and cook on high in the crockpot for 8 hours" or "thaw and bake in a 9" x 13" baking pan at 400 for 40 minutes") and note anything needed to add the day-of or served on the side.
- Empty your trash can prior to starting the prep work- That way you can bang out all the prep without having to pause to take out the trash and replace the bag.
- Pre-cut products- If budget is not a concern for you (or time is more of a priority) don't be afraid to use pre-chopped products like veggies. And even though I'm always going to prefer the use of fresh veggies, if you're really not into mincing things like garlic or ginger, you can purchase that pre-minced in a jar. While the flavor isn't as robust, it's more about working smarter, not harder. Don't underestimate the use of a mini prep processor or a chopper.
- Grab a friend- A second set of hands is always helpful and it's more fun to do with a friend. Even better, grab a bunch of friends and have a little meal prep party and fill everyone's freezers!
- Stand the bags up before filling- This is especially helpful if you're batching several make ahead freezer meals at once. These bag rack holders are great for this or you can fold the zipper part over all around the top.
- Form an assembly line- To fill those bags even more efficiently!
- Mix them up so the spices don't get stuck at the top- This goes for in the freezer bags or dumping the ingredients directly into the cooking vessel of choice. Make sure all the ingredients are evenly distributed unless the recipe indicates otherwise.
- Freeze the bags flat- to give you more room in your freezer (I say this as a gal with two and a half freezers at a SO disorganized and generally overflowing- do as I say, not as I do!).
- Freeze in disposable pans- Then the items that need to go in the oven will already be in their cooking vessel. And you get the added bonus of easier clean up!
- Give these as a gift- know a new mom (or soon to be new mom) or other person who could use some support and a delicious meal? These are the perfect option. Even better, if it's a situation where they've just returned from the hospital and are receiving a ton of meals already because yours can pop right into the freezer. That way, in a few weeks when all the meals have stopped coming, they're have delicious and effortless meals in their freezer, ready to thaw!
Cooking these easy dinners
- Thaw overnight prior to making- This tip is specific to if you're using these as make ahead freezer meals. Technically, you're supposed to fully thaw something before placing it in a slow cooker or instant pot. The concern is that because you're cooking at a lower temperature, the meat will sit in the temperature danger zone for too long. That said, I've broken this rule for things like chicken breasts and pork chops since they're so small and will cook quicker. I wouldn't put in a frozen pork shoulder of chuck roast since they're so much larger and take a longer time. So the bottom line is use your best judgement and a healthy dose of common sense.
- Slow cookers, instant pots, ovens and grills may vary- All machines are different. The items in my favorite tools post are the one's that I tested all these dump recipe in. Keep in mind that you may have to adjust cooking times based on your specific equipment.
- A quick and easy hack for shredding meat- specifically chicken, is to use a potato masher or stand mixer. But two forks totally work as well!
- Wait for the food to cool before storing leftovers-This helps maintain the texture. No one likes soggy food!
- A note on sides- Some of these dump recipes are best served over rice and might taste god with an easy veggie side. I only include side ideas that are crazy easy and don't require you to hang out at the stove and babysit them but keep in mind that you can often cook veggies and grains ahead of time!
Make sure you check out the main page for the dump series. And don't forget to subscribe to get all the free bonuses!
You can find a full index of my recipes here.
Don’t forget to follow The Life Jolie on Pinterest for more recipe inspiration!
Or if Pinterest isn’t your style, bookmark this post!
Let’s keep the conversation going- join my Facebook group!
Leave a Reply