


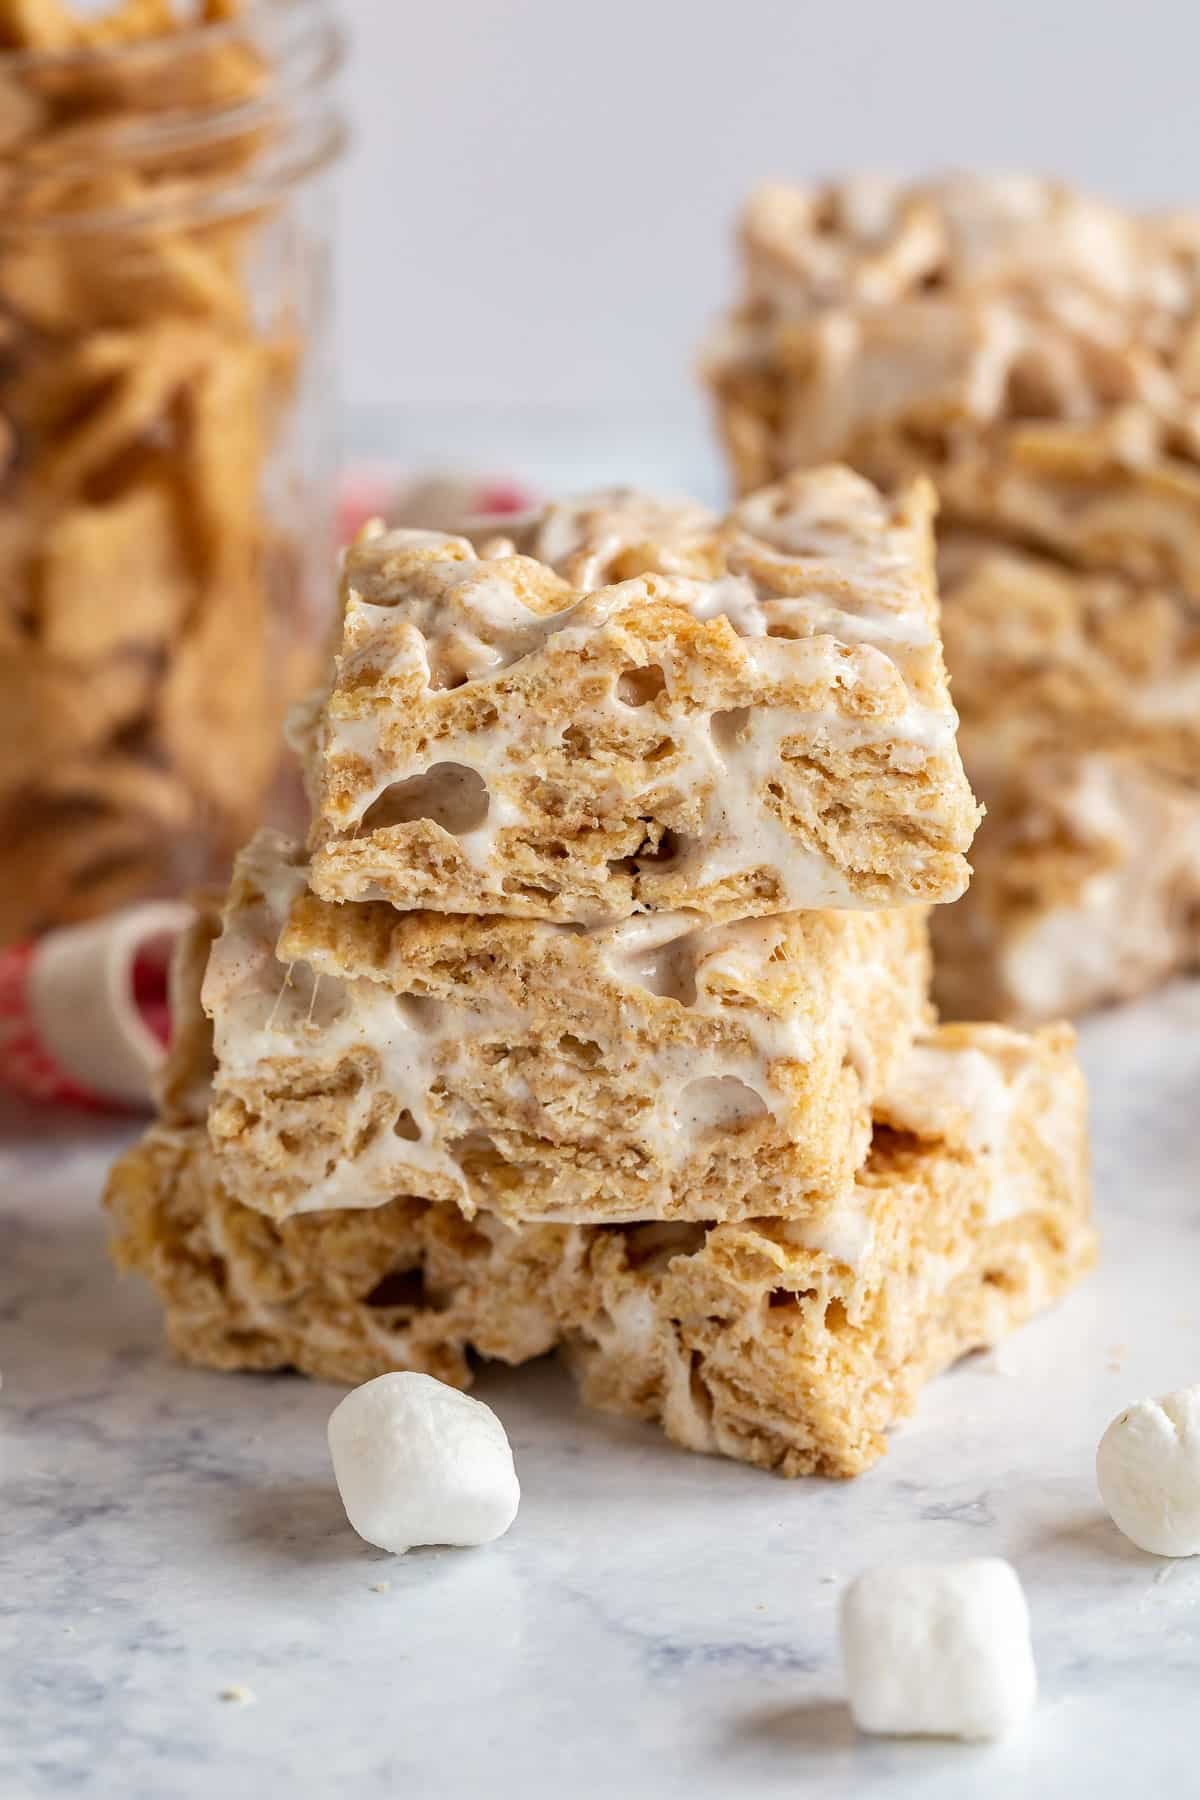
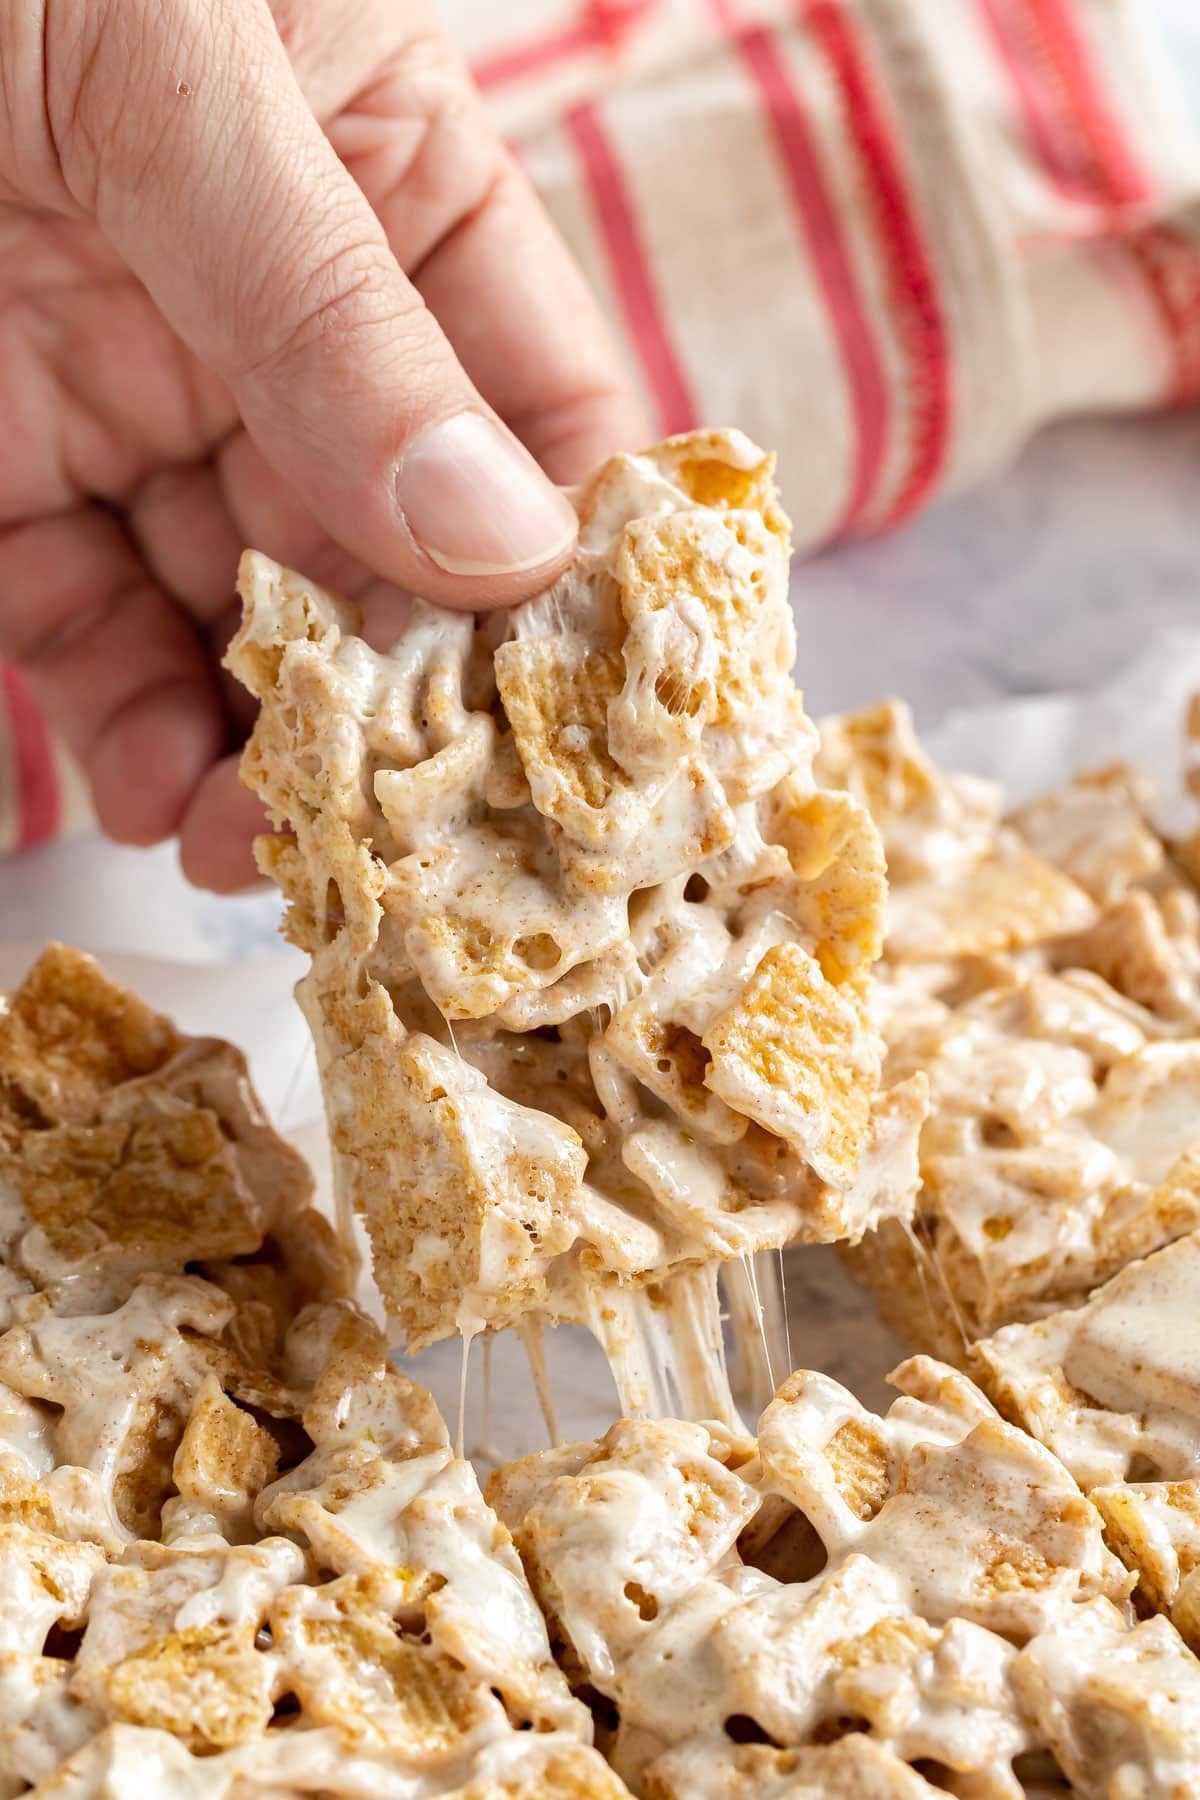
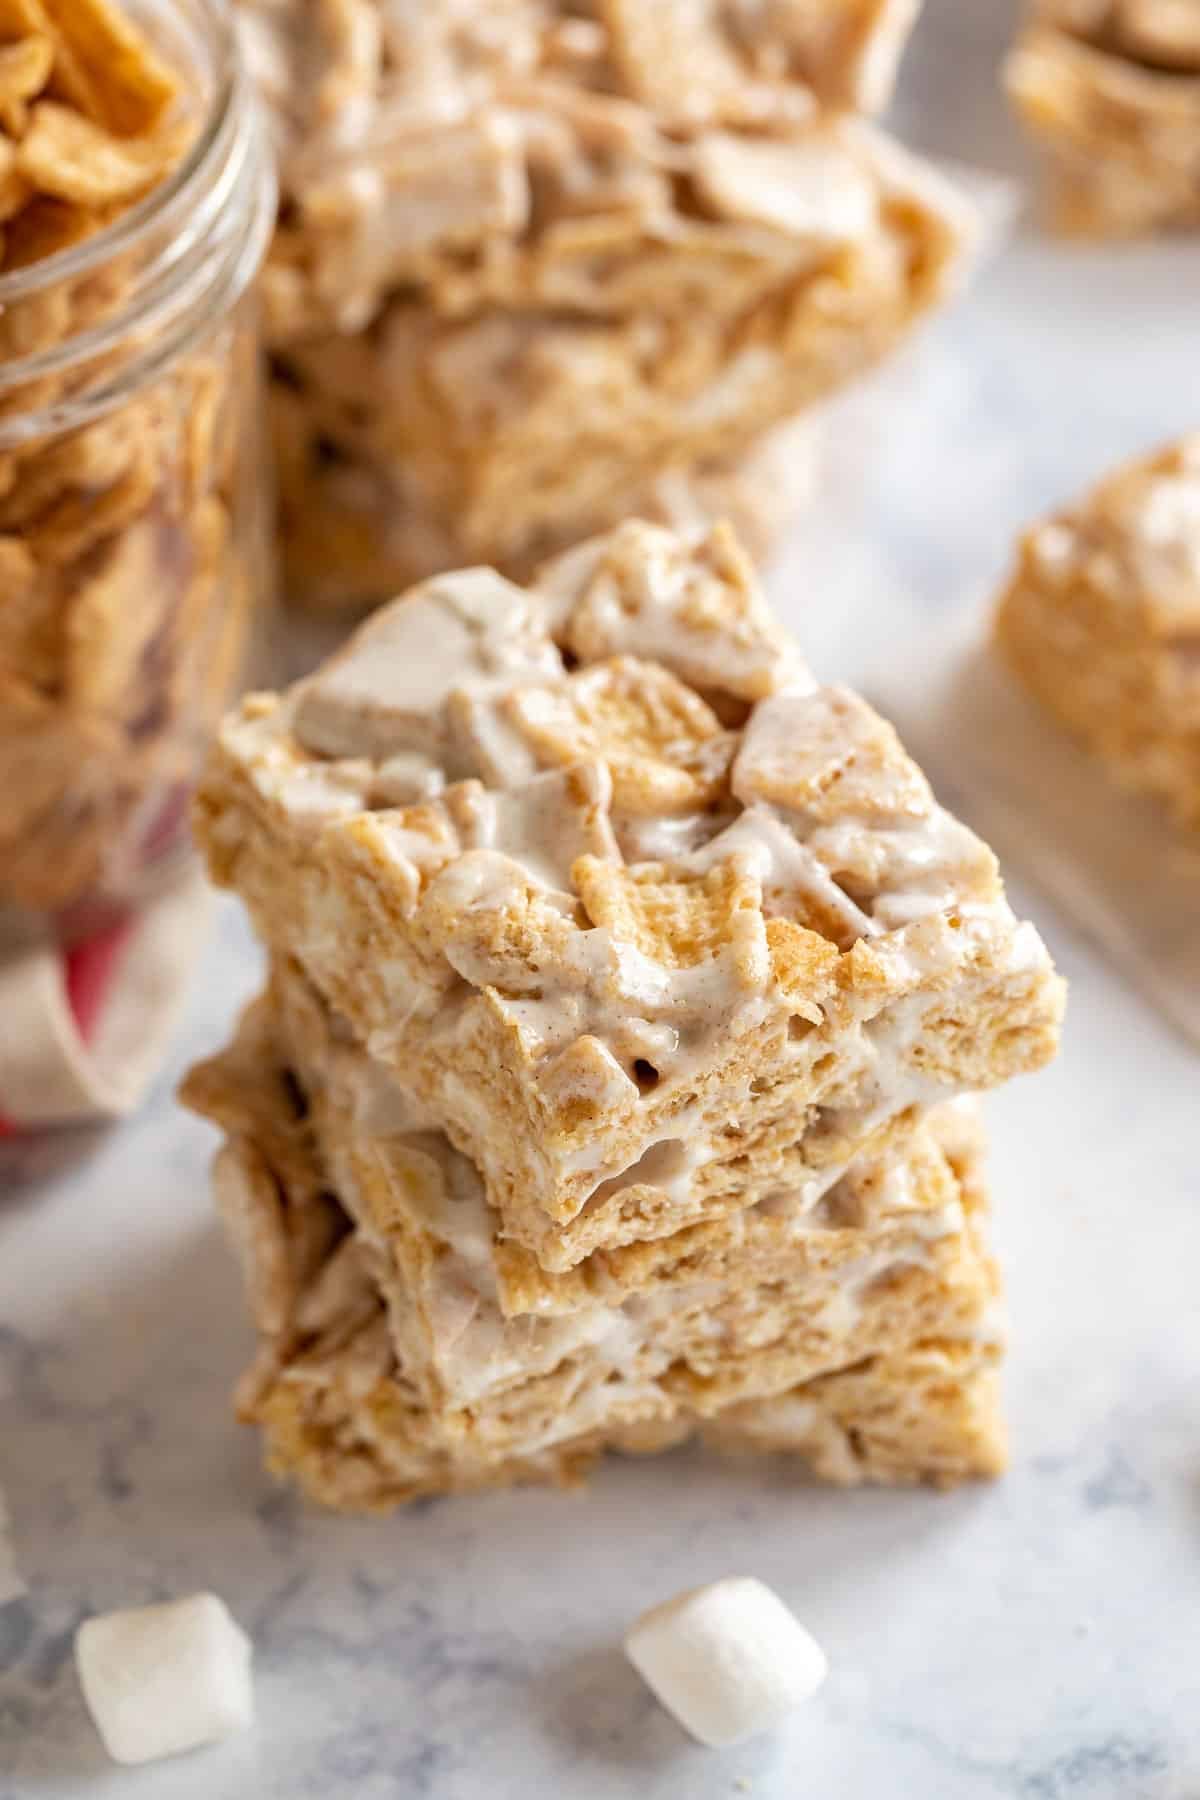
Cinnamon toast crunch bars are an easy, no-bake dessert made with just 3 ingredients. They’re soft, gooey, and packed with that classic cinnamon sugar crunch everyone loves. Perfect for parties, potlucks, or an easy sweet snack.
Jump to:
Why You’ll Love This Cereal Bars Recipe
I’m not usually a big cereal person (most get soggy way too fast for me), but Cinnamon Toast Crunch has always been my favorite. It probably goes back to my mom making cinnamon toast as a special breakfast when we were kids. That cinnamon-sugar flavor just hits differently… especially when it stays crunchy.
Since you all loved my S’mores Bars so much, trying another version of homemade cereal bars felt like a no-brainer. These are especially perfect during the warmer months when turning on the oven feels like too much. With just 3 ingredients and a super quick prep, they’re ideal for last-minute desserts, busy weeknights, or when you need to bring something sweet to share. Here’s why you’ll want to make them:
- Ready in under an hour
- No-bake and summer-friendly
- A hit with both kids and adults
- Sweet, crispy, and gooey
- Great to make ahead
Ingredient Information And Substitutions
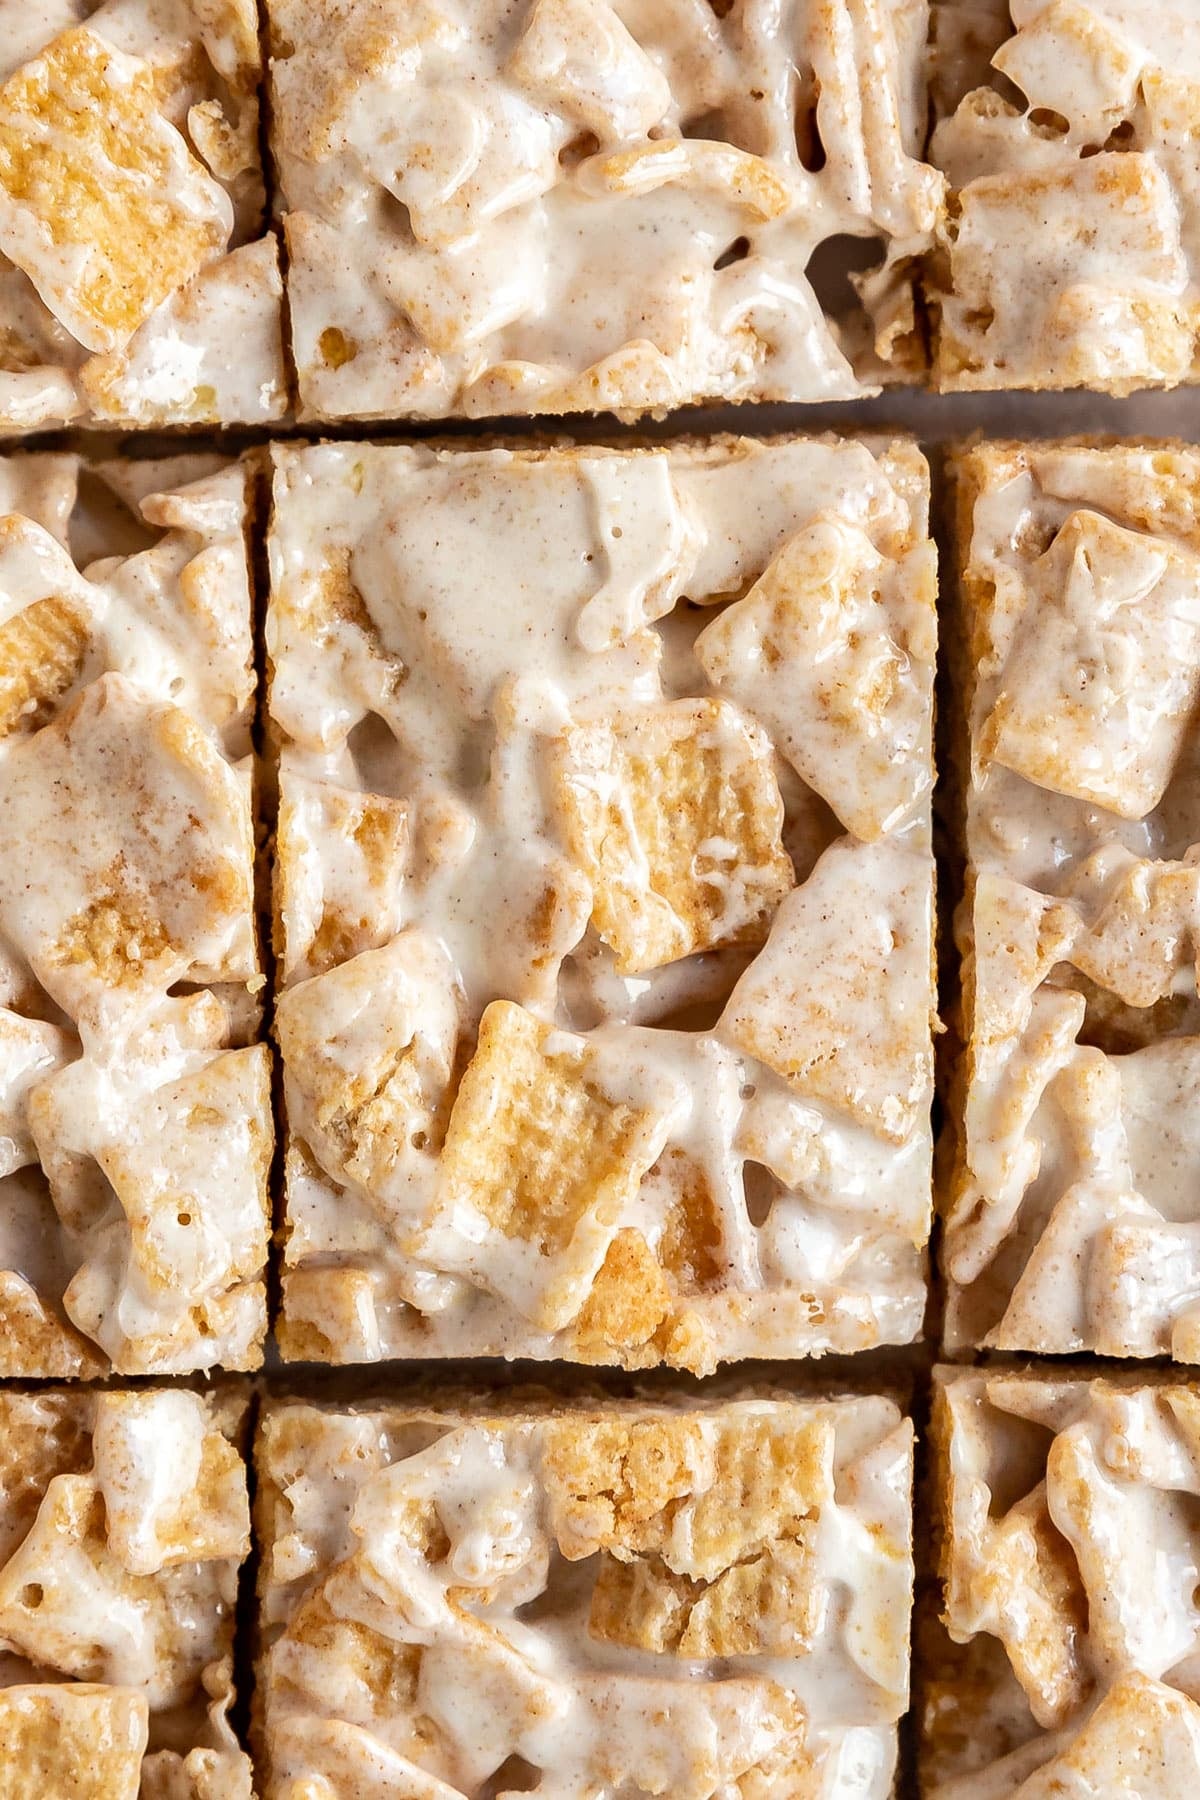
- Cinnamon Toast Crunch- That cinnamon-sugar coating and sturdy crunch make it perfect for this recipe. If you want to switch things up, other cereals with a similar size and shape will also work well.
- Marshmallows- Mini marshmallows melt quickly and evenly. You can also use one 10-ounce bag of regular marshmallows if needed. Marshmallow fluff isn’t recommended, as it changes the texture.
- Salted butter- I prefer salted butter here because it helps balance the sweetness. Unsalted works too, but add a small pinch of salt.

How To Make Cereal Bars
Step 1- Prep the pan.
Spray a 13 x 9 pan with cooking spray and line it with parchment paper, leaving extra paper hanging over the sides for easy removal later.
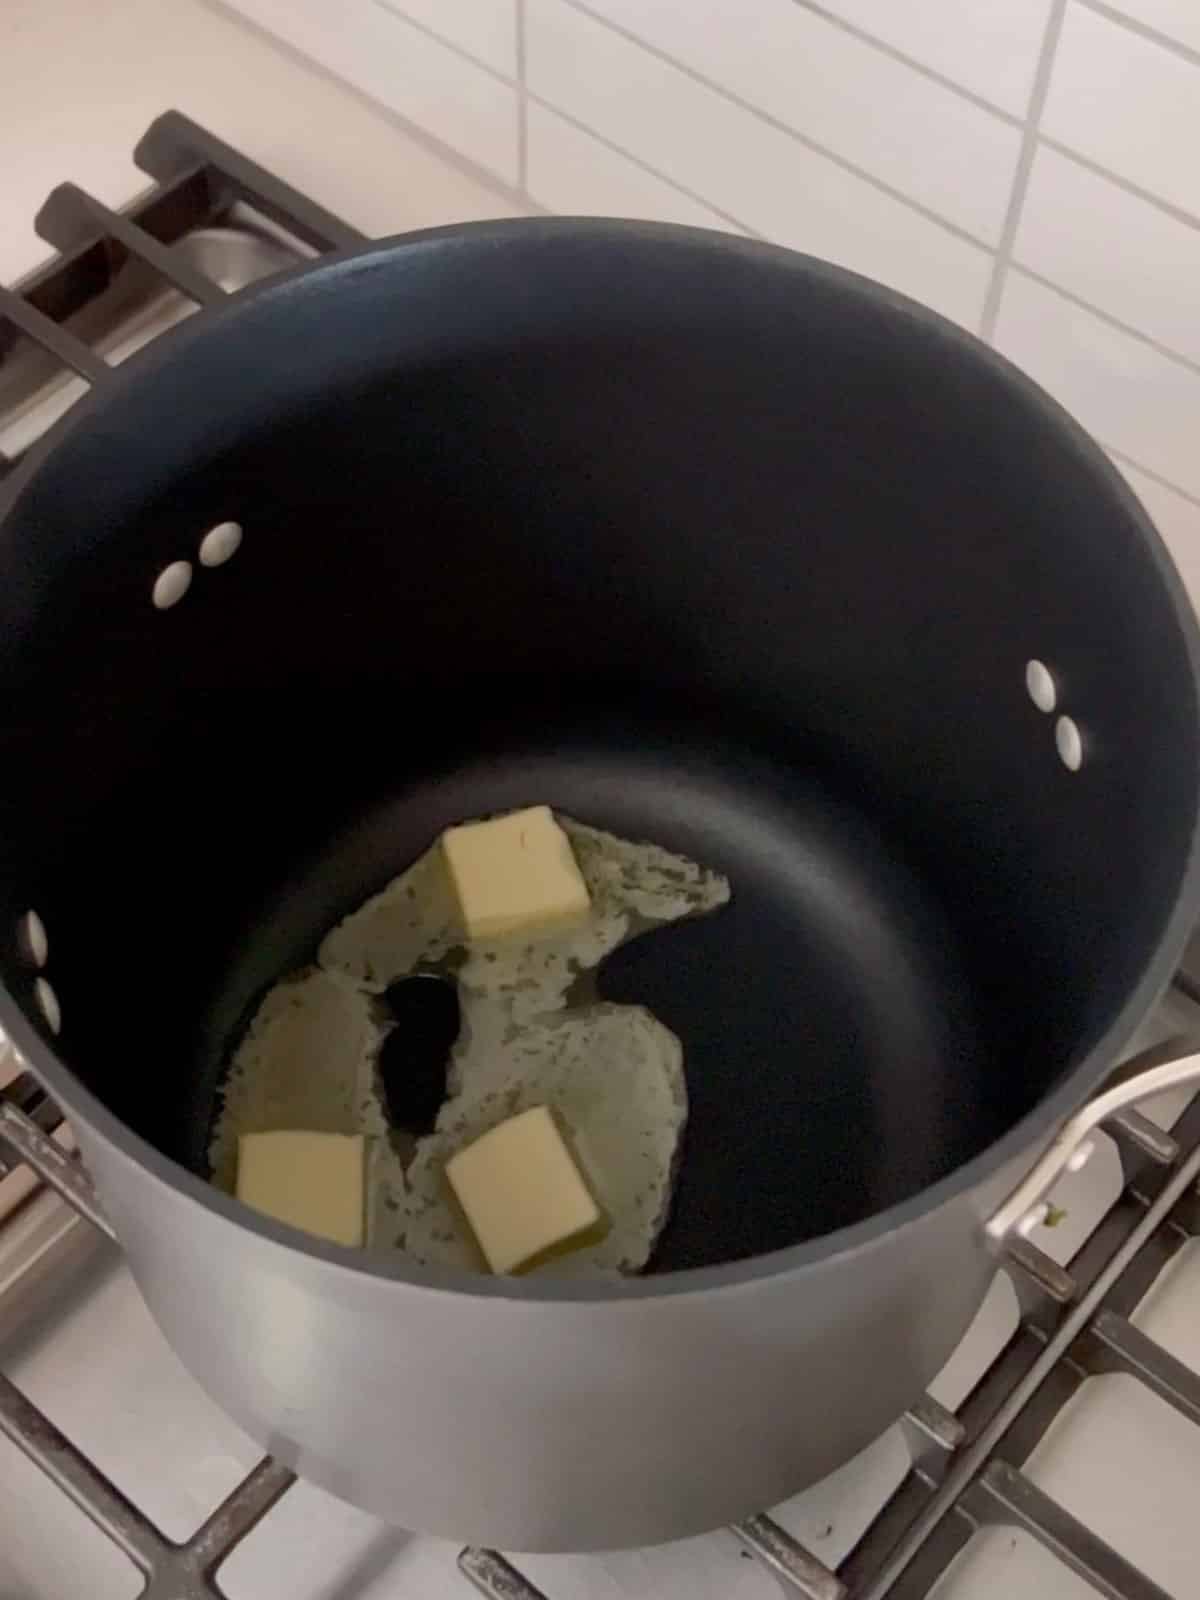
Step 2- Melt the butter.
Melt the butter in a large pot over medium heat. Once it’s fully melted, reduce the heat to low so it doesn’t scorch.
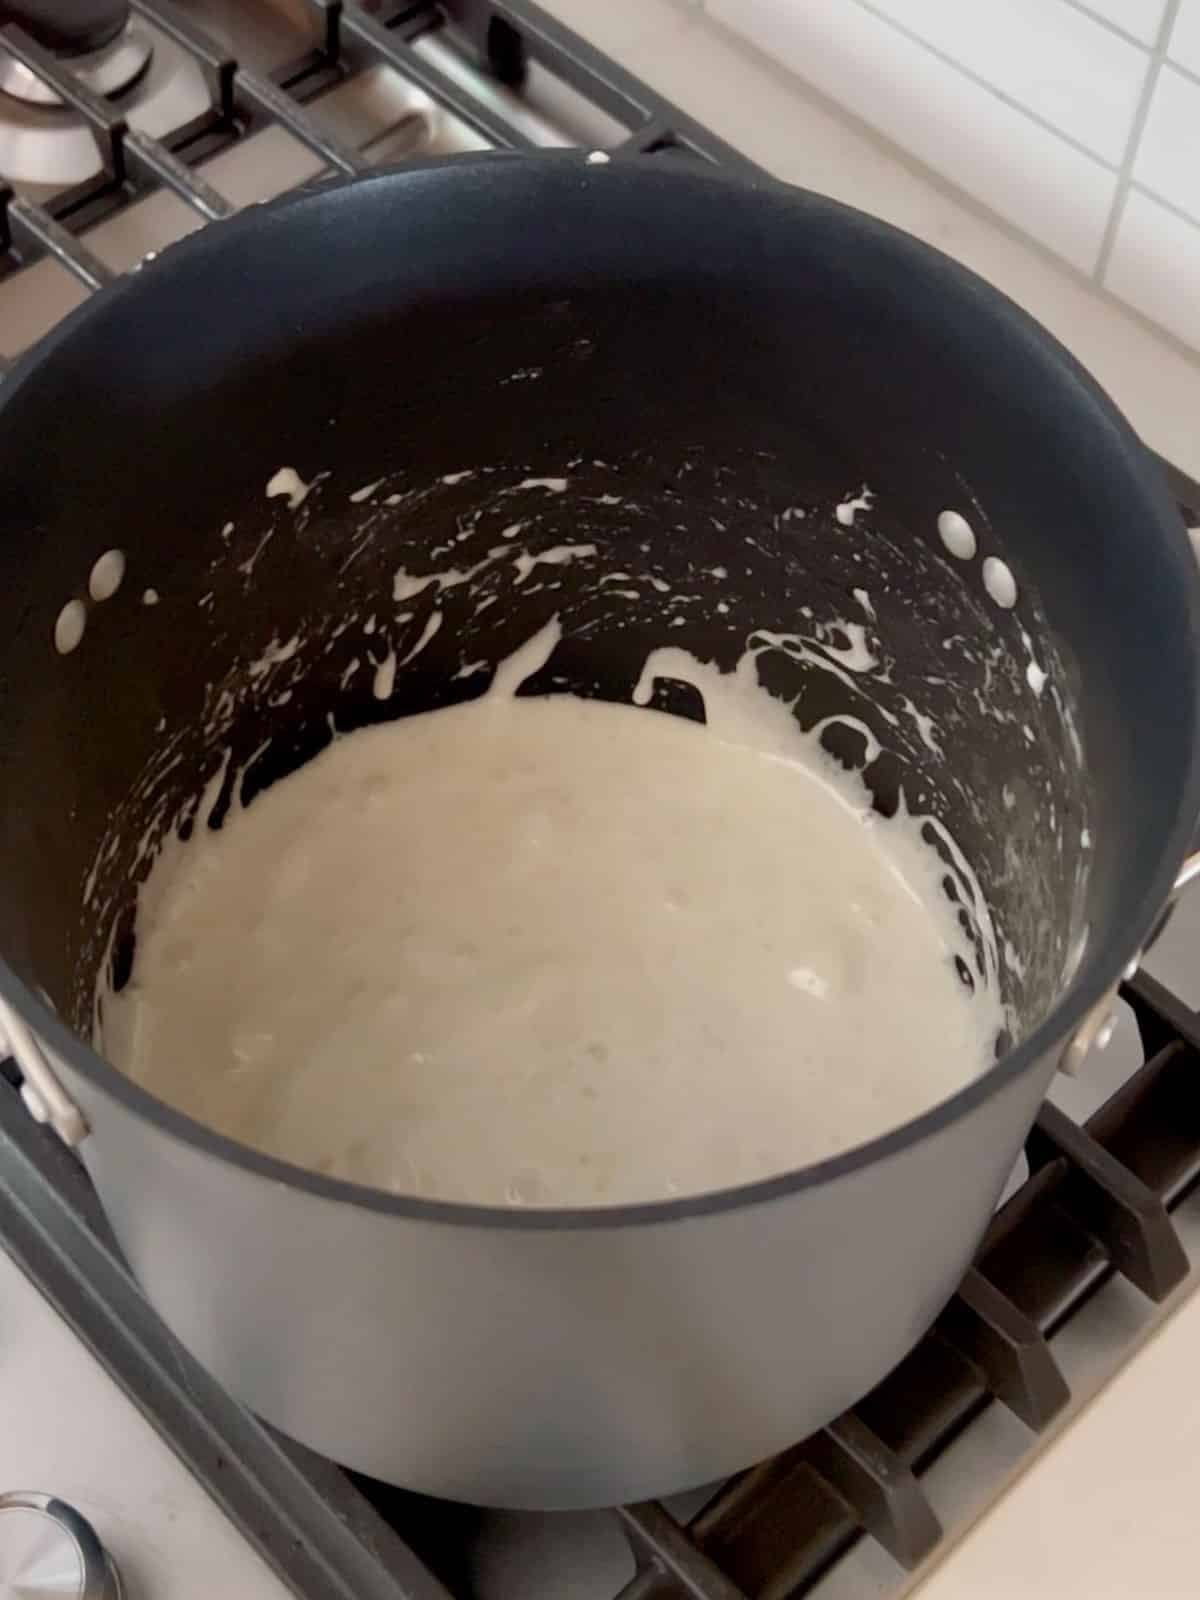
Step 3- Melt the marshmallows.
Add the marshmallows to the pot. Lightly spray a mixing spoon with cooking spray and stir continuously until the marshmallows are completely melted and smooth.
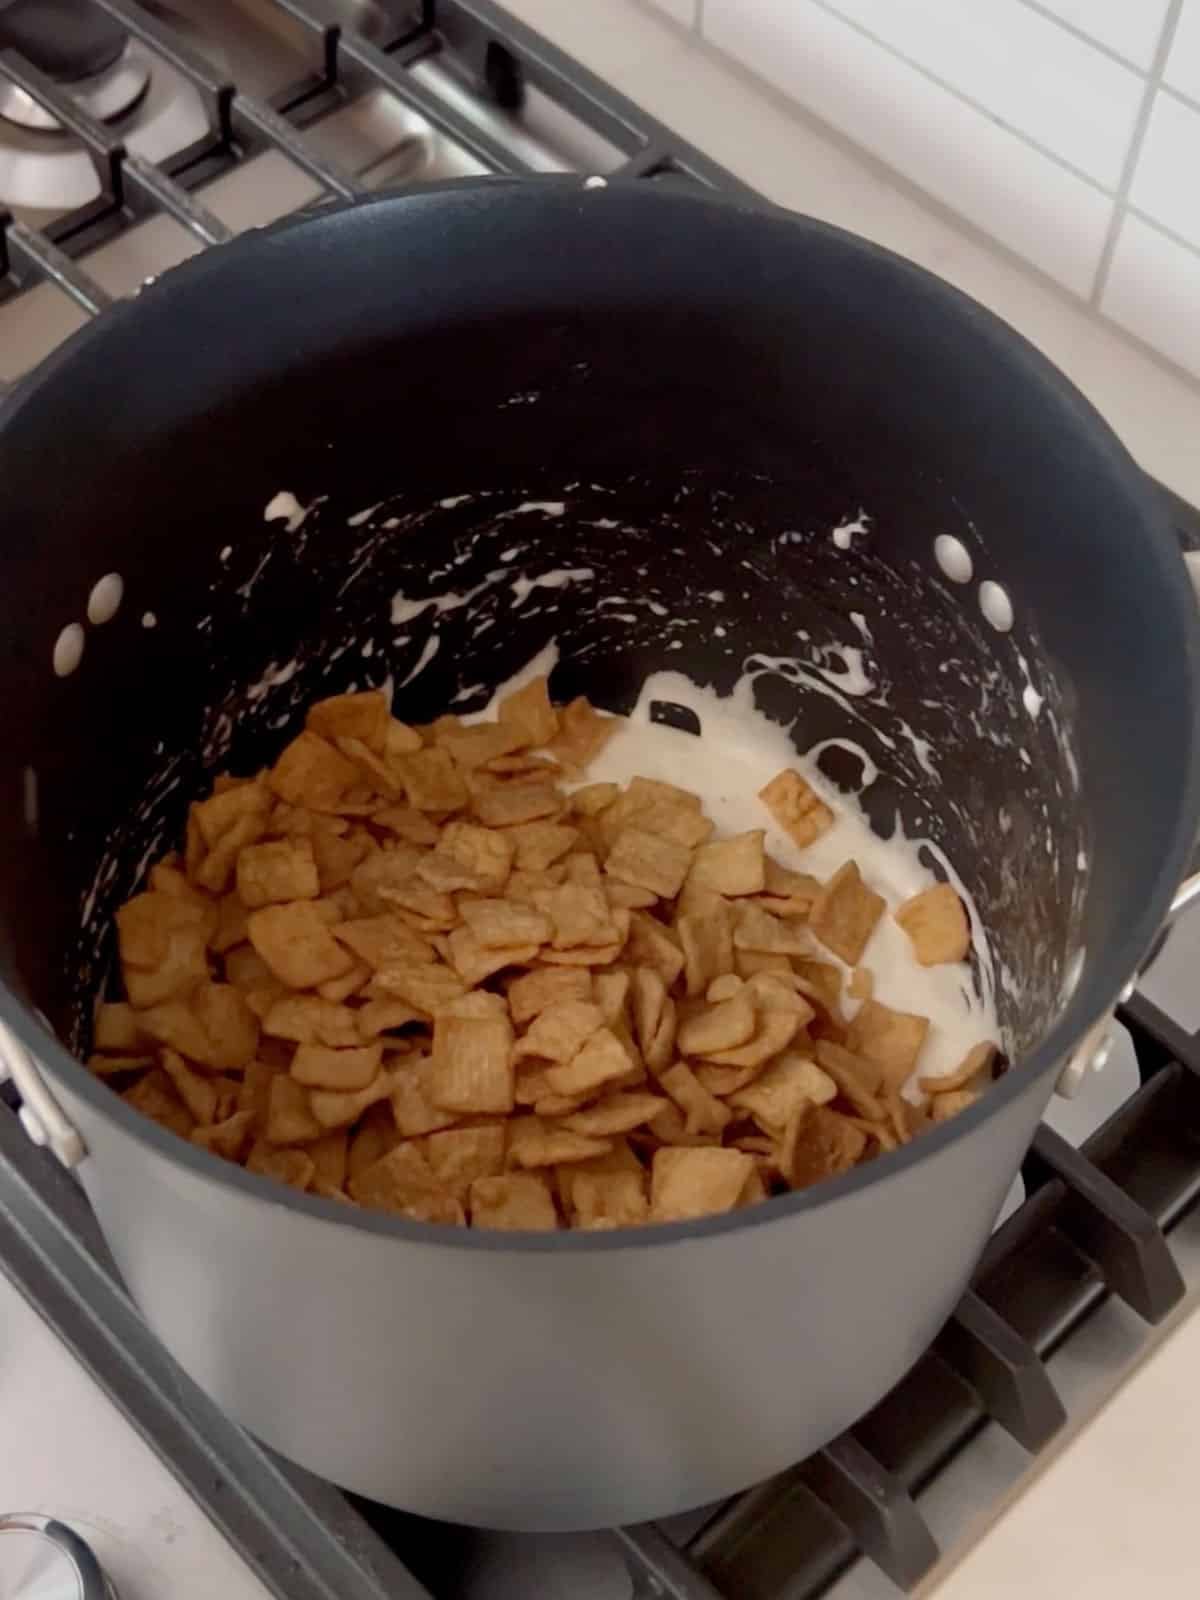
Step 4- Add the cereal.
Remove the pot from the heat and stir in the cereal until everything is evenly coated with the marshmallow mixture.
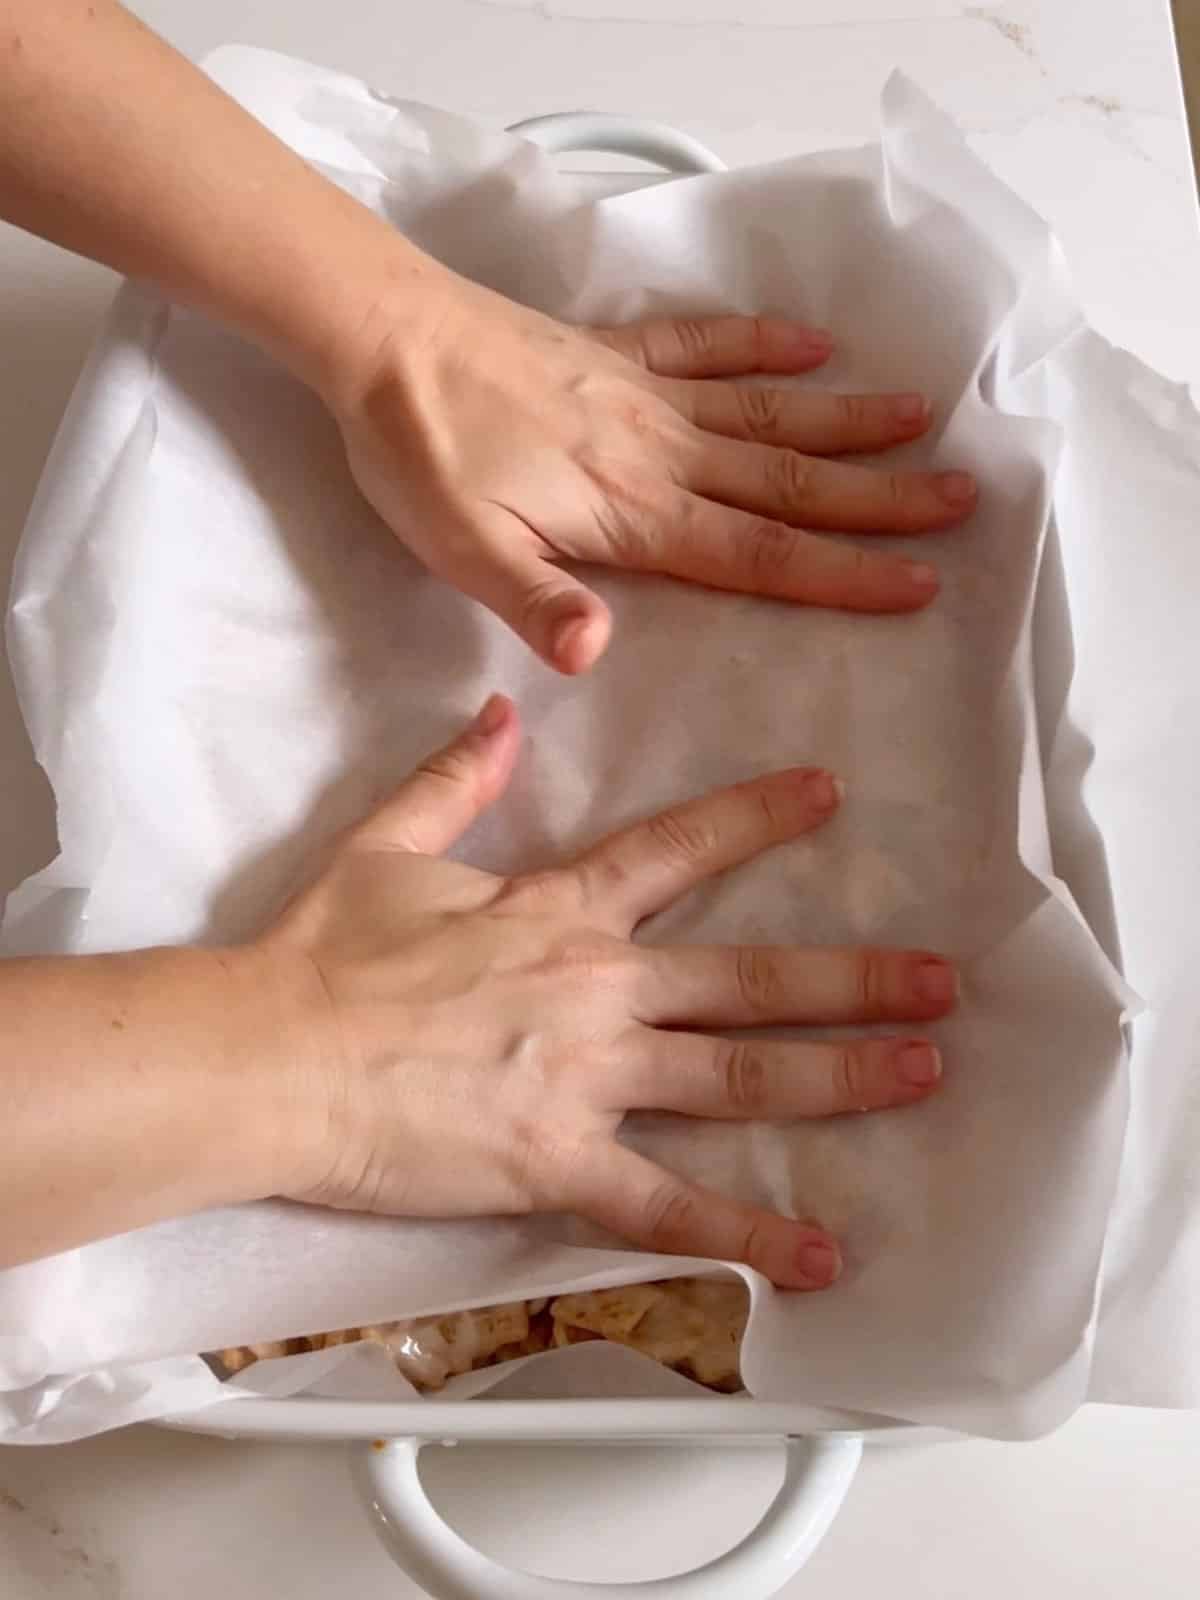
Step 5- Press and set.
Transfer the mixture to the prepared pan. Using an extra piece of parchment paper, gently press it into an even layer, holding the bottom parchment in place if needed. Let it cool completely, then remove, cut into cereal bars, and enjoy!
Frequently Asked Questions
Yes! I usually make them a day ahead, which also gives them plenty of time to set.
Store the bars in an airtight container and add a small piece of bread to help keep them soft. Melting the marshmallows over gentle heat and pressing lightly into the pan will also help maintain a chewy texture.
Yes, this recipe doubles easily. Just use a larger pan or divide the mixture between two pans so the bars aren’t too thick.
Sure. Melt butter and marshmallows together in a large, microwave-safe bowl for around 60 seconds on high. Stir and melt for an additional 15-30 seconds if needed. Then, stir in the cereal and proceed with the recipe as listed below.
Tips For Making Homemade Cereal Bars
- Line your pan before you start. I spray a 9 x 13 pan with cooking spray and add parchment paper with a little overhang so I can lift the bars out in one piece and slice them easily.
- Keep the heat at medium when melting the butter and marshmallows. Higher heat can scorch them and will give you hard, brittle bars instead of soft and gooey ones.
- A little cooking spray on your spoon goes a long way. Marshmallows are super sticky, and this makes stirring much easier.
- Let the marshmallows melt completely. It takes a little patience, but the texture turns out so much smoother when they’re fully melted.
- Be gentle when pressing the mixture into the pan. Packing it down too firmly can make the bars hard and dense instead of soft and chewy.
- Ingredients to prep ahead- Measure everything before you start. Once the marshmallows are melted, things move quickly.
- Leftovers and storage- Keep the bars in an airtight container at room temperature for up to 3 days. Place parchment paper between layers to prevent sticking. Freezing isn’t recommended, since it can affect the texture.
What to Serve With These Marshmallow Cereal Bars
These bars are sweet and cinnamon-forward, so they pair well with savory dishes when you’re serving them as part of a casual meal or gathering. They’re great for BBQs, potlucks, and family dinners where you want an easy dessert option. Try serving them alongside:
- BBQ Lemon Pepper Chicken
- Ranch Potatoes Recipe
- Avocado Corn and Black Bean Salad
- Oven Fried Pickles Recipe
Other No-Bake Desserts To Try


Love this recipe? Please leave a 5 star ⭐️⭐️⭐️⭐️⭐️ rating in the recipe card below ⬇️ and/or a review in the comment section further down. Check out my Amazon Store for all my favorite tools, including those used in this recipe. And follow @thelifejolie on Instagram and TikTok!
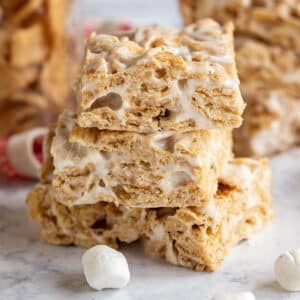
Cinnamon Toast Crunch Bars
Ingredients
- 3 Tablespoons salted butter
- 10 ounces mini marshmallows 1 bag
- 5 cups Cinnamon Toast Crunch cereal
Instructions
- Spray a 13" x 9" pan with cooking spray and line it with parchment paper, leaving some extra paper over the sides.
- Melt butter over medium heat in pot. Once it's melted, reduce the heat to low.
- Add marshmallows to the pot. Spray a mixing spoon with cooking spray and continuously stir until marshmallows are fully melted.
- Remove the pot from the heat and add the cereal. Stir well to combine.
- Pour the mixture into the prepared pan. With an additional piece of parchment paper, gently press it down into an even layer in the prepared pan (you may need to hold the bottom paper in place to keep it from moving all around).
- Cool completely and once set, pull the bar out of the pan in once piece using the parchment paper and slice. Store in an air tight container and enjoy!
Video
Notes
- Line your pan before you start. I spray a 9 x 13 pan with cooking spray and add parchment paper with a little overhang so I can lift the bars out in one piece and slice them easily.
- Keep the heat at medium when melting the butter and marshmallows. Higher heat can scorch them and will give you hard, brittle bars instead of soft and gooey ones.
- A little cooking spray on your spoon goes a long way. Marshmallows are super sticky, and this makes stirring much easier.
- Let the marshmallows melt completely. It takes a little patience, but the texture turns out so much smoother when they’re fully melted.
- Be gentle when pressing the mixture into the pan. Packing it down too firmly can make the bars hard and dense instead of soft and chewy.
- Ingredients to prep ahead- Measure everything before you start. Once the marshmallows are melted, things move quickly.
- Leftovers and storage- Keep the bars in an airtight container at room temperature for up to 3 days. Place parchment paper between layers to prevent sticking. Freezing isn’t recommended, since it can affect the texture.
SJ says
Maxx2uy says
Terry C says
Jessy Freimann says
Terry C says
Jessy Freimann says
Terry C says
Kathy Miller says