
• Skip to primary navigation
  • Skip to main content
  • Skip to primary sidebar
The Life Jolie logo
  • Easy Dinner Recipes
  • Recipes
  • About
  • Contact
    • Work with me!
    • Video Production
  • Nav Social Menu

    • Email
    • Facebook
    • Instagram
    • Pinterest
    • Twitter
    • YouTube
menu icon
go to homepage
subscribe
search icon
Homepage link
  • Easy Dinner Recipes
  • Recipes
  • About
  • Contact
    • Work with me!
    • Video Production
    • Email
    • Facebook
    • Instagram
    • Pinterest
    • Twitter
    • YouTube
  • ×
    The Life Jolie » Page 21

    Gluten-Free Peanut Butter Bars

    Gluten-Free Peanut Butter Bars

    Apr 25, 2016 · 2 Comments

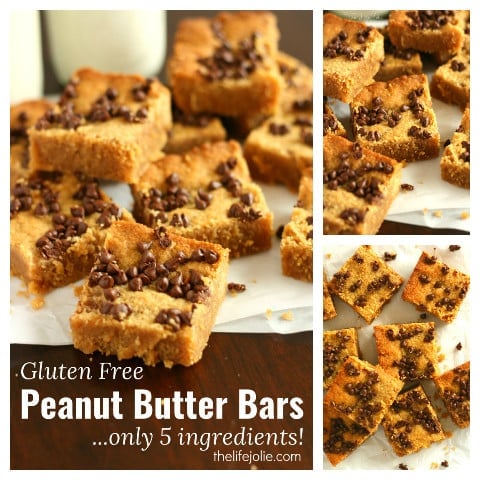
    This Gluten-Free Peanut Butter Bar recipe are super quick and simple to make. It only has five ingredients and the bars are so rich and decadent with everyone's favorite flavor combination; peanut butter and chocolate!

    This Gluten-Free Peanut Butter Bar recipe are super quick and simple to make. It only has five ingredients and the bars are so rich and decadent with everyone's favorite flavor combination; peanut butter and chocolate! 

    I've previously mentioned that we have a really awesome team working in our cafeteria at my office. They seriously make some delicious food and are genuinely nice people as well. One of the guys makes the most fantastic desserts. This is a great thing because yum and will likely a terrible thing when I return to work in June because I'm not sure I'll be able to stop eating all of these confections! Every day it's something different and before I left I could not seem to get enough. One such dessert was these amazing gluten-free Peanut Butter Bars and he was gracious enough to allow me to share his recipe with you.
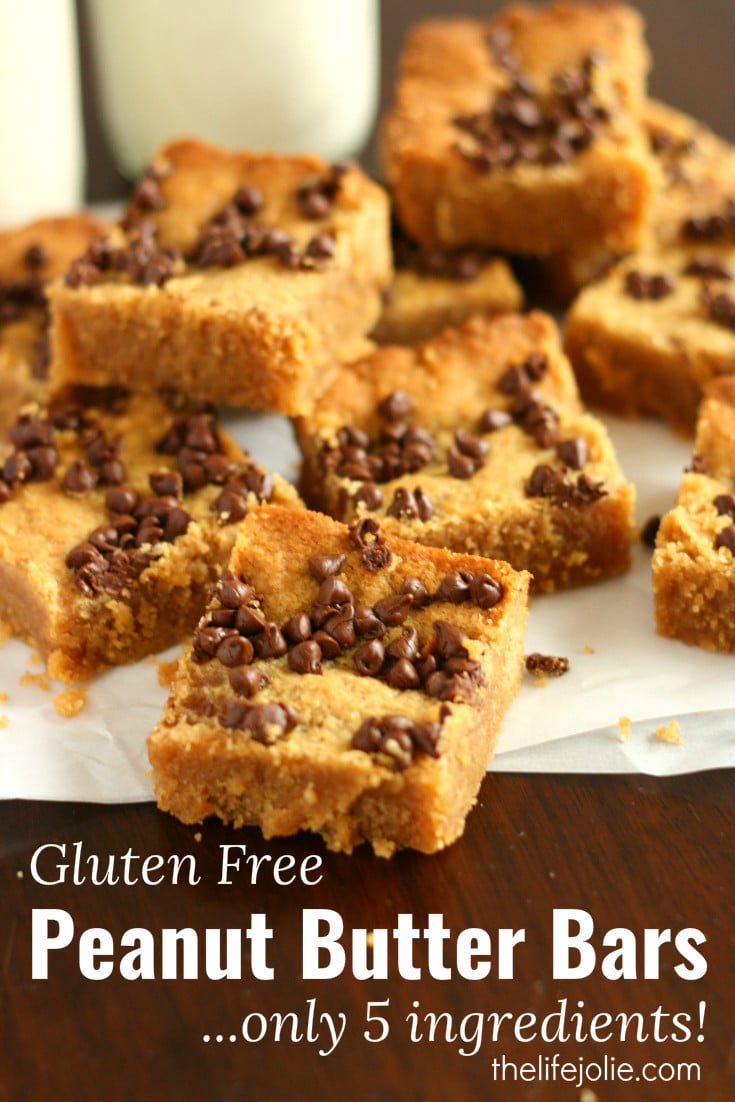
    This Gluten-Free Peanut Butter Bar recipe are super quick and simple to make. It only has five ingredients and the bars are so rich and decadent with everyone's favorite flavor combination; peanut butter and chocolate!

    To be honest, when I first tried these, I had no idea they were gluten free. It wasn't until I started picking his brain about the recipe the he told me they were gluten-free. I was floored but it made sense. They didn't have the usual texture of peanut butter cookies, but were super similar.
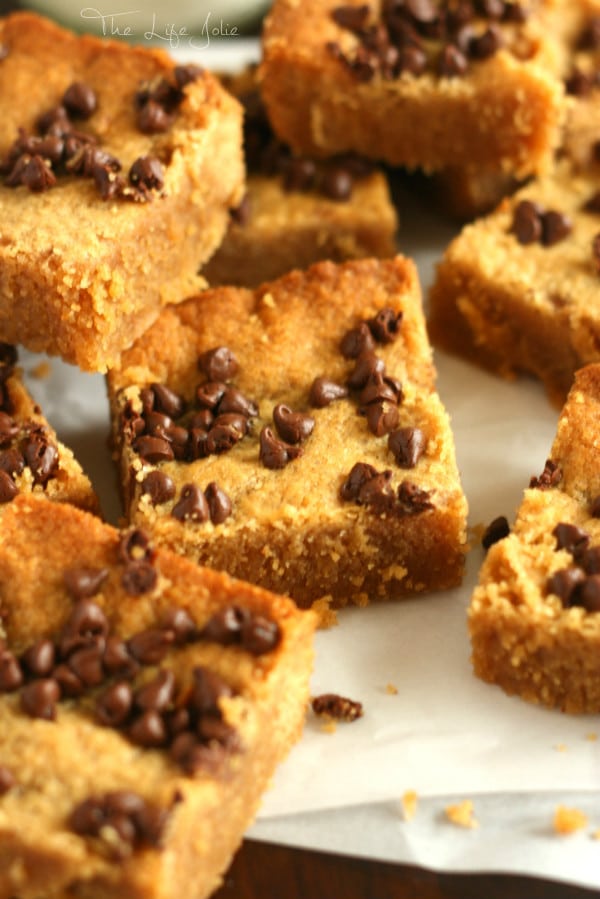
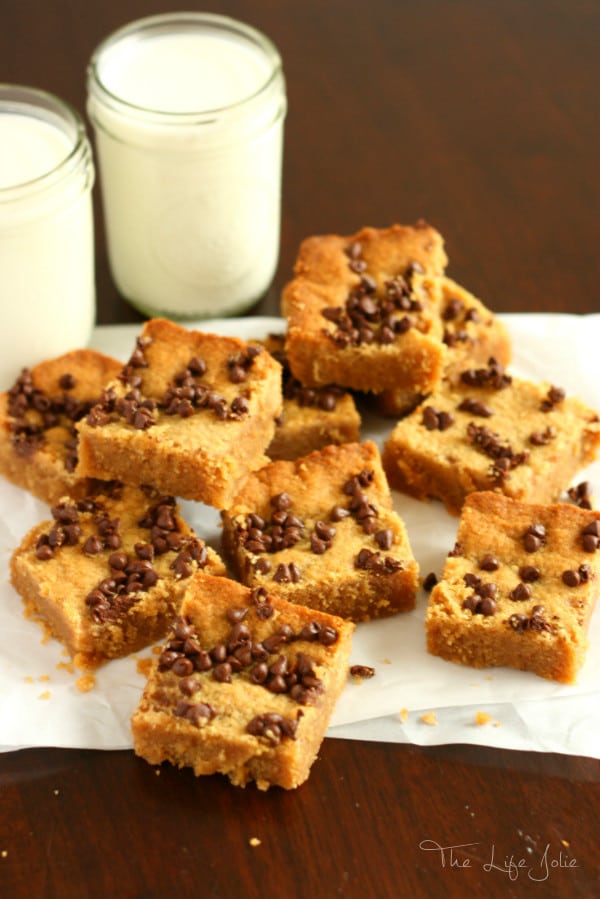
    This Gluten-Free Peanut Butter Bar recipe are super quick and simple to make. It only has five ingredients and the bars are so rich and decadent with everyone's favorite flavor combination; peanut butter and chocolate! This Gluten-Free Peanut Butter Bar recipe are super quick and simple to make. It only has five ingredients and the bars are so rich and decadent with everyone's favorite flavor combination; peanut butter and chocolate!

    These Peanut Butter Bars are extremely rich and decadent. They are not for the faint at heart and are definitely not healthy. But sometimes that's how you gotta roll. It's always nice to have a great gluten-free dessert option that doesn't taste like cardboard (in all fairness, gluten-free recipes and products have gotten so much better over the years!). Either way, give these some love. They're so delicious and a little bit naughty, but in the best way possible!
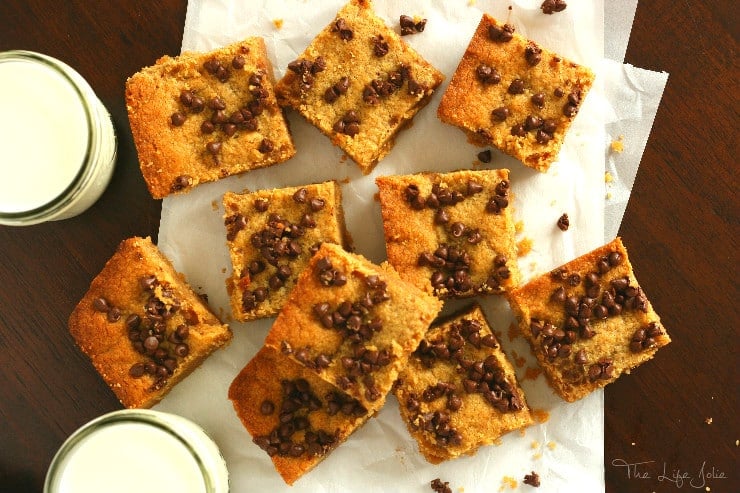
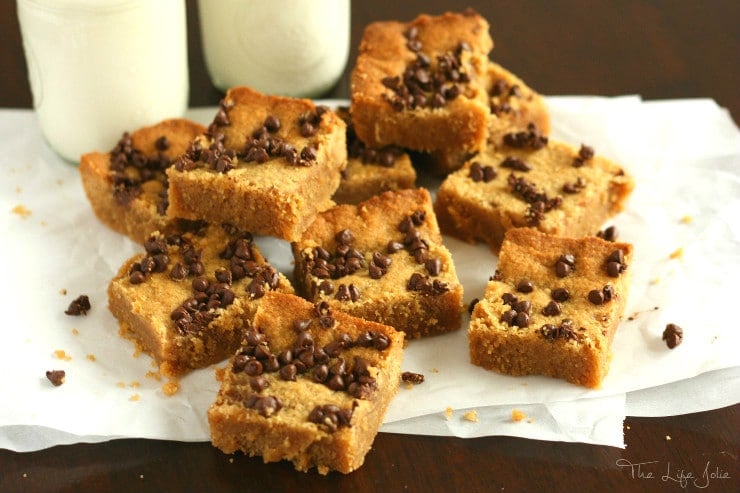
    This Gluten-Free Peanut Butter Bar recipe are super quick and simple to make. It only has five ingredients and the bars are so rich and decadent with everyone's favorite flavor combination; peanut butter and chocolate! This Gluten-Free Peanut Butter Bar recipe are super quick and simple to make. It only has five ingredients and the bars are so rich and decadent with everyone's favorite flavor combination; peanut butter and chocolate!

    Gluten-Free Peanut Butter Bars

    Source: Nick Spicer

    Ingredients:

    • 2 cups of peanut butter
    • 2 cups of sugar
    • 2 eggs
    • 1 pinch of salt
    • ¼ cup of mini chocolate chips

    Preheat your over to 350 degrees.

    Mix the peanut butter, sugar, eggs and salt until well combined. Pour into a greased 9 x 9 pan and spread it evenly. If you're adding chocolate chips, sprinkle them over the top at this point.

    Bake for 30 minutes or until the edges are a bit brown.

    Enjoy!

    You can find a full index of my recipes here.

    Don't forget to follow The Life Jolie on Pinterest for more recipe inspiration!

    Linked up at
    Open Face Tuna Melt

    Apr 19, 2016 · 2 Comments

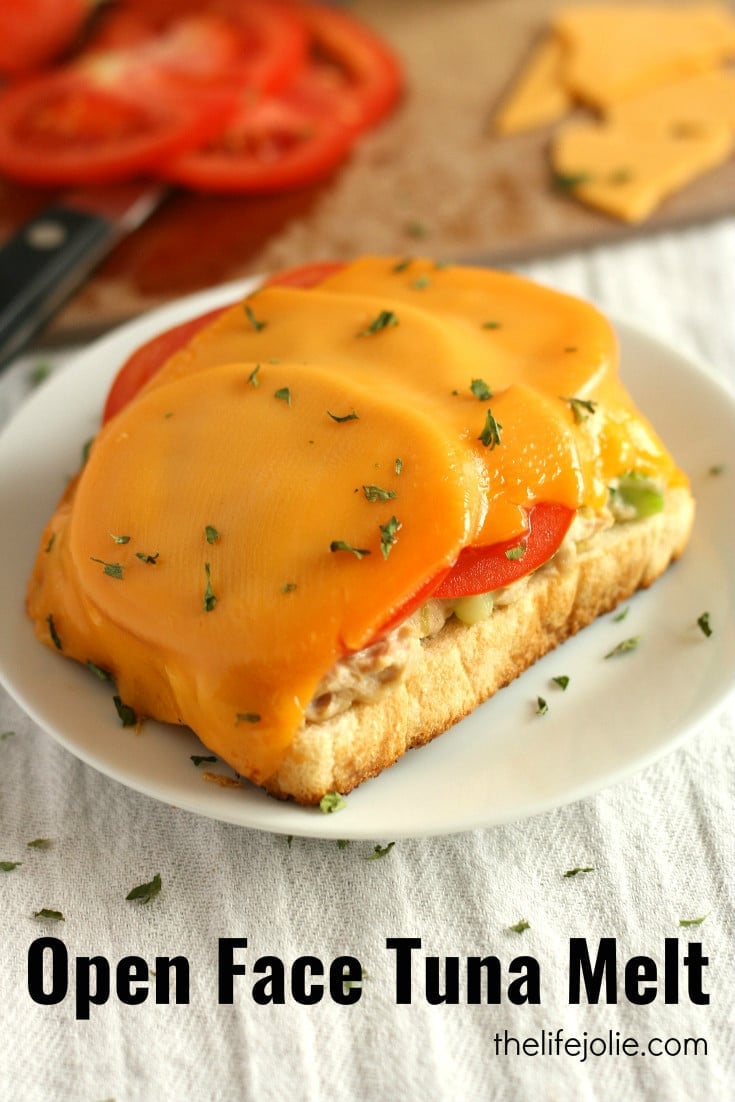
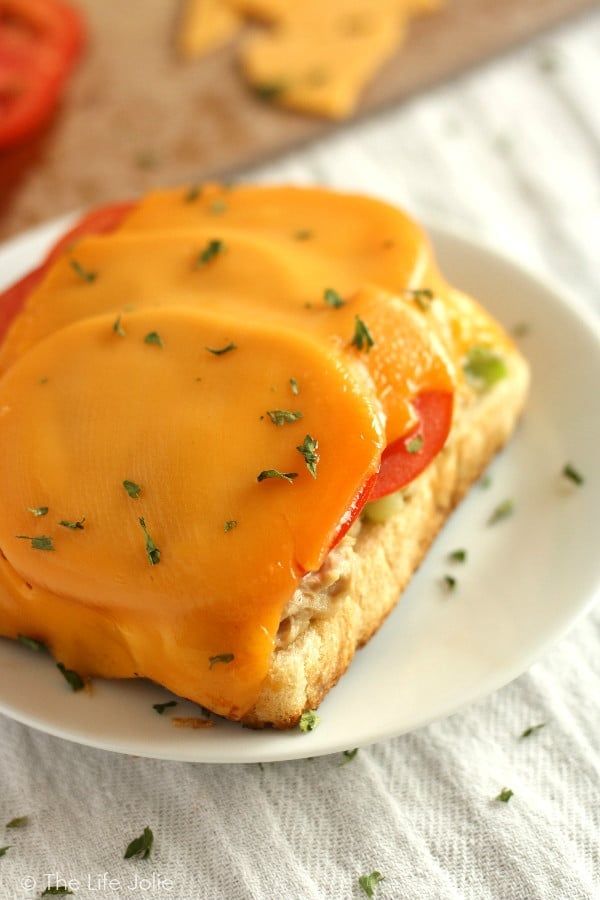
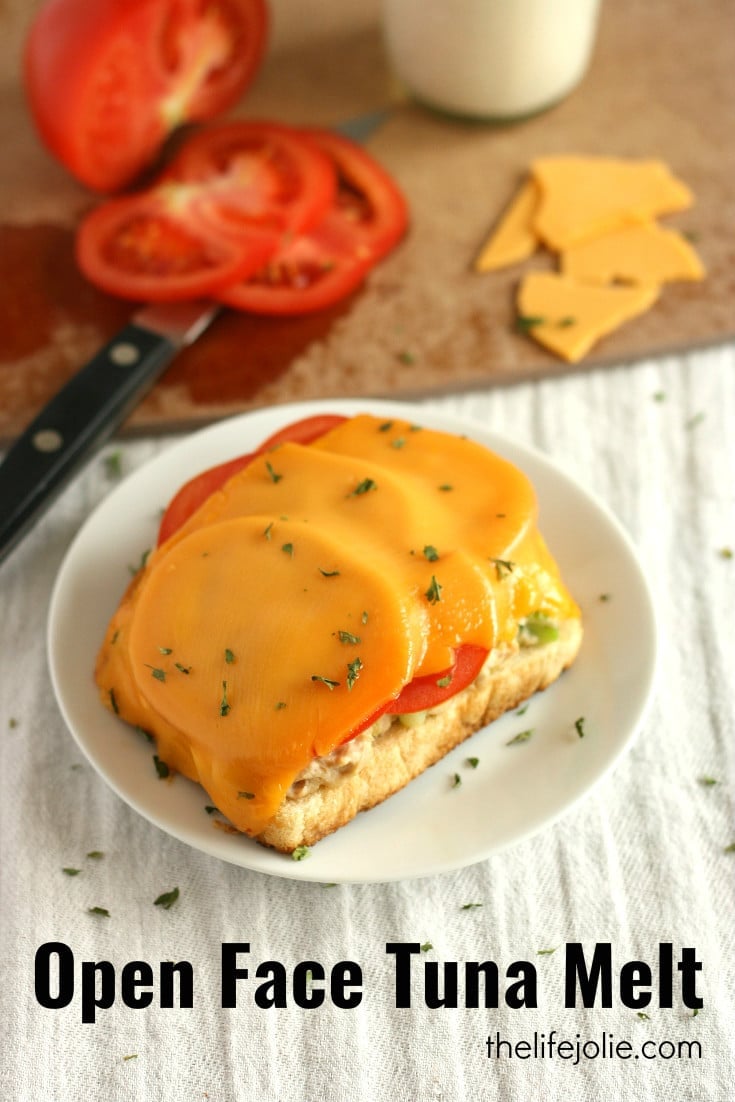
    This Open Face Tuna Melt recipe is super quick and easy to make. It's a simple classic sandwich that makes the most delicious lunch!

    When I was a teenager, one of my earliest jobs was a hostess at a diner around the corner from my parent's house. It's a restaurant owned by two brothers and they have some seriously yummy food! One of my favorite things on their menu is their Tuna Melt. It's so delicious that it became my benchmark for all future Tuna Melts and as they say in Wicked, I have been changed for good (I know, I'm a terrible musical theatre geek!).

    This Open Face Tuna Melt recipe is super quick and easy to make. It's a simple classic sandwich that makes the most delicious lunch!

    There are a few key things that I keep in mind when making a Tuna Melt or any sandwich that involves deliciously-melty cheese:

    1. Butter the outside of the bread in addition to the pan. You can also use mayonnaise on the bread, which also adds a beautiful golden brown crust. But make sure you use butter in the pan because it provides such delicious flavor.
    2. Don't use heat that is too high. You want your cheese to have a chance to melt but if the heat is too high your bread will burn and your sandwich will be ruined (unless you like the burned flavor, in which case carry on).
    3. Cover the pan. While we're on the topic of melty cheese, covering your pan also helps to get the cheese all gooey and amazing. When I worked at restaurants, I've actually seen the cooks squirt a bit of water under the cover to create more steam, but I've never actually tried that myself. So no guarantees if you try that.

    This Open Face Tuna Melt recipe is super quick and easy to make. It's a simple classic sandwich that makes the most delicious lunch!

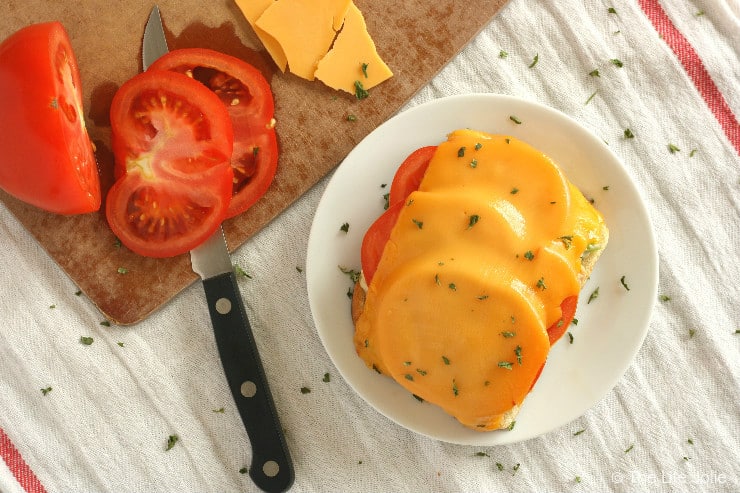
    This sandwich is totally versatile. You can really go in any direction you want with the toppings. I personally prefer mozzarella or a good quality cheddar for maximum melty-awesomeness. I also prefer some thinly sliced tomato on the sandwich and when I'm feeling really crazy I'll sometimes can throw some nice, crispy bacon on it as well (though I usually leave the bacon out because I'm terribly lazy). My preferred bread is sour dough but I often prepare this with regular white bread because it's what's usually available in my kitchen.

    This Open Face Tuna Melt recipe is super quick and easy to make. It's a simple classic sandwich that makes the most delicious lunch!

    So go ahead and make this extra-tasty sandwich for lunch. Maybe serve it with some Tomato Soup to up the comfort factor. It's quick, it's easy and it tastes fantastic!

    This Open Face Tuna Melt recipe is super quick and easy to make. It's a simple classic sandwich that makes the most delicious lunch!


    This Open Face Tuna Melt recipe is super quick and easy to make. It's a simple classic sandwich that makes the most delicious lunch!

    Open-Face Tuna Melt

    Jessy Freimann
    This easy and delicious open-face tuna melt is the perfect light lunch or dinner. Creamy tuna salad on a slice of sourdough bread with crisp bacon, tomato and sharp cheddar cheese.
    No ratings yet
    Print Recipe Pin Recipe
    Prep Time 10 minutes mins
    Cook Time 5 minutes mins
    Total Time 15 minutes mins
    Course dinner, Lunch, Main, Main Course, Main dish
    Cuisine American
    Servings 2 servings
    Calories 801 kcal

    Equipment

    • 1 chefs knife
    • 1 cutting board
    • 1 Fry pan
    • 1 turner
    • 1 Tongs

    Ingredients
      

    • 1 can Tuna fish well drained
    • 2 Tablespoons Mayonnaise
    • 1 Tablespoon sweet relish
    • 1 rib celery diced
    • 4 slices sharp cheddar cheese
    • 1 tomato thinly sliced
    • 6 pieces Bacon fried crisp
    • 2 slices sourdough bread
    • 1 Tablespoon butter

    Instructions
     

    • In a small container, mix drained tuna, mayonnaise, relish and celery until well combined.
    • Melt half the butter in a large fry pan over medium high heat. Toast one side of the bread until golden brown and remove from the pan.
    • Melt the remaining butter and place the bread slices back into the pan, un-toasted side down.
    • Split tuna salad between both slices of bread and top with bacon, tomato and cheese.
    • Cook for 3 minutes and then cover the pan. Cook another 3 minutes until the sandwich is heated through and the cheese is melted. Serve immediately.

    Notes

    This is best eaten right away but leftover last up to 2 days in the refrigerator.

    Nutrition

    Serving: 1servingCalories: 801kcalCarbohydrates: 41gProtein: 29gFat: 58gSaturated Fat: 22gPolyunsaturated Fat: 12gMonounsaturated Fat: 18gTrans Fat: 0.1gCholesterol: 106mgSodium: 1365mgPotassium: 461mgFiber: 3gSugar: 8gVitamin A: 1300IUVitamin C: 9mgCalcium: 457mgIron: 3mg
    Tried this recipe?Let us know how it was!

    Parmesan Roasted Asparagus with Fried Eggs

    Apr 11, 2016 · 4 Comments

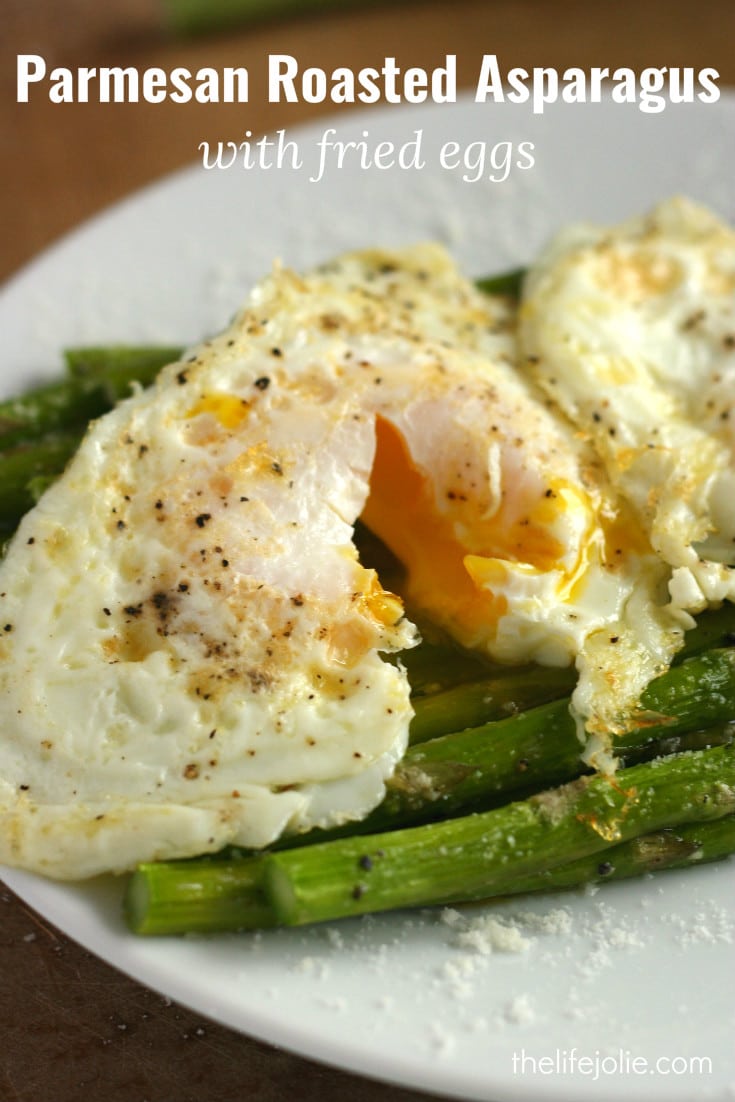
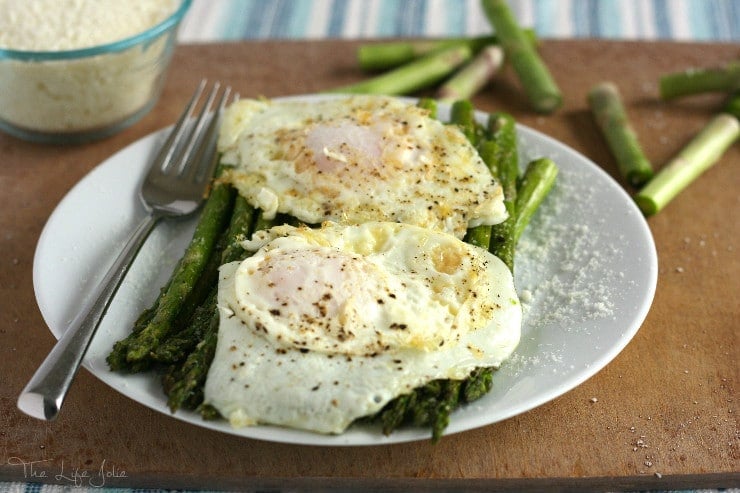
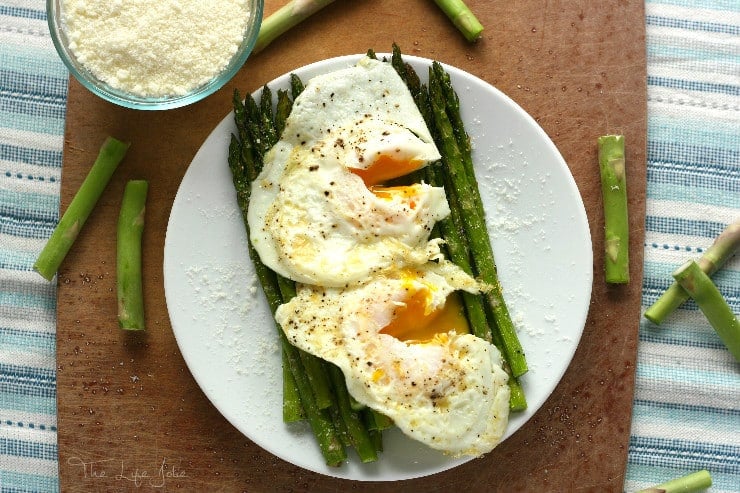
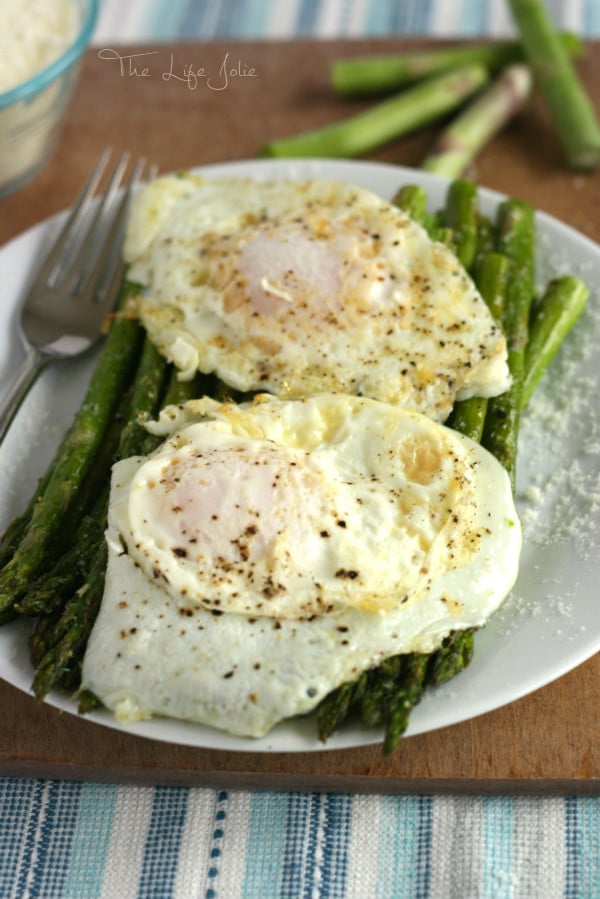
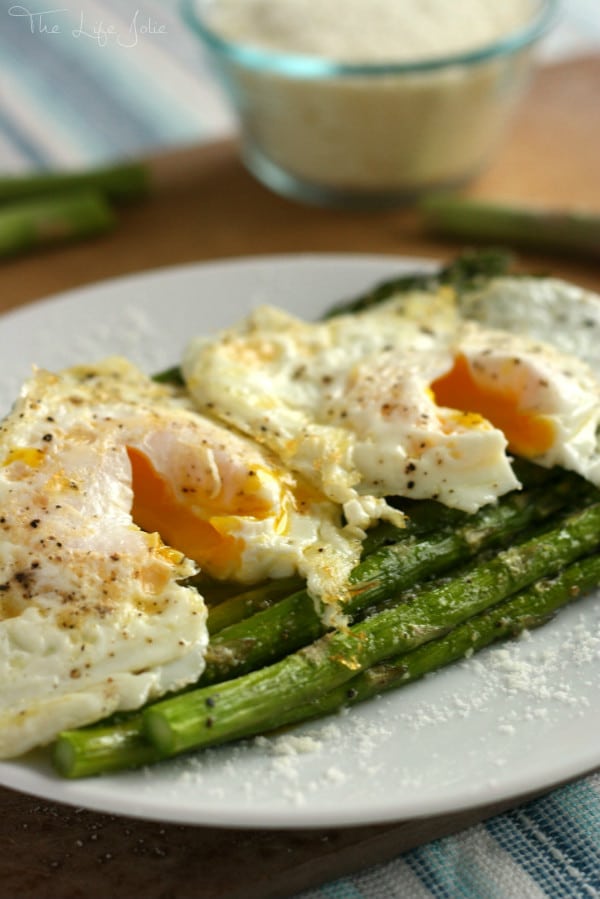
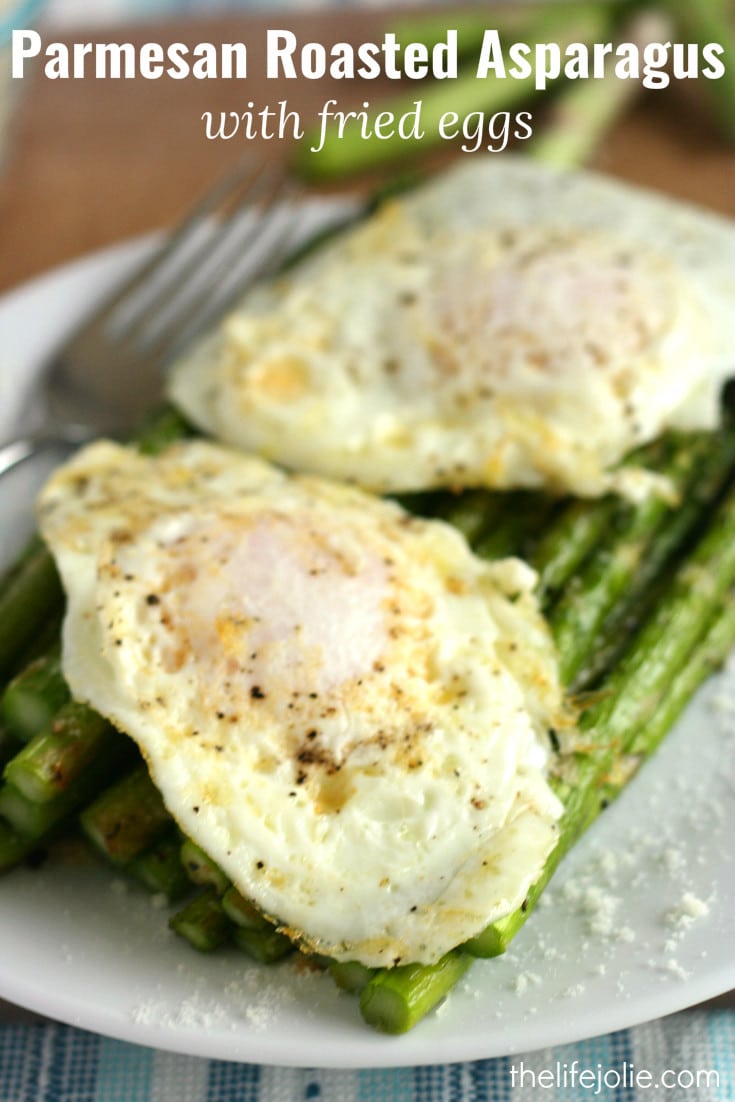
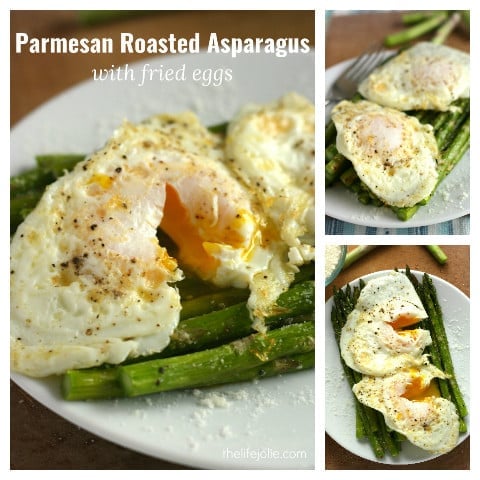
    Parmesan Roasted Asparagus with Fried Eggs and is a super delicious and easy meatless recipe! The asparagus roasts beautifully in the oven and the eggs add a decadence that make this a beautiful appetizer or entree.

    Before we had kids, there would sometimes be nights when J would have a work event or a night with the guys and I would be on my own for dinner. This is never a problem for a gal who likes to eat everything and happens to be married to a seriously picky eater (although I did miss his company, of course!). Some nights I'd make myself fancier, more involved entrees. But on many nights I really enjoyed keeping it simple. This Parmesan Roasted Asparagus with Fried Eggs was frequently my go-to.

    Parmesan Roasted Asparagus with Fried Eggs and is a super delicious and easy meatless recipe! The asparagus roasts beautifully in the oven and the eggs add a decadence that make this a beautiful appetizer or entree.

    There is just something so simple yet luxurious about perfectly fried eggs served atop roasted asparagus. The Parmesan cheese (or in my case Romano, as that's what I tend to have on hand) adds a bit of salty goodness and the runny yoke brings a decadence that elevates the entire dish.

    Parmesan Roasted Asparagus with Fried Eggs and is a super delicious and easy meatless recipe! The asparagus roasts beautifully in the oven and the eggs add a decadence that make this a beautiful appetizer or entree.

    Parmesan Roasted Asparagus with Fried Eggs and is a super delicious and easy meatless recipe! The asparagus roasts beautifully in the oven and the eggs add a decadence that make this a beautiful appetizer or entree.

    I usually make this with toast and sometimes Sauteed Mushrooms, but it is also a delicious meal on its own! It comes together pretty quickly and goes really nicely with a glass of dry red wine. It would also be a lovely appetizer or even a tasty breakfast.

    Parmesan Roasted Asparagus with Fried Eggs and is a super delicious and easy meatless recipe! The asparagus roasts beautifully in the oven and the eggs add a decadence that make this a beautiful appetizer or entree.

    Parmesan Roasted Asparagus with Fried Eggs and is a super delicious and easy meatless recipe! The asparagus roasts beautifully in the oven and the eggs add a decadence that make this a beautiful appetizer or entree.

    Parmesan Roasted Asparagus with Fried Eggs

    Source: The Life Jolie

    Ingredients:

    • 1 bunch of asparagus, cleaned and trimmed
    • Olive oil
    • Salt
    • Pepper
    • Parmesan or Romano Cheese
    • Eggs

    Preheat the oven to 375 degrees.

    Line a pan with foil (for easy clean up) and grease it with cooking spray.

    Spread your asparagus into a single layer on your pan. Drizzle with olive oil and season generously with salt, pepper and cheese.

    Roast of 15-20 minutes (depending on the thickness of the asparagus) or until fork tender. The tops will be a bit brown without being burned.

    While the asparagus roasts, fry your eggs to your preferred level of doneness (I enjoy over easy so that it's just done enough for the whites to be cooked through with the yokes still runny). Season with salt and pepper to taste.

    When the asparagus is done, transfer it to a plate and top it with your eggs. If you're feeling frisky, add another sprinkle of cheese and dig in while it's still hot.

    Enjoy!

    You can find a full index of my recipes here.

    Don't forget to follow The Life Jolie on Pinterest for more recipe inspiration!

    Linked up at
    Parmesan Roasted Asparagus with Fried Eggs and is a super delicious and easy meatless recipe! The asparagus roasts beautifully in the oven and the eggs add a decadence that make this a beautiful appetizer or entree.

    Salted Cranberry and Pistachio Bark

    Dec 21, 2015 · 10 Comments

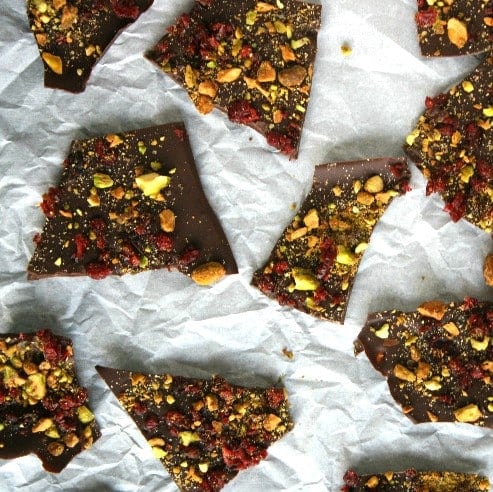
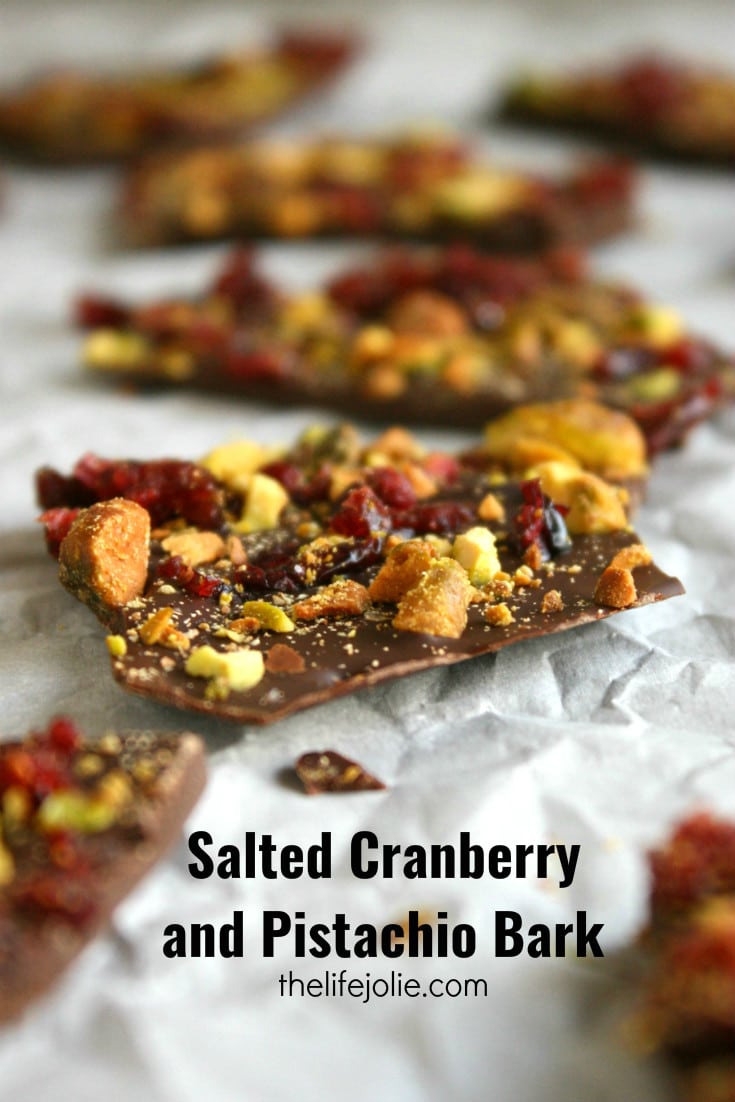
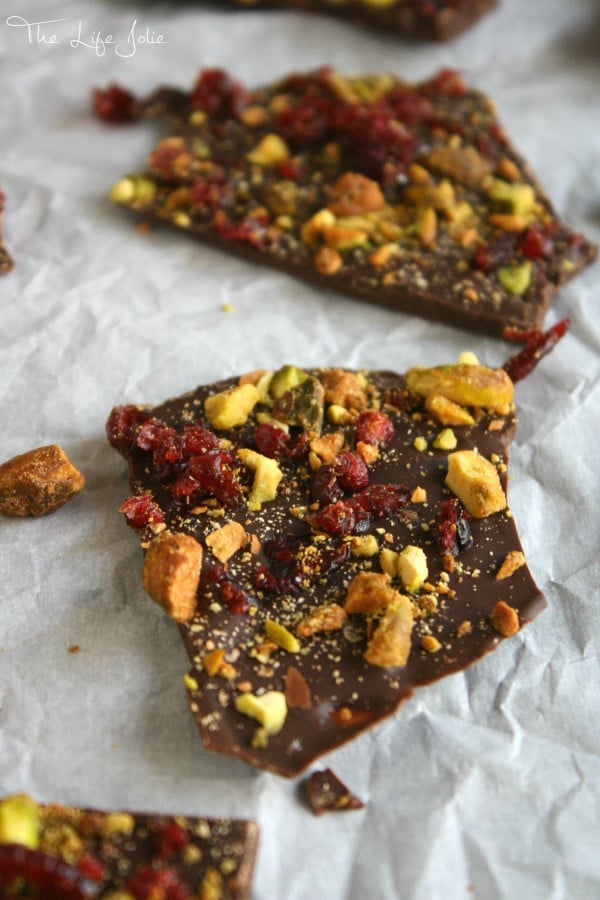
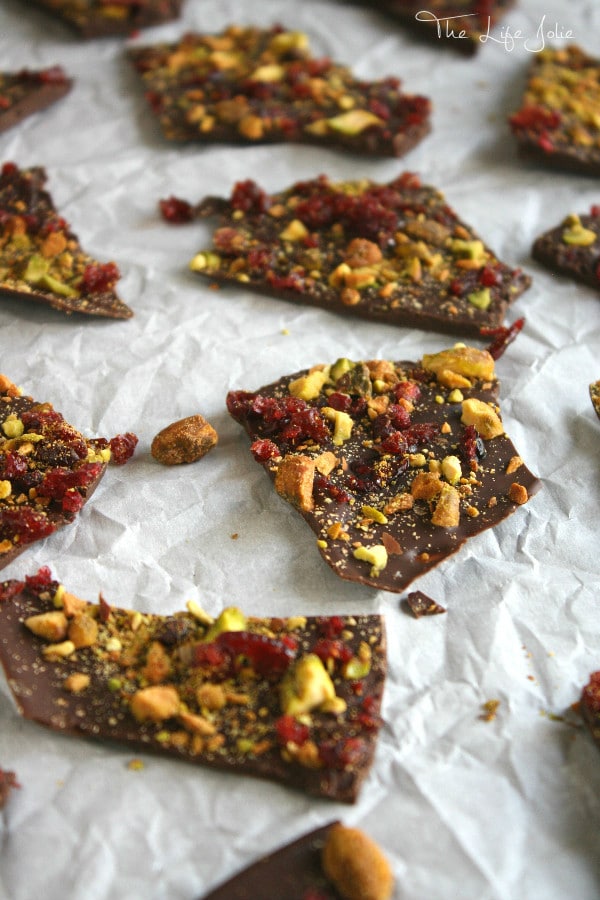
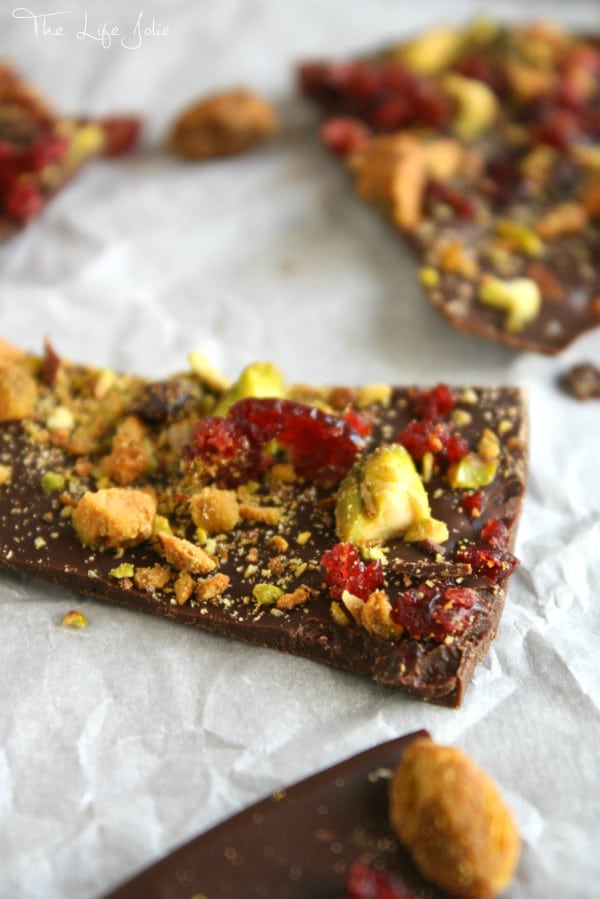
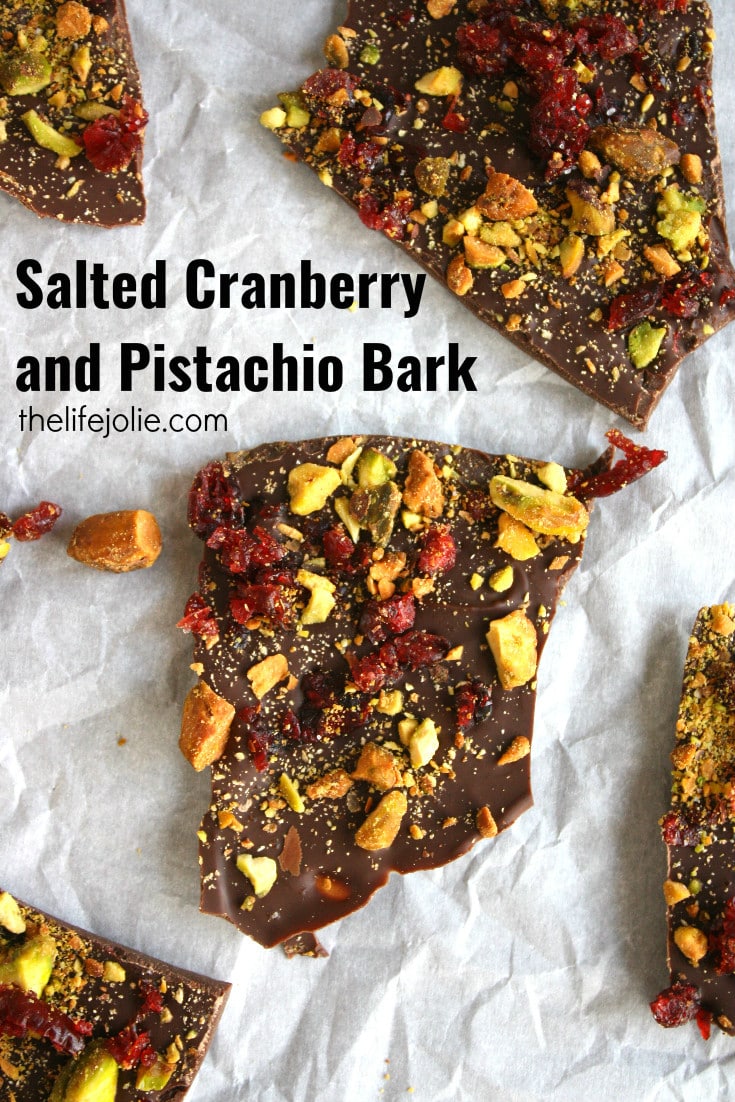
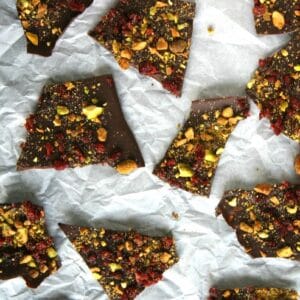
    This Salted Cranberry and Pistachio Bark could not be more delicious! It's insanely easy to make and the salty-sweet flavor combination cannot be beat! I'll definitely be making this over and over again!

    This Salted Cranberry and Pistachio Bark recipe could not be more delicious! It's insanely easy to make and the salty-sweet flavor combination cannot be beat! It's perfect for the holidays and makes a great gift!

    This post contains Affiliate Links. Please see the disclaimer here.

    One of the quintessential candy items that I come across so much during the holidays is bark. While I've never made it, my mom has many times and it's always so delicious! I tend to steer clear of the usual peppermint bark because although I love the mint/chocolate flavor combo, I'm really not a white chocolate fan. But I've been loving the idea of creating bark with a different flavor profile, in this case Salted Cranberry and Pistachio Bark.

    This Salted Cranberry and Pistachio Bark could not be more delicious! It's insanely easy to make and the salty-sweet flavor combination cannot be beat! I'll definitely be making this over and over again!

    To me, Cranberries and Pistachios scream holidays. There's something about the tart, flavor in the cranberries mixed with the crunchy, salty pistachios that I find myself going back to again and again! So of course they were a natural addition to my bark.

    This Salted Cranberry and Pistachio Bark could not be more delicious! It's insanely easy to make and the salty-sweet flavor combination cannot be beat! I'll definitely be making this over and over again!

    When choosing the chocolate for the bark, I opted for a nice, high-quality dark chocolate because dark chocolate will always have my heart. I love the dry, almost fruity notes that you find in dark chocolate; the complexity is everything to me and pairs so nicely with the cranberries. I find most barks to be too thick so I kept the chocolate on the lighter side. If you like a more traditionally thick bark, you'll simply double the amount of chocolate in my recipe.

    This Salted Cranberry and Pistachio Bark could not be more delicious! It's insanely easy to make and the salty-sweet flavor combination cannot be beat! I'll definitely be making this over and over again!

    But the real clincher in this is the salt. Now I'm not one to dump salt on everything I eat (at least try it first!). But the salty-sweet flavor combo is such a win in so many ways that I couldn't resist sprinkling a tiny bit of sea salt over the top. I think flake salt is ideal for this, but it was 9pm when I made this and my sea salt was finely ground. I made a point to sprinkle it on sparingly from a decent height so that it spread out well instead of concentrating a large amount of salt in one spot.

    This Salted Cranberry and Pistachio Bark could not be more delicious! It's insanely easy to make and the salty-sweet flavor combination cannot be beat! I'll definitely be making this over and over again!

    Less is totally more in this case and it came out beautifully! The salt added a great savory note that really elevated this bark! This can absolutely be made in advance and frozen (speaking from experience- that seems to be the refrain of my Christmas baking each year!). It's a lovely addition to any cookie platter!

    This Salted Cranberry and Pistachio Bark could not be more delicious! It's insanely easy to make and the salty-sweet flavor combination cannot be beat! I'll definitely be making this over and over again!

    Some of my other favorite Christmas Cookie recipes are:

    Neapolitan Cookies

    Slice and Bake Cookies

    Pecan Tarts

    Sour Cream Cookies

    Helpful Tools:

    Pyrex Bowl

    Mini-prep processor

    This Salted Cranberry and Pistachio Bark could not be more delicious! It's insanely easy to make and the salty-sweet flavor combination cannot be beat! I'll definitely be making this over and over again!

    Salted Cranberry and Pistachio Bark

    Jessy Freimann
    This Salted Cranberry and Pistachio Bark recipe could not be more delicious! It's insanely easy to make and the salty-sweet flavor combination cannot be beat! It's perfect for the holidays and makes a great gift!
    No ratings yet
    Print Recipe Pin Recipe
    Prep Time 10 minutes mins
    Cook Time 10 minutes mins
    Total Time 20 minutes mins
    Course Dessert

    Ingredients
      

    • ½ cup of dried cranberries chopped
    • ¼ cup of shelled pistachios chopped
    • 12 oz. of high quality dark chocolate chopped (double this if you want a more traditionally thick bark)
    • Flake salt to taste use a light hand on this- less is more!

    Instructions
     

    • In a double boiler (or a heat-proof bowl over a simmering pot) melt your chocolate over medium heat, stirring frequently. Slow and steady wins the race when it comes to melting chocolate. If the heat is too high or if any water makes it's way into the chocolate, it will seize and take on a very undesirable clay-like quality. If this happens, you'll need to start over (you can still use the seize chocolate for recipes that involve adding chocolate to bake- but it won't be good for this purpose any longer).
    • Once the chocolate is melted, spread it into a thin layer on a parchment-lined baking pan.
    • Sprinkle with the cranberries and pistachios and then very lightly sprinkle with salt. Chill for several hours or until solid and break into pieces. Enjoy!
    Tried this recipe?Let us know how it was!

    You can find a full index of my recipes here.

    Don't forget to follow The Life Jolie on Pinterest for more recipe inspiration!

    Linked up at
    Spinach and Feta Stuffed Bread Christmas Tree

    Dec 14, 2015 · 17 Comments

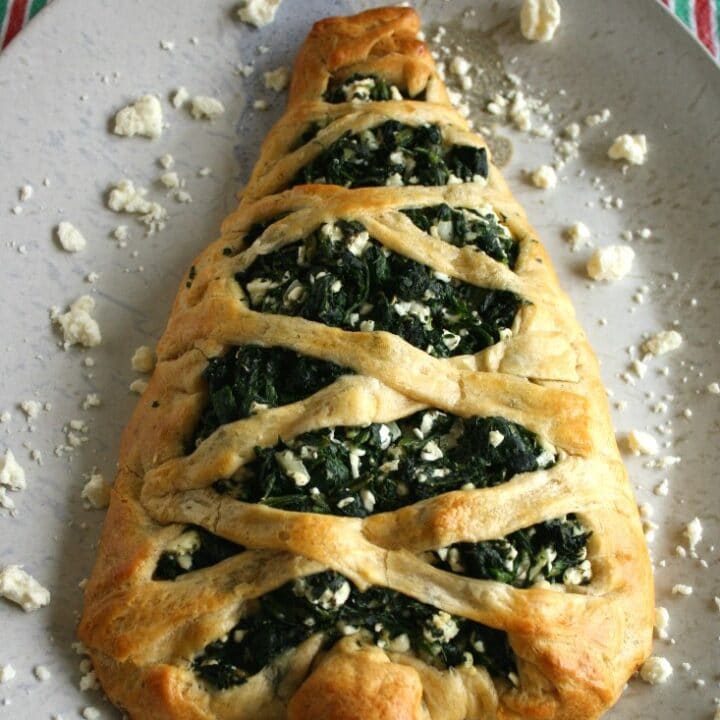
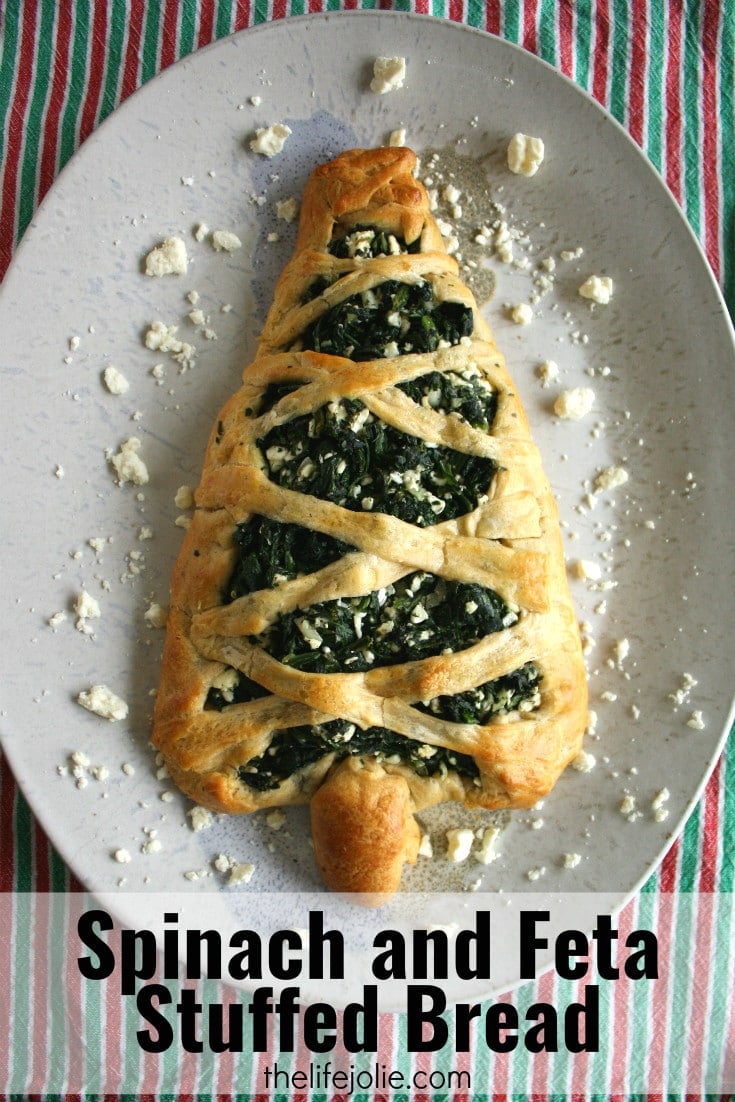
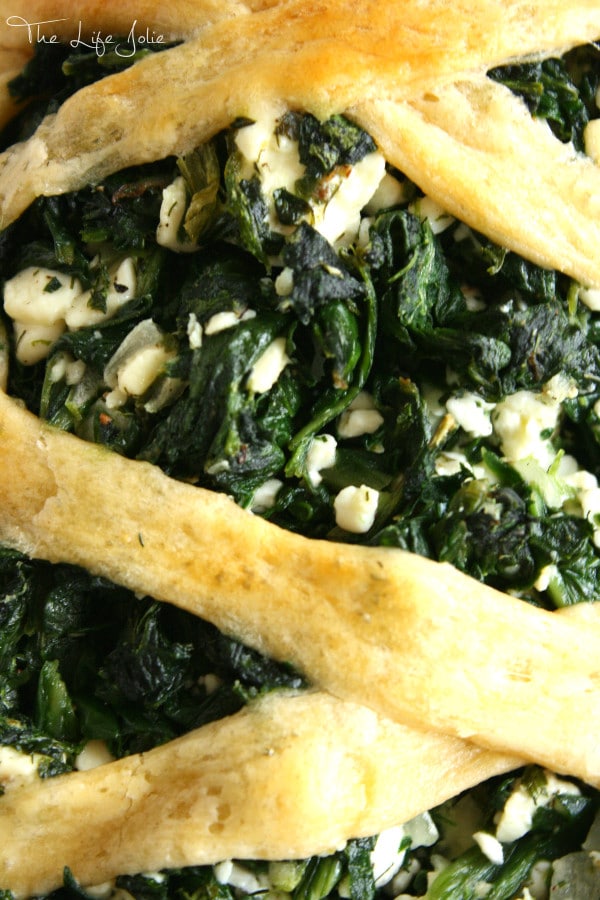
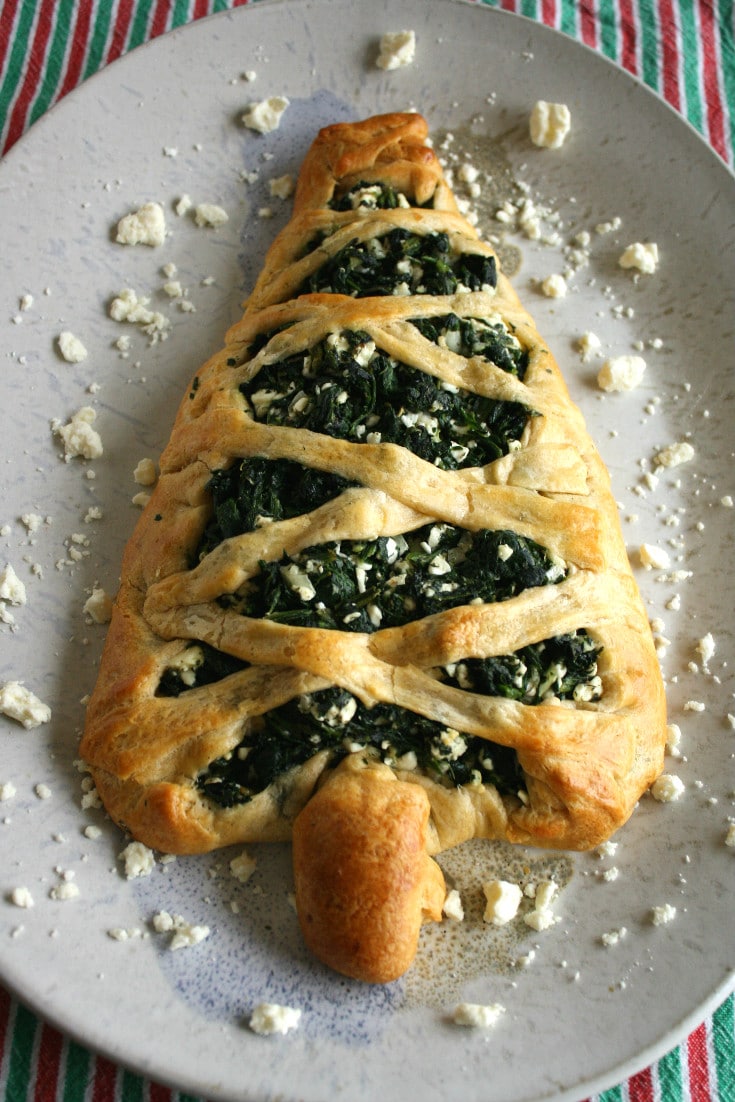
    This Spinach and Feta stuffed bread is so easy to make and has the most delicious flavor. It makes a lovely holiday Christmas Tree appetizer or can be in the form of a regular stuffed bread any other time of year!

    This Spinach and Feta stuffed bread is so easy to make and has the most delicious flavor. It makes a lovely holiday Christmas Tree appetizer or can be in the form of a regular stuffed bread any other time of year!

    Don't you just love the Spinach and Feta flavor combo? I am such a fan of all things Spinach and Feta so of course I just had to make a Spinach and Feta Stuffed Bread and shape it like a Christmas Tree!

    This Spinach and Feta stuffed bread is so easy to make and has the most delicious flavor. It makes a lovely holiday Christmas Tree appetizer or can be in the form of a regular stuffed bread any other time of year!

    From the first time I tasted Spanikopita, at a street fair in NYC, I was hooked. There's just something so perfect abut spinach when it takes of the flavor of the delicious herbs and spices you mix in and the strong, salty flavor if the feta cheese. Anytime I see food made with that combination, I can't help but get some of whatever it is. Oddly, I never tried to replicate it. Until now.

    After the success of the awesome Buffalo Chicken Braid that I made, I've been thinking about making another braid with a different flavor profile. And being that Christmas is right around the corner, the natural next step seemed to be the Spinach and Feta combo shaped into a Christmas tree because I'm corny like that.

    This Spinach and Feta stuffed bread is so easy to make and has the most delicious flavor. It makes a lovely holiday Christmas Tree appetizer or can be in the form of a regular stuffed bread any other time of year!

    While I generally have to tweek recipes that I create a few times before I have the final measurements, I can proudly state that I knocked the flavors on this one out of the park on the first go-around. I love the delicious flavor of the spinach and feta mixture! Make sure you err on the cautious side in terms of baking time. At 25 minutes the bottom wasn't fully done so I had to put it in for a few more. Every oven is different.

    This Spinach and Feta stuffed bread is so easy to make and has the most delicious flavor. It makes a lovely holiday Christmas Tree appetizer or can be in the form of a regular stuffed bread any other time of year!

    Spinach and Feta Stuffed Bread Christmas Tree

    Source: The Life Jolie (please note: if you want to do this as a non-tree shaped bread, you'll refer to this recipe for baking time and shaping the dough and you'll used a crescent roll sheet).

    Ingredients:

    • 1 12 oz. package of frozen Spinach, thawed and rung out well to remove extra water (I wrapped it in some paper towel to do this- I'd imagine a cheese cloth would be even better)
    • ¼ cup of finely diced onions
    • ¾ cup of crumbled Feta cheese
    • ⅓ of a cup of cottage cheese
    • 2 tbsp. of olive oil
    • 1 tsp. of dried parsley
    • ½ tsp. of dried dill
    • ¼ tsp. of black pepper
    • ½ tsp. of sea salt
    • ⅛ tsp. of nutmeg
    • 1 package of crescent rolls
    • 1 egg mixed with a Tbsp. or two of water

    Preheat your oven to 350 degrees.

    In a bowl, mix the first 10 ingredients until well combined. Set aside.

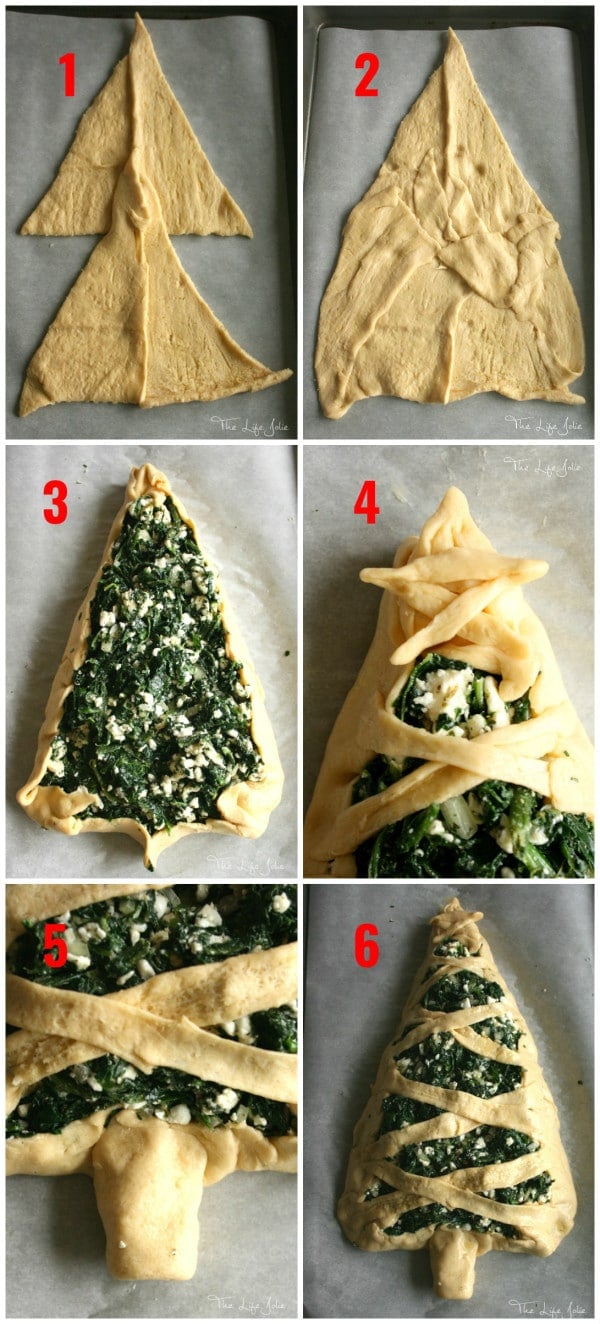
    On an ungreased, parchment lined pan, lay out 4 pieces of your crescent roll dough to that it forms two triangles on top of each other (as per step 1 in the below photo).

    Add two more pieces of crescent toll dough flipped vertically to the bottom triangle. This should make your two triangles look like one large one (as per step 2 in the below photo). Use a rolling pin to press them together and flatten it tightly.

    Place the spinach mixture onto the dough leaving an inch or two around the edges. Fold these edges up and around the edges of the spinach mixture (as per step 3 in the below photo).

    Cut the remaining two pieces of crescent roll dough into strips, using them to make criss-crosses over the rest of the tree, a star for the top and a stump for the bottom. Press these all into place (as per steps 3, 4 and 5 in the below photo. Your tree should look like step 6 at this point).

    Using a pastry brush, lightly brush the dough parts of the tree with your egg wash. Bake for 30-35 minutes or until to dough is golden brown and the bottom is baked through (check it very carefully using a spatula, I had more issues with the bottom in the tree shape than the regular braid shape, so make sure you give it enough time). Serve right away or refrigerate until ready.

    Enjoy!

    This Spinach and Feta stuffed bread is so easy to make and has the most delicious flavor. It makes a lovely holiday Christmas Tree appetizer or can be in the form of a regular stuffed bread any other time of year!

    Make it a meal!

    A few great recipes to round out and complete this meal are:

    • Pomegranate and Thyme Baked Brie Appetizer
    • Easiest Ever Hot Artichoke Dip
    • Orange Rosemary Oven Roast Turkey
    • Whole Roasted Chicken
    • Savory Sweet Potato Casserole
    • Homemade Cranberry Sauce
    • Chocolate Crinkle Cookies
    • Peppermint Ice Cream Pie
    • Puff Pastry Breakfast Pizza

    You can find a full index of my recipes here.

    Don't forget to follow The Life Jolie on Pinterest for more recipe inspiration!

    Linked up at
    How to Roast Chestnuts

    Dec 9, 2015 · 8 Comments

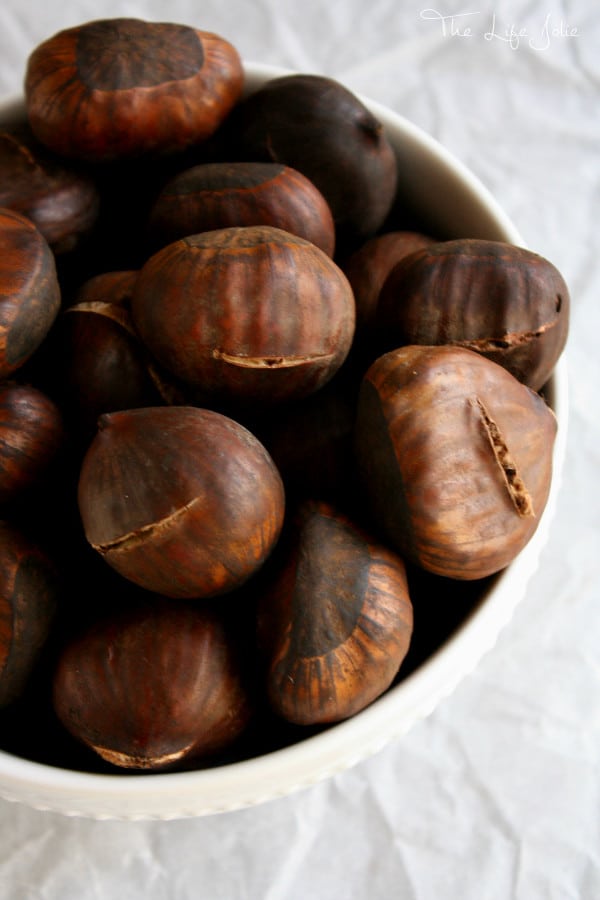
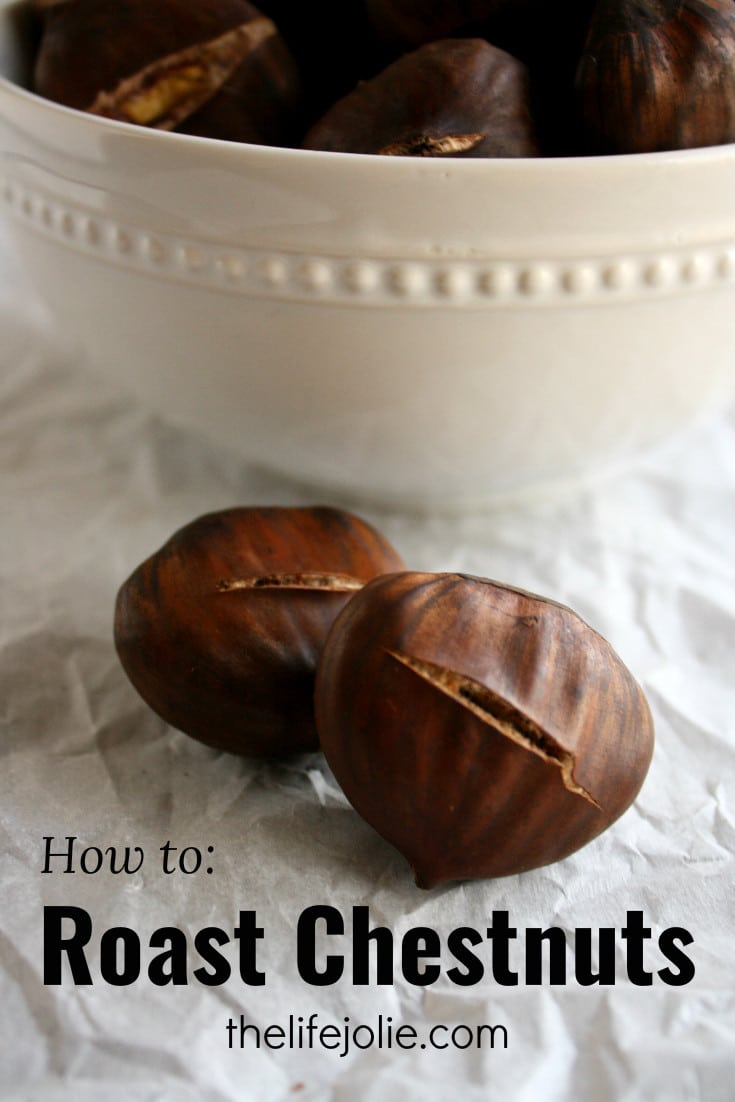
    Roasting Chestnuts is not as hard as it seems- it's actually pretty simple. THis tutorial has some simple directions for how to roast Chestnuts!

    Roasting Chestnuts is not as hard as it seems- it's actually pretty simple. This tutorial has some simple directions for how to roast Chestnuts- it's perfect for Thanksgiving and Christmas to warm you up in the cold weather!

    This post contains Affiliate Links. Please see the disclaimer here.

    My dad doesn't often cook. I'm pretty sure he can, and he certainly made a point to sit down with my Grandma Rose and learn to make her amazing sauce before she passed (it may or may not be in the safe deposit box and with good reason!). When we were kids, he would make us "Daddy Specials" which often consisted of putting some sliced salami on a piece of bread and folding it over into a sandwich or grilled cheese with tomatoes and sometimes bacon. And for as long as I could remember, we always knew winter was here because my dad would roast chestnuts.

    Roasting Chestnuts is not as hard as it seems- it's actually pretty simple. THis tutorial has some simple directions for how to roast Chestnuts!

    In general, I've always been down with trying various nuts (that's what she said!). As a kid, the aspect of cracking into and removing the shells made me feel like an adult and that was so cool. This made me much more open to tasting different types of nuts and Chestnuts quickly became a favorite. There's something about the softer, chewier texture combined with the ever-so-slightest sweet note that makes Chestnuts feel like such a treat.

    Roasting Chestnuts is not as hard as it seems- it's actually pretty simple. THis tutorial has some simple directions for how to roast Chestnuts!

    Oddly, it wasn't until just recently that I made them on my own. I'm assuming it's because my Dad always seems to have some roasted to perfection and ready to go. And he is always willing to share them with me so who am I to say no?

    The other day, I saw the giant Italian Chestnuts at the grocery store and I couldn't resist buying them. Luckily, Dad was more than willing to share his tips on how to roast chestnuts and even let me borrow their Chestnut Knife (this guy will work even better!). I strongly encourage you to grab one of these because you have to score the chestnuts to keep them from bursting under the heat and it's very easy to get cut when doing this with a regular knife.

    Roasting Chestnuts is not as hard as it seems- it's actually pretty simple. THis tutorial has some simple directions for how to roast Chestnuts!

    Either way, give them a shot- they're dangerously addictive in the best way possible and make a great snack while you're listening to Christmas carols by your beautifully decorated tree (or basking in the glow of the menorah). Bonus points if you manage to roast them over an open fire, as the song says. I just stick with my good-old-oven.

    Roasting Chestnuts is not as hard as it seems- it's actually pretty simple. THis tutorial has some simple directions for how to roast Chestnuts!

    Other great holiday recipes:

    Neapolitan Cookies

    Slice and Bake Cookies

    Pecan Tarts

    Sour Cream Cookies

    Helpful Tools:

    Chestnut Knife (or this one is great too!)

    Roasting Chestnuts is not as hard as it seems- it's actually pretty simple. THis tutorial has some simple directions for how to roast Chestnuts!

    How to Roast Chestnuts

    Jessy Freimann
    No ratings yet
    Print Recipe Pin Recipe

    Ingredients
      

    • Chestnuts

    Instructions
     

    • How To Roast Chestnuts
    • When choosing your chestnuts, avoid nuts that have small holes in them, which could indicate worms. The chestnuts should be firm and solid and not feel squishy with air between the shell and the meat because that would indicate that they're old and that there could be mold in them.
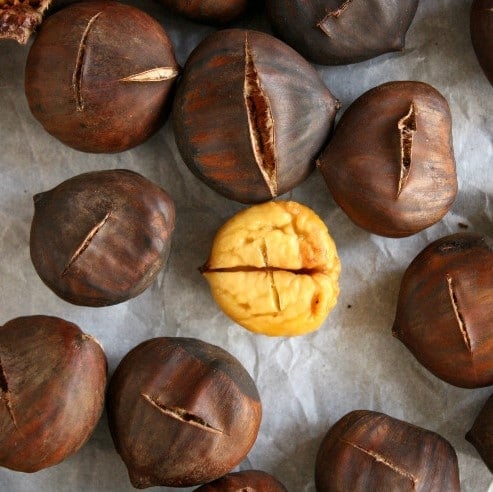
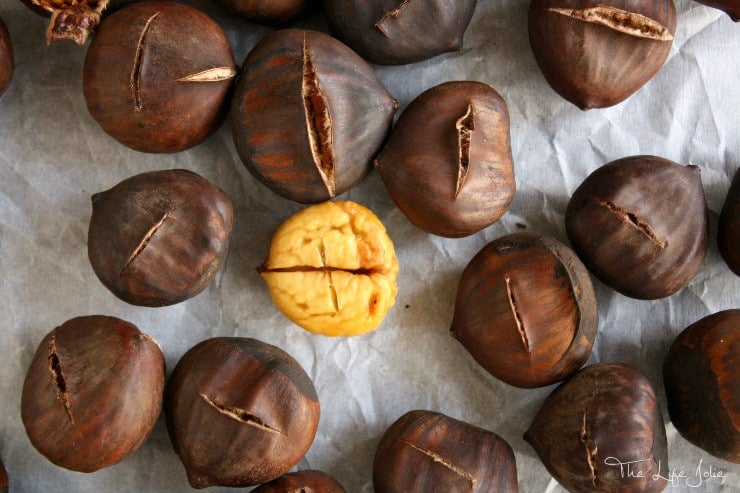
    • You'll want to make sure that you score the flat side of the chestnut with a knife (or better yet, the chestnut knives linked above) to keep the nuts from bursting under the heat of the oven.
    • Preheat your oven to 400 degrees.
    • Spread the chestnuts on a baking sheet, with the scored sides up.
    • Cooking time will vary based on the size of the nuts- I baked mine for 30 to 40 minutes because they were very large. I would check smaller nuts starting at 15 minutes and go from there.
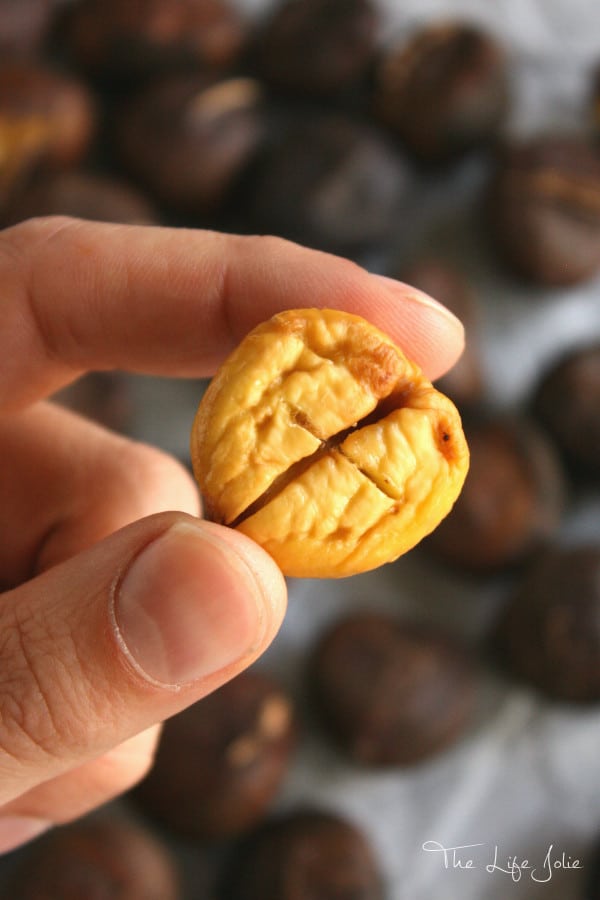
    • You can tell that they're done because the shell around the peeled area begins to peel back a bit.
    • Once they're done, you'll peel off the shell and the fuzzy, papery skin and enjoy!
    Tried this recipe?Let us know how it was!

    You can find a full index of my recipes here.

    Don't forget to follow The Life Jolie on Pinterest for more recipe inspiration!

    Linked up at
    Bacon Jalapeno Ranch Crescents

    Nov 16, 2015 · 18 Comments

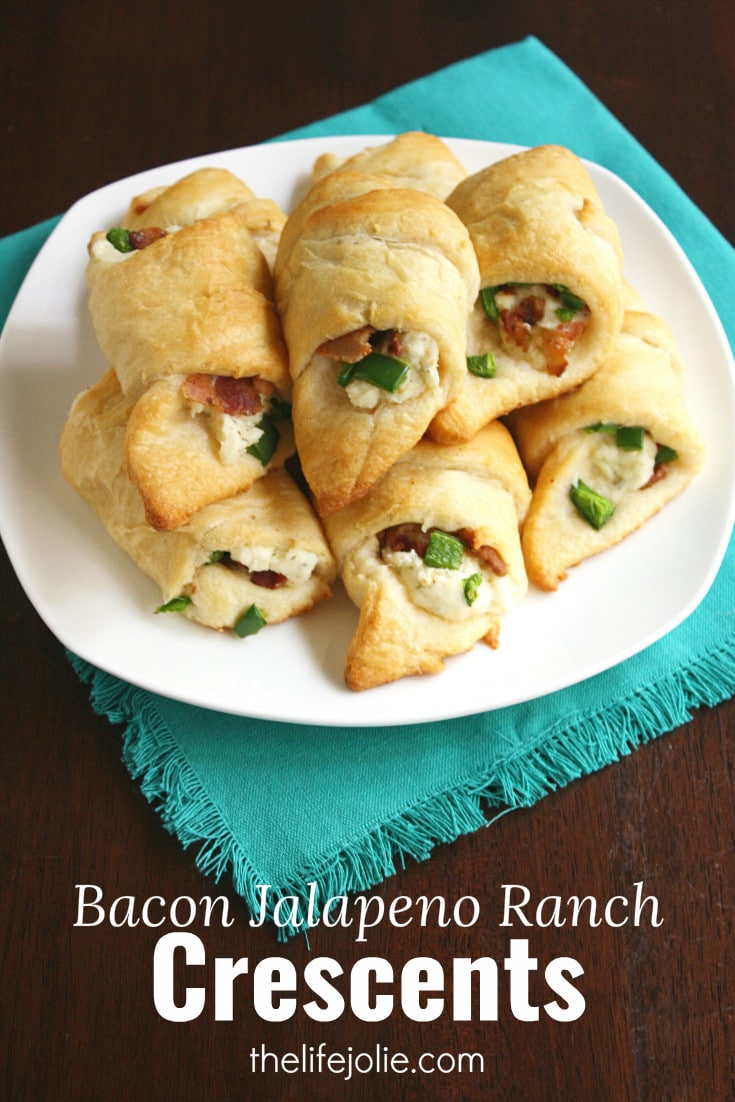
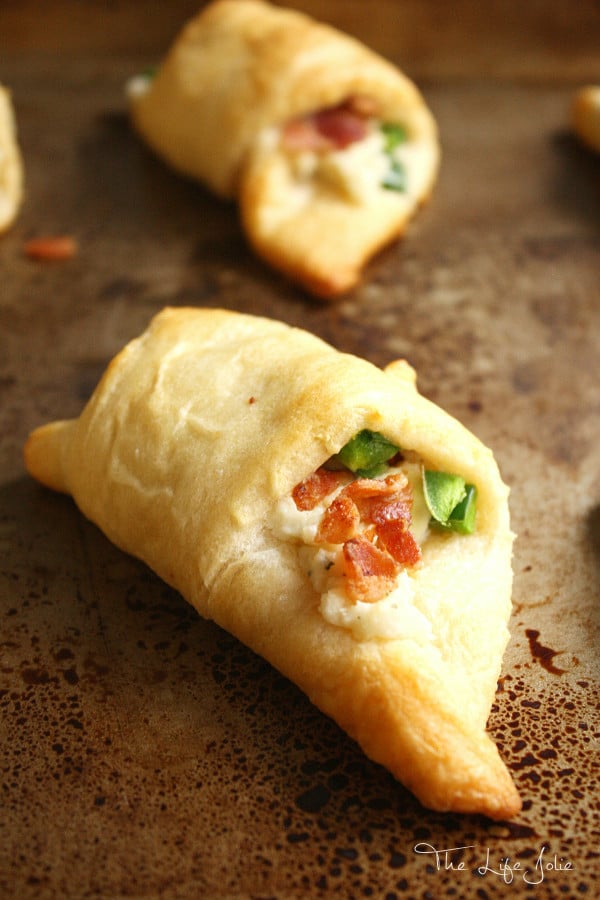
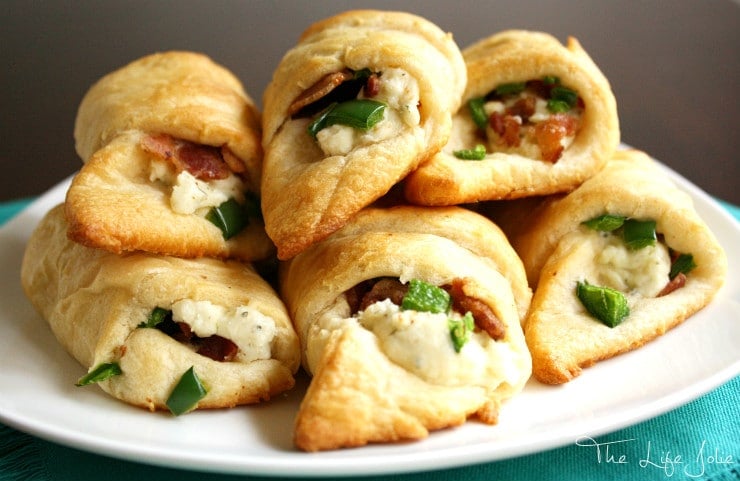
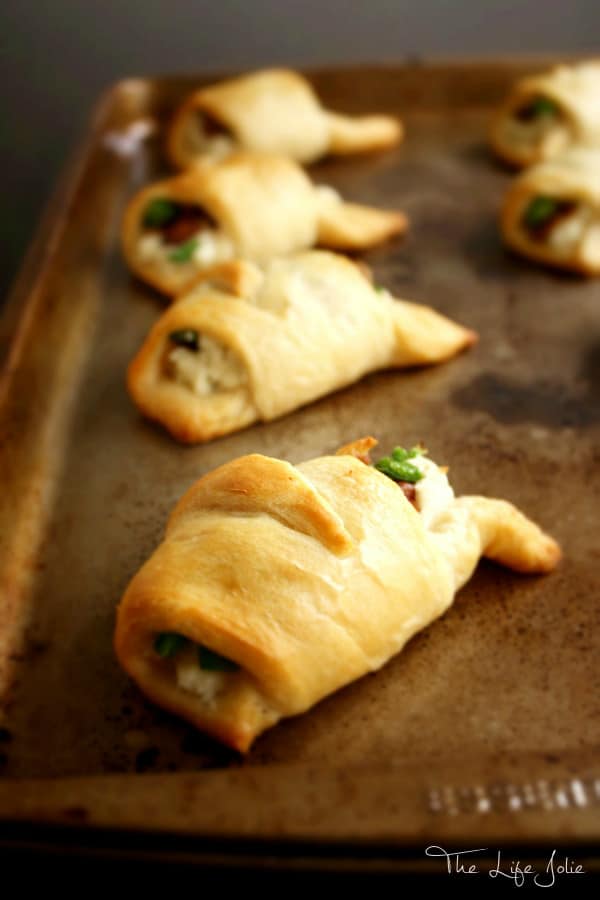
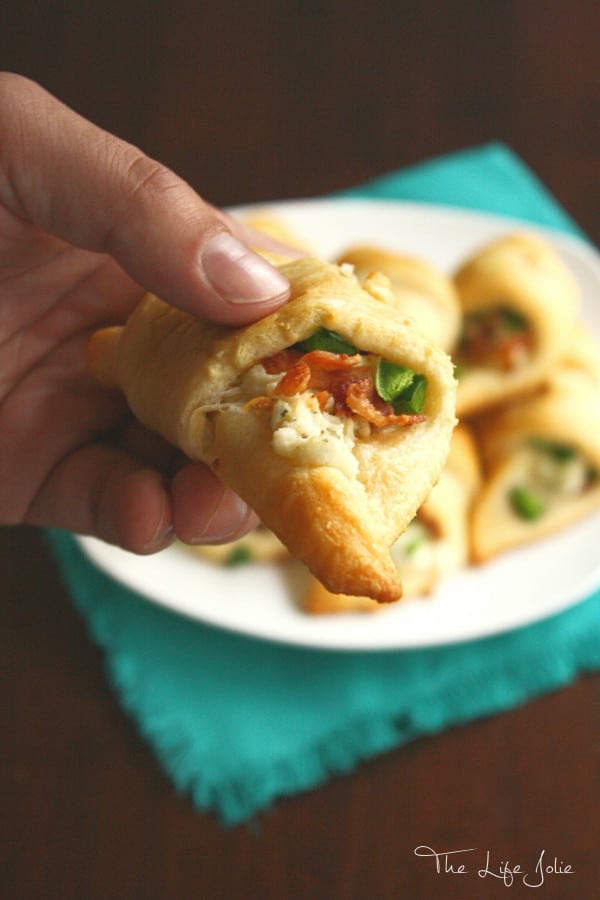
    These Bacon Jalapeno Ranch Crescents are a super easy and delicious appetizer- they come together so quickly and taste awesome!

    Well, I'm starting to get excited for the holiday season, though slightly unprepared. Still, I'm already beginning to think about what food to serve for the upcoming holidays. One thing I've been pondering is appetizers options to bring to parties and events and these Bacon Jalapeno Ranch Crescents are a great option.

    These Bacon Jalapeno Ranch Crescents are a super easy and delicious appetizer- they come together so quickly and taste awesome!

    When I'm making food to bring places, I always focus on finding options that are as easy as they are delicious. And that's one of the things I love about this recipe, it's super easy to make! Not to mention the zesty ranch, spicy jalapeno and smoky bacon flavors are such a delicious combination in the pillowy-soft crescent roll dough.

    These Bacon Jalapeno Ranch Crescents are a super easy and delicious appetizer- they come together so quickly and taste awesome! TThese Bacon Jalapeno Ranch Crescents are a super easy and delicious appetizer- they come together so quickly and taste awesome!

    These are super simple to assemble before you need them and keep well in the refrigerator for a few days. They taste great warm or cold. If you don't like spicy foods, you can always substitute sweet peppers (or even scallions) for the peppers. I removed the jalapeno seeds which kept the kick without being overwhelmingly spicy.

    These Bacon Jalapeno Ranch Crescents are a super easy and delicious appetizer- they come together so quickly and taste awesome! These Bacon Jalapeno Ranch Crescents are a super easy and delicious appetizer- they come together so quickly and taste awesome!

    Bacon Jalapeno Ranch Crescent Rolls

    Source: The Life Jolie

    • 4 oz. of cream cheese, softened (half of a standard package)
    • 1 Tbsp. of ranch dressing seasoning
    • One can of crescent roll dough
    • 2 jalapenos, chopped fine (if you want it to be a bit less spicy, remove the seeds)
    • 4 slices of crumbled bacon

    Preheat your oven to 350 degrees.

    Mix the ranch seasoning with your cream cheese until combined.

    Spoon a small spoonful of the cream cheese mixture onto your the wider part of your crescent roll dough pieces and top with some jalapenos and bacon crumbles.

    Roll the wider part of the dough into the pointed part as you do when you're making crescent rolls on their own (so that the cheese, jalapenos and bacon are the "filling" and place them onto your baking sheet.

    Baker for 10-12 minutes or until golden brown. Serve right away or refrigerate for up to a few days. Enjoy!

    You can find a full index of my recipes here.

    Don't forget to follow The Life Jolie on Pinterest for more recipe inspiration!

    Linked up at

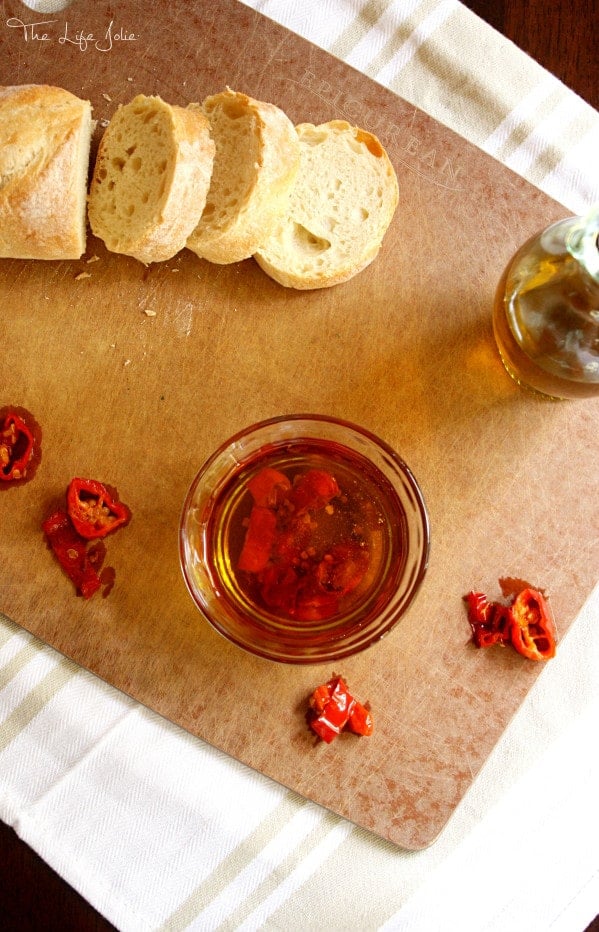
    Hot Pepper Oil

    Oct 19, 2015 · 2 Comments

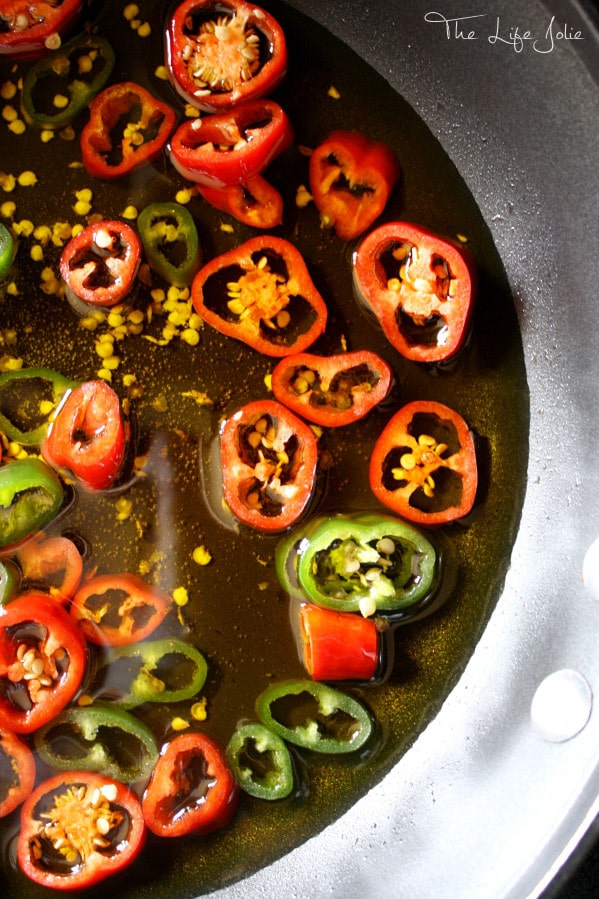
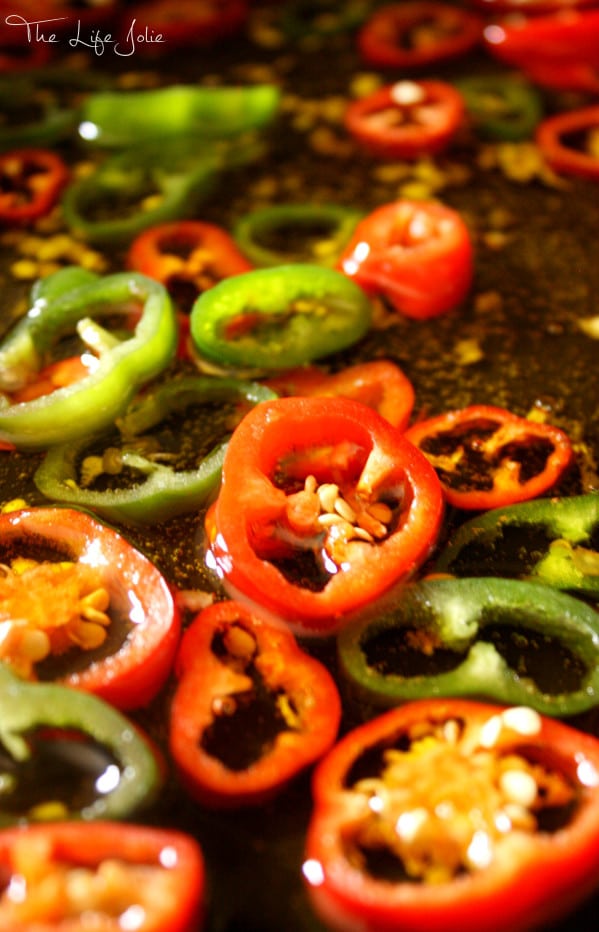
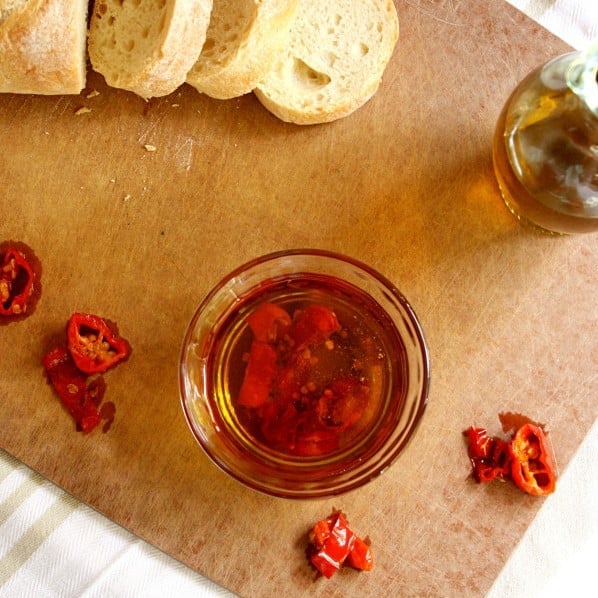
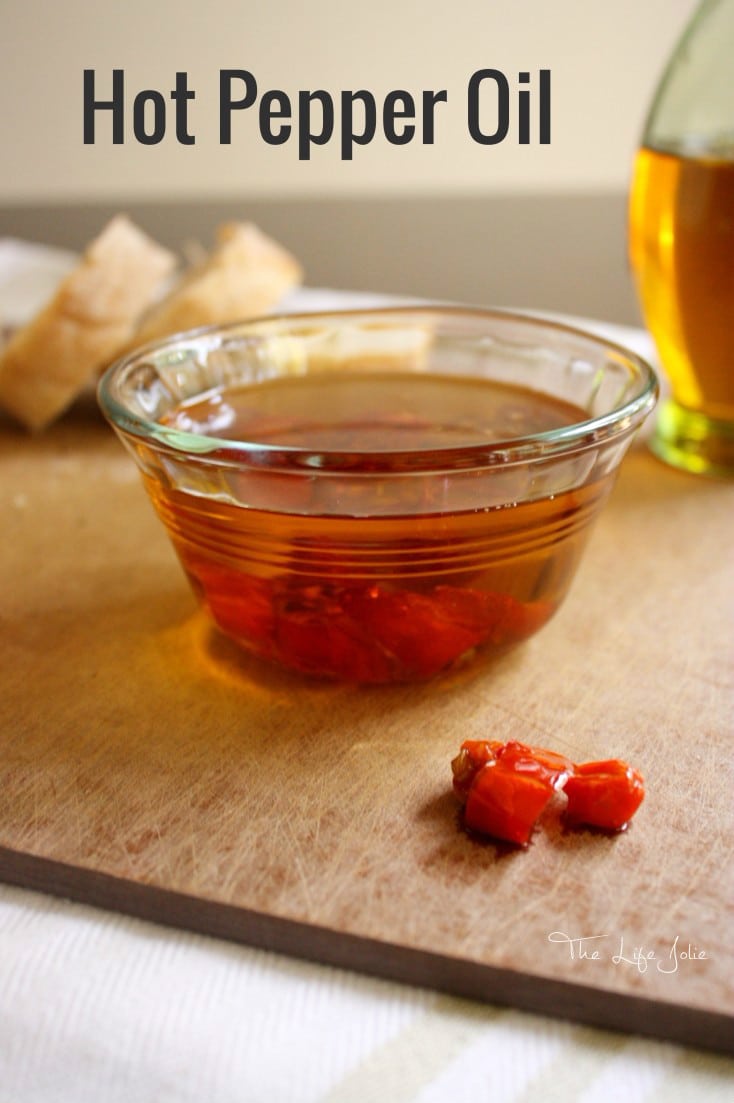
    Hot Pepper Oil is such an easy condiment to make, and boy does it pack some punch! If you like spicy foods you have to make this!!

    When I was a little girl, more often than not we would go to my Grandma Rosie's house for sauce. Call it Sunday Sauce (though it wasn't limited to Sundays, thank goodness!). Call it Gravy if you must, though here in Rochester it's just sauce with macaroni. But today is not the day for us to discuss the perfection that is Rosie's sauce (I promise that day will come and it will be well worth the wait!). Today, let's delve into the vehicles by which we add spiciness to our sauce (or anything for that matter).

    Hot Pepper Oil is such an easy condiment to make, and boy does it pack some punch! If you like spicy foods you have to make this!!

    Those amazing family dinners always had the usual suspects on the table; Romano cheese and crushed red pepper. No need for salt and pepper at the Italian table when you have those two lovelies! My Grandpa Gene would even take the crushed red pepper and pretend to sprinkle it on my sister's and my pasta (with the cap tightly screwed on of course- they all knew kids and extremely spicy foods don't mix!). But the other condiment that was always ever-present on that table was Rosie's Hot Pepper Oil.

    Hot Pepper Oil is such an easy condiment to make, and boy does it pack some punch! If you like spicy foods you have to make this!!

    Now as fun as Grandpa's red pepper bit was for us kids, it was a well known, unspoken rule that the Hot Pepper Oil was no joking matter. That stuff was the hottest of the hot and not to be played with. A very small amount packed a helluva punch. I'm not sure I even tried it until I was an adult because of the warnings that rang in my ears for as long as I can remember.

    Hot Pepper Oil is such an easy condiment to make, and boy does it pack some punch! If you like spicy foods you have to make this!!

    But if you like spicy foods, then this is right within your wheel house. And with 2 simple ingredients, you really cannot go wrong! This makes the ideal condiment to drizzle over whatever you happen to be eating to add some heat. But just like Grandma always said: you only need a little!

    Hot Pepper Oil is such an easy condiment to make, and boy does it pack some punch! If you like spicy foods you have to make this!!

    Hot Pepper Oil

    Source: Rose Scuteri

    Ingredients:

    • Olive Oil (I used ½ cup for every pepper but I encourage you to use more if you have them! The more the merrier!)
    • The hot peppers of your choice, sliced

    Place your oil in a pan on medium low (you really want to keep an eye on the heat because olive oil has a low smoking point, so you peppers will begin burning before you know it. I speak from experience).

    Allow it to heat for a couple of minutes and add your peppers.

    Keep an eye on it and give it a good stir here and there for about an hour. It will bubble lightly, but if you don't want your peppers to brown.

    You'll need to store this in your refrigerator. It can last for a good 6 months, but it must be refrigerated when not in use (which is a general rule with infused oils).

    You can find a full index of my recipes here.

    Don't forget to follow The Life Jolie on Pinterest for more recipe inspiration!

    Linked up at
    Super Easy Fried Donuts

    Sep 21, 2015 · 16 Comments

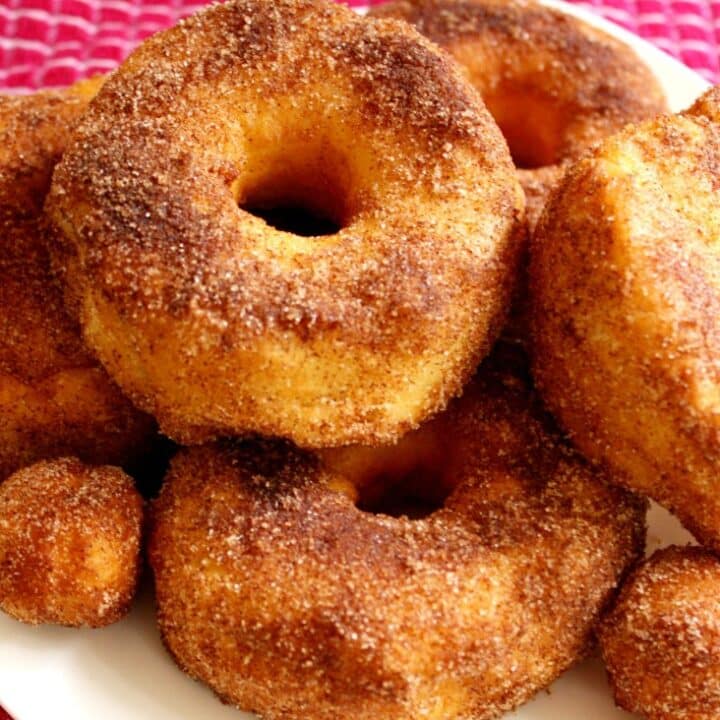
    These Super Easy Fried Donuts are so delicious- I couldn't believe how quickly they were done. My family loved them! Click on the photo to read more...

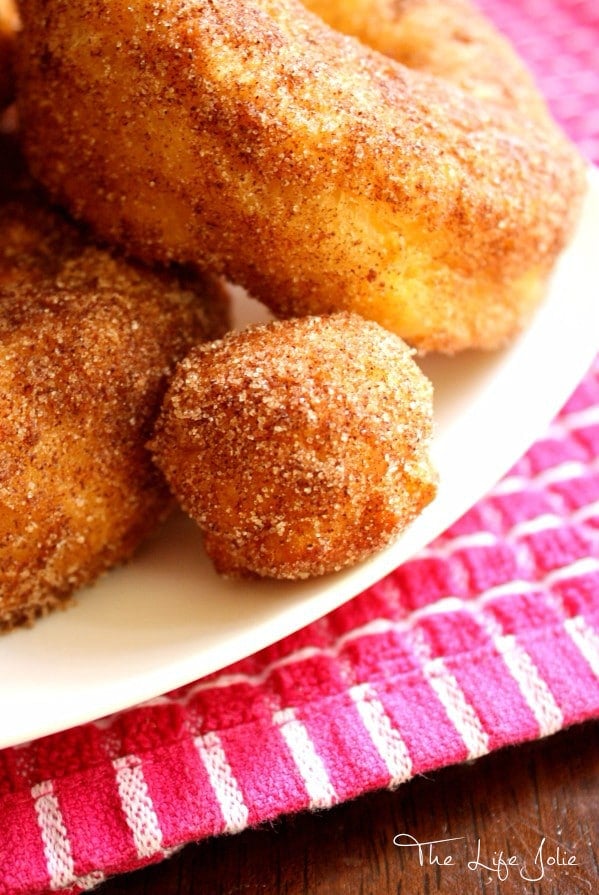
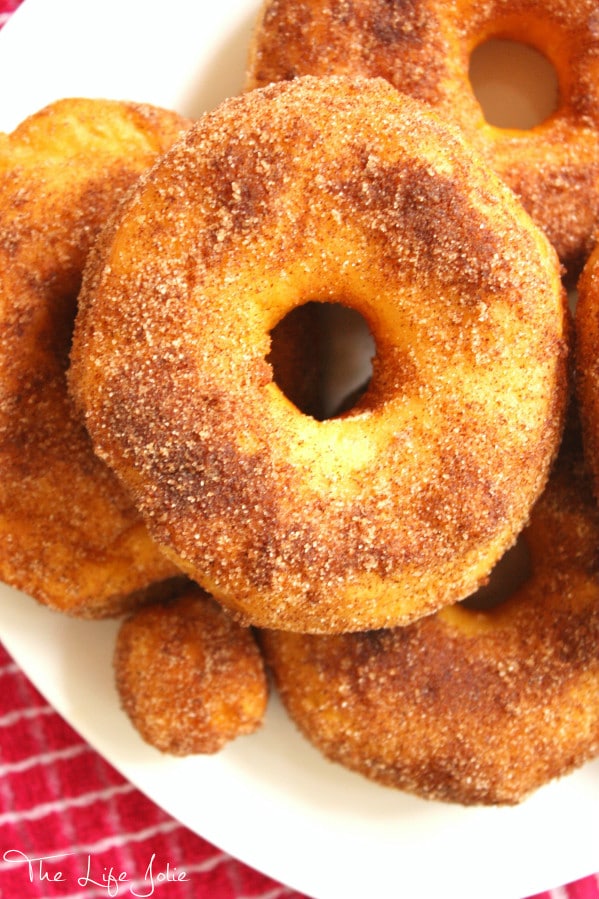
    These Super Easy Fried Donuts are so delicious- they require minimal ingredients and they come together super fast. My family loved them!

    If you've been on Pinterest it's inevitable that at some point you've come across the concept of using refrigerated biscuits to make donuts. I've come across them several times and always passed them by. Don't get me wrong, they look delicious. But I was always distracted by pretty things like perfectly roasted chicken and super-cute crafts that I'll never be able to duplicate.

    Well, now I'm pregnant. And all I want to do is eat garbage. It's crazy and delicious and terrible. So when I once again passed a post for these donuts I had to click. Next thing I knew, I was making these Super Easy Fried Donuts for our early Sunday morning breakfast. Needless to say, J and A were thrilled!

    These Super Easy Fried Donuts are so delicious- I couldn't believe how quickly they were done. My family loved them! Click on the photo to read more...

    I must say, I was pretty thrilled too. These cooked up so quickly and easy. It was no work at all popping a soda cap through to create a hole. The results had a delightful crispiness on the outside with the light, airy tenderness on the inside that you can only get in donuts that are fried.

    These Super Easy Fried Donuts are so delicious- I couldn't believe how quickly they were done. My family loved them! Click on the photo to read more...

    I gave J the option of cinnamon and sugar or glaze and he opted for cinnamon and sugar. I'll bet these would be lovely with a light glaze or even chocolate sauce or confectioner's sugar. Make sure you have everything set up before hand because once you start cooking, these will go fast. And take extra care not to let your finger accidentally dip into the hot oil while turning the donut holes like I did. It was not my favorite moment of the morning.

    These Super Easy Fried Donuts are so delicious- I couldn't believe how quickly they were done. My family loved them! Click on the photo to read more...

    Super Easy Fried Donuts

    Source: The Southern Plate

    Ingredients:

    • Refrigerated biscuits (I got Pillsbury Grands, Homestyle. Avoid the flaky ones)
    • Canola oil
    • 2 Tbsp. of melted butter
    • ¼ cup of sugar
    • 1 Tbsp. of cinnamon

    Heat a ½ inch of canola oil in your pan over medium to medium high heat (I was closer to medium high). I used my cast iron pan. It'll take about 10 minutes to get hot enough.

    Using a soda cap, pop holes in the middle of your biscuits to form you donuts.

    When the oil is hot enough, test out a donut hole in the pan. You'll know the oil is hot enough because the minute you put your donut hole in, the oil touching it will immediately start simmering and bubbling.

    When you put your donuts in, make sure you don't overfill your pan as it can bring the temperature of the oil down. I did them in two batches.

    You'll want to keep an eye on the donuts and as soon as one side is golden brown (a minute or two on each side) you can turn them.

    Once they're golden brown on both sides, transfer them to a paper towel to absorb access oil. Once all your donuts are cooked, dip each side lightly in the butter  and then dredge in cinnamon and sugar. Serve immediately.

    You can find a full index of my recipes here.

    Don't forget to follow The Life Jolie on Pinterest for more recipe inspiration!

    These Super Easy Fried Donuts are so delicious- I couldn't believe how quickly they were done. My family loved them! Click on the photo to read more...

    Linked up at
     

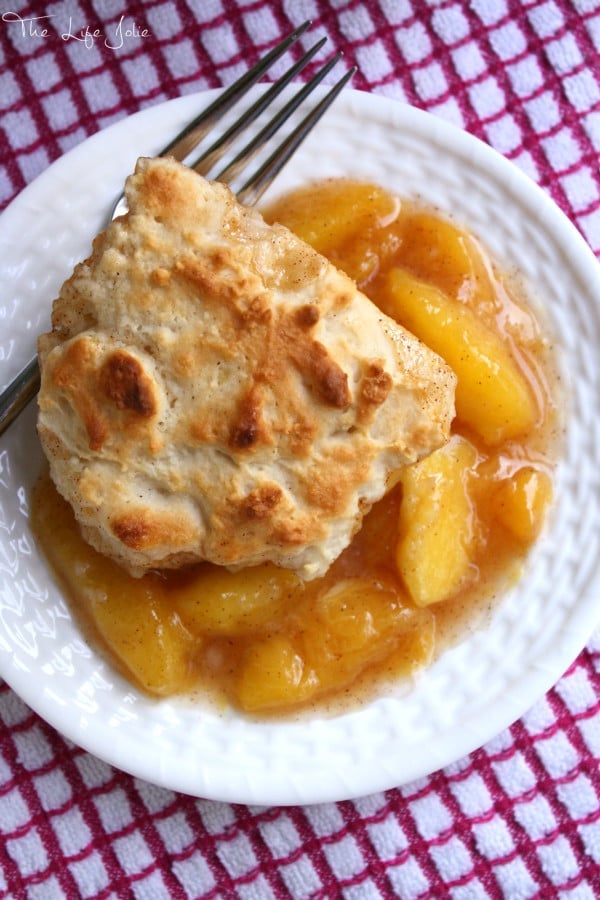
    Peach Cobbler

    Aug 17, 2015 · 24 Comments

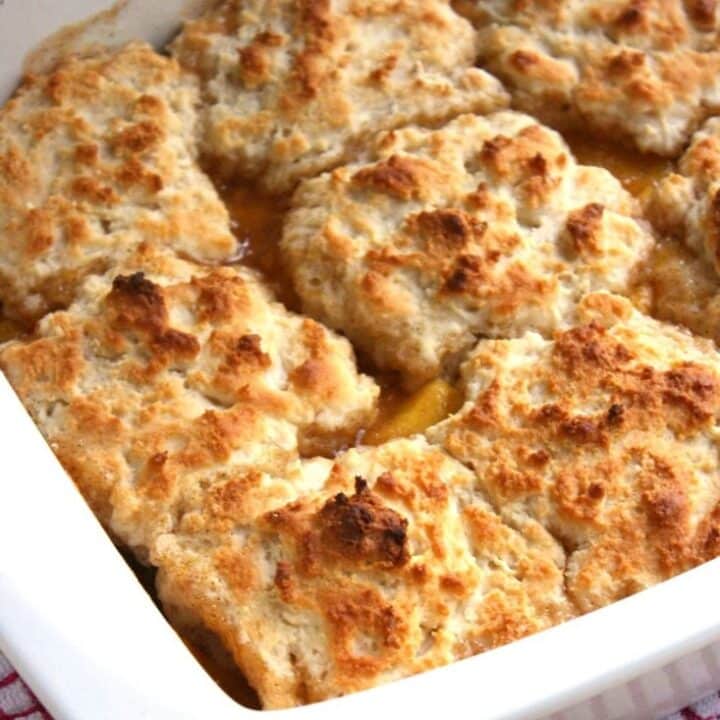
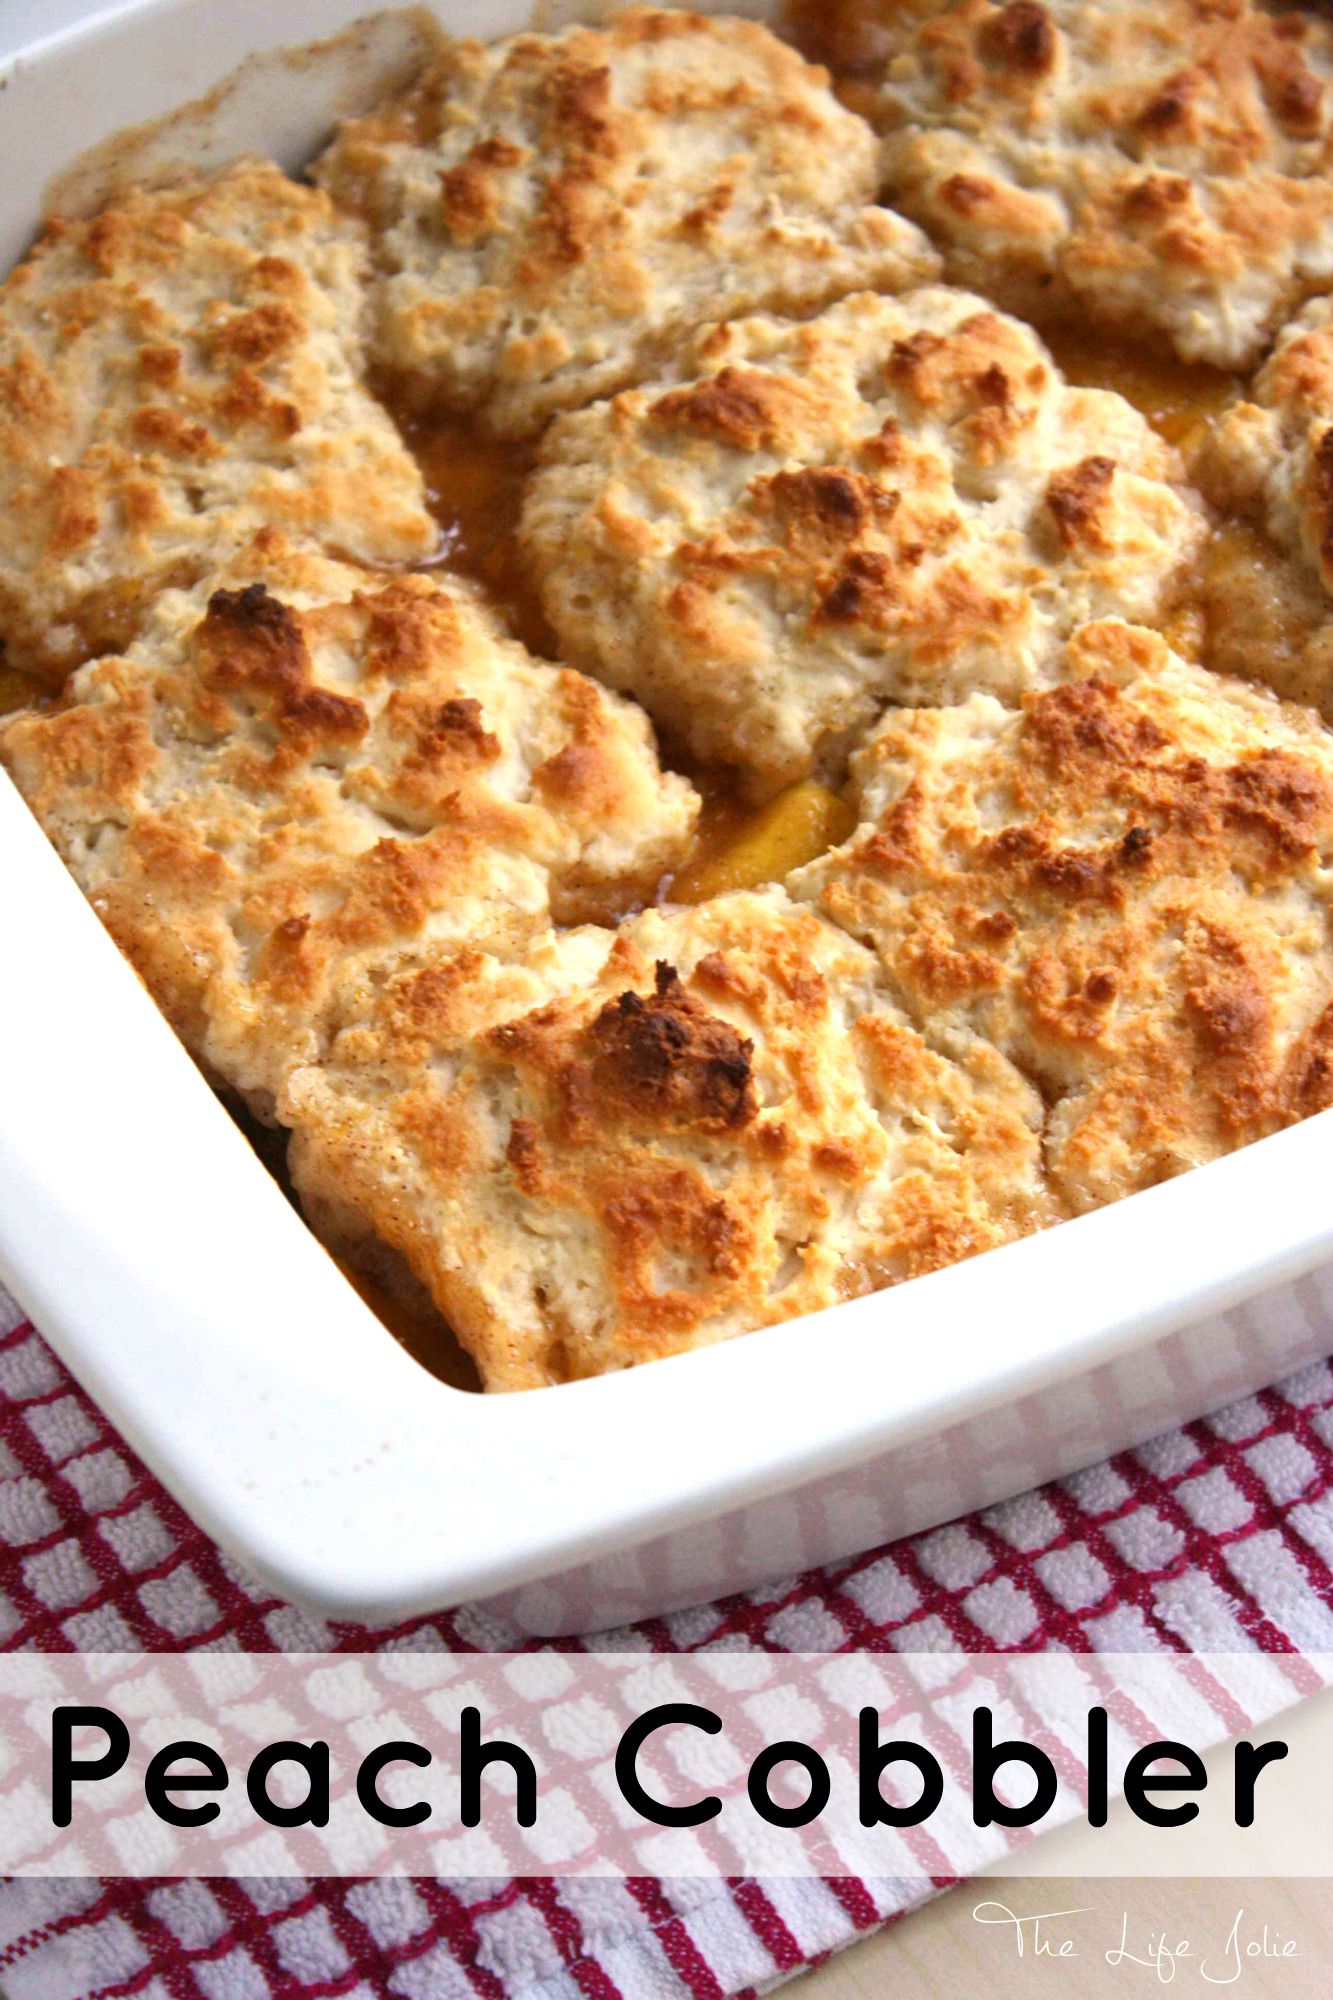
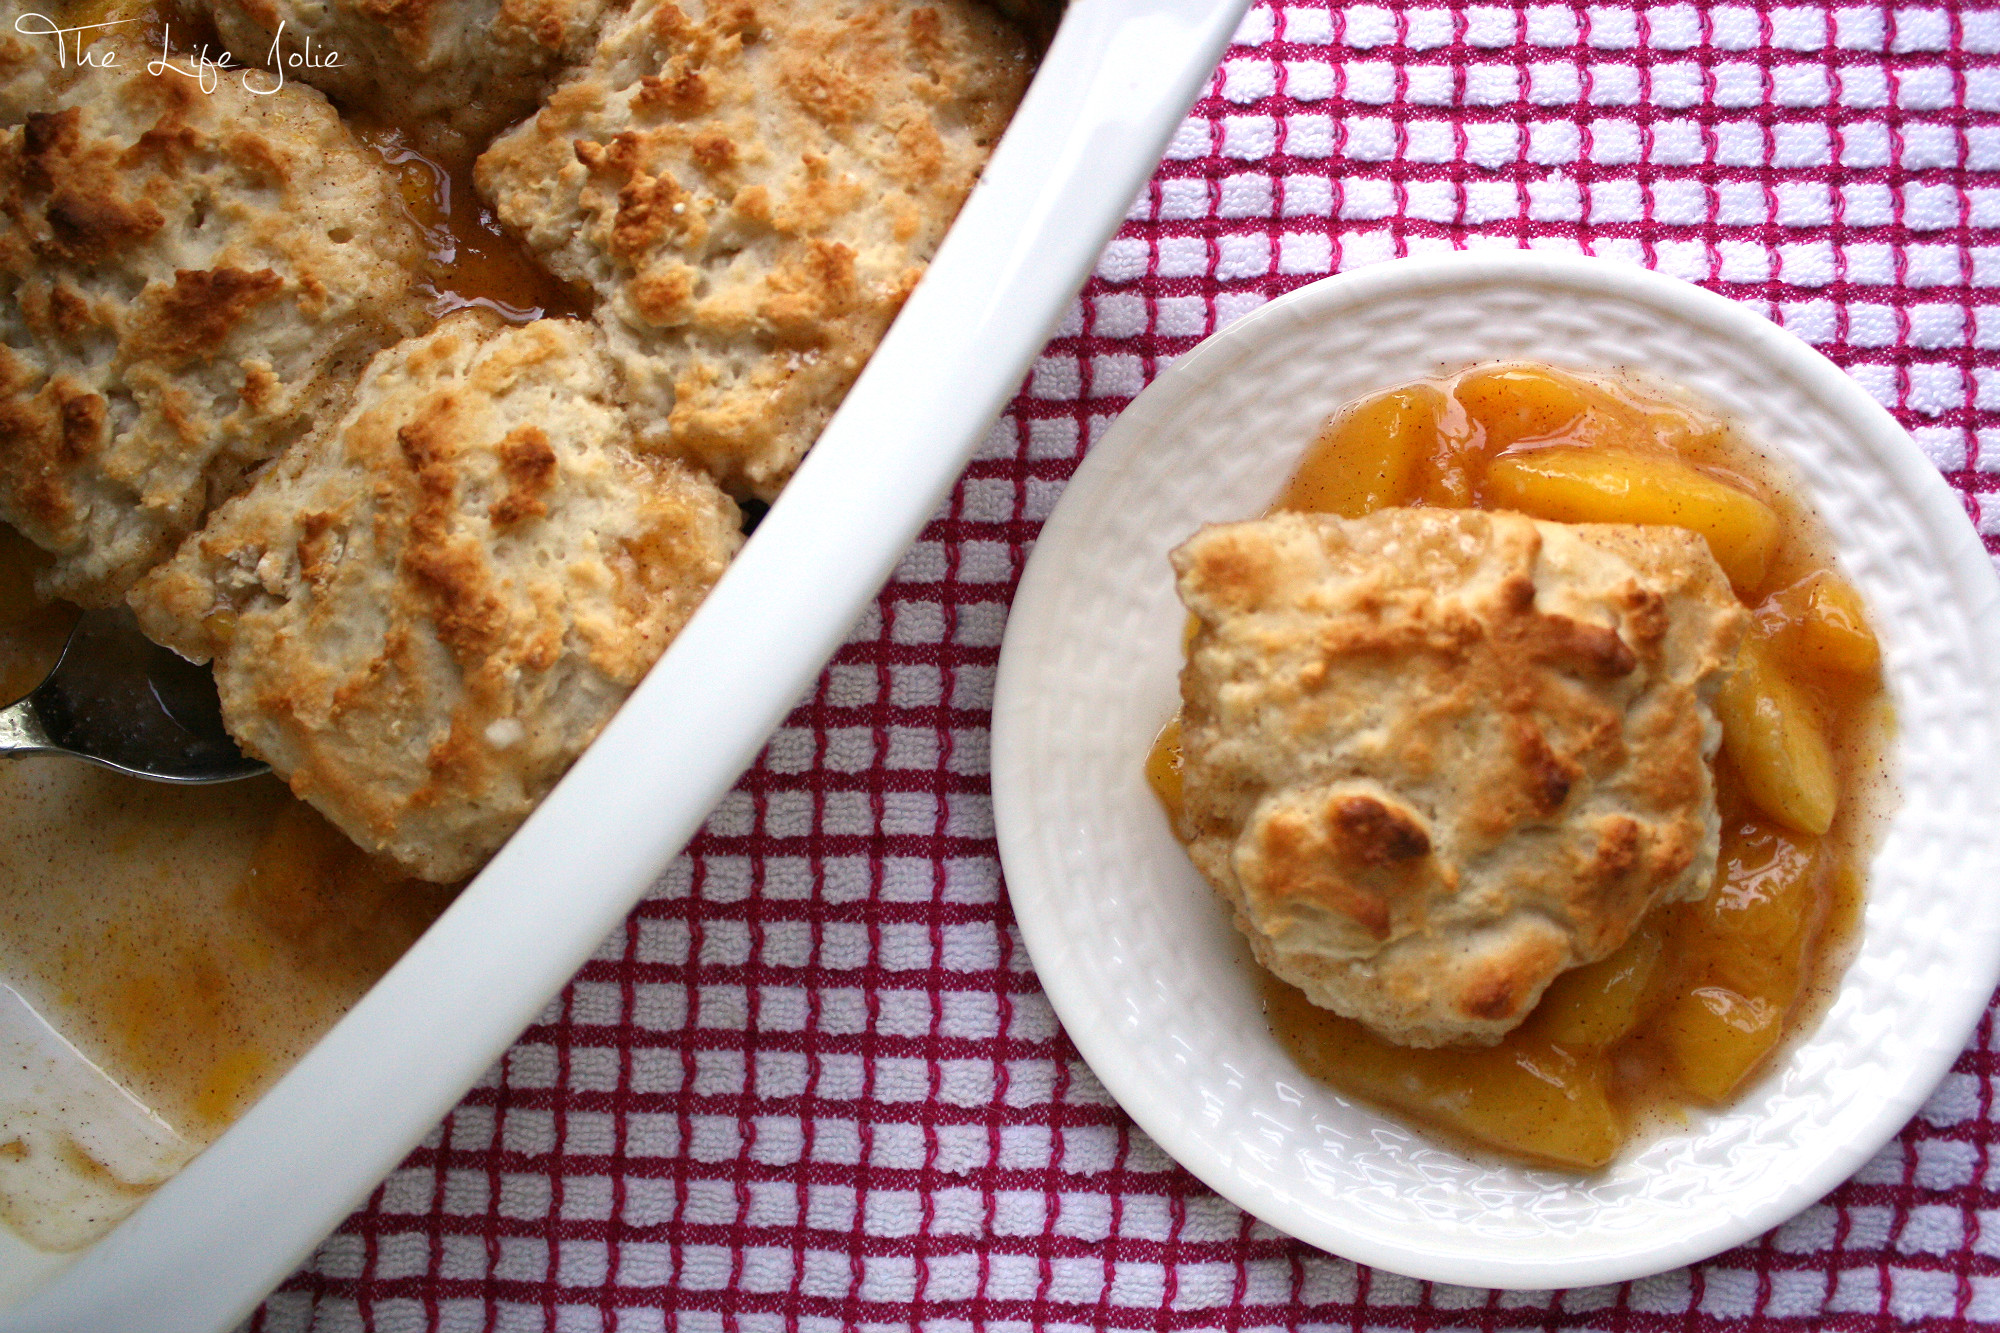
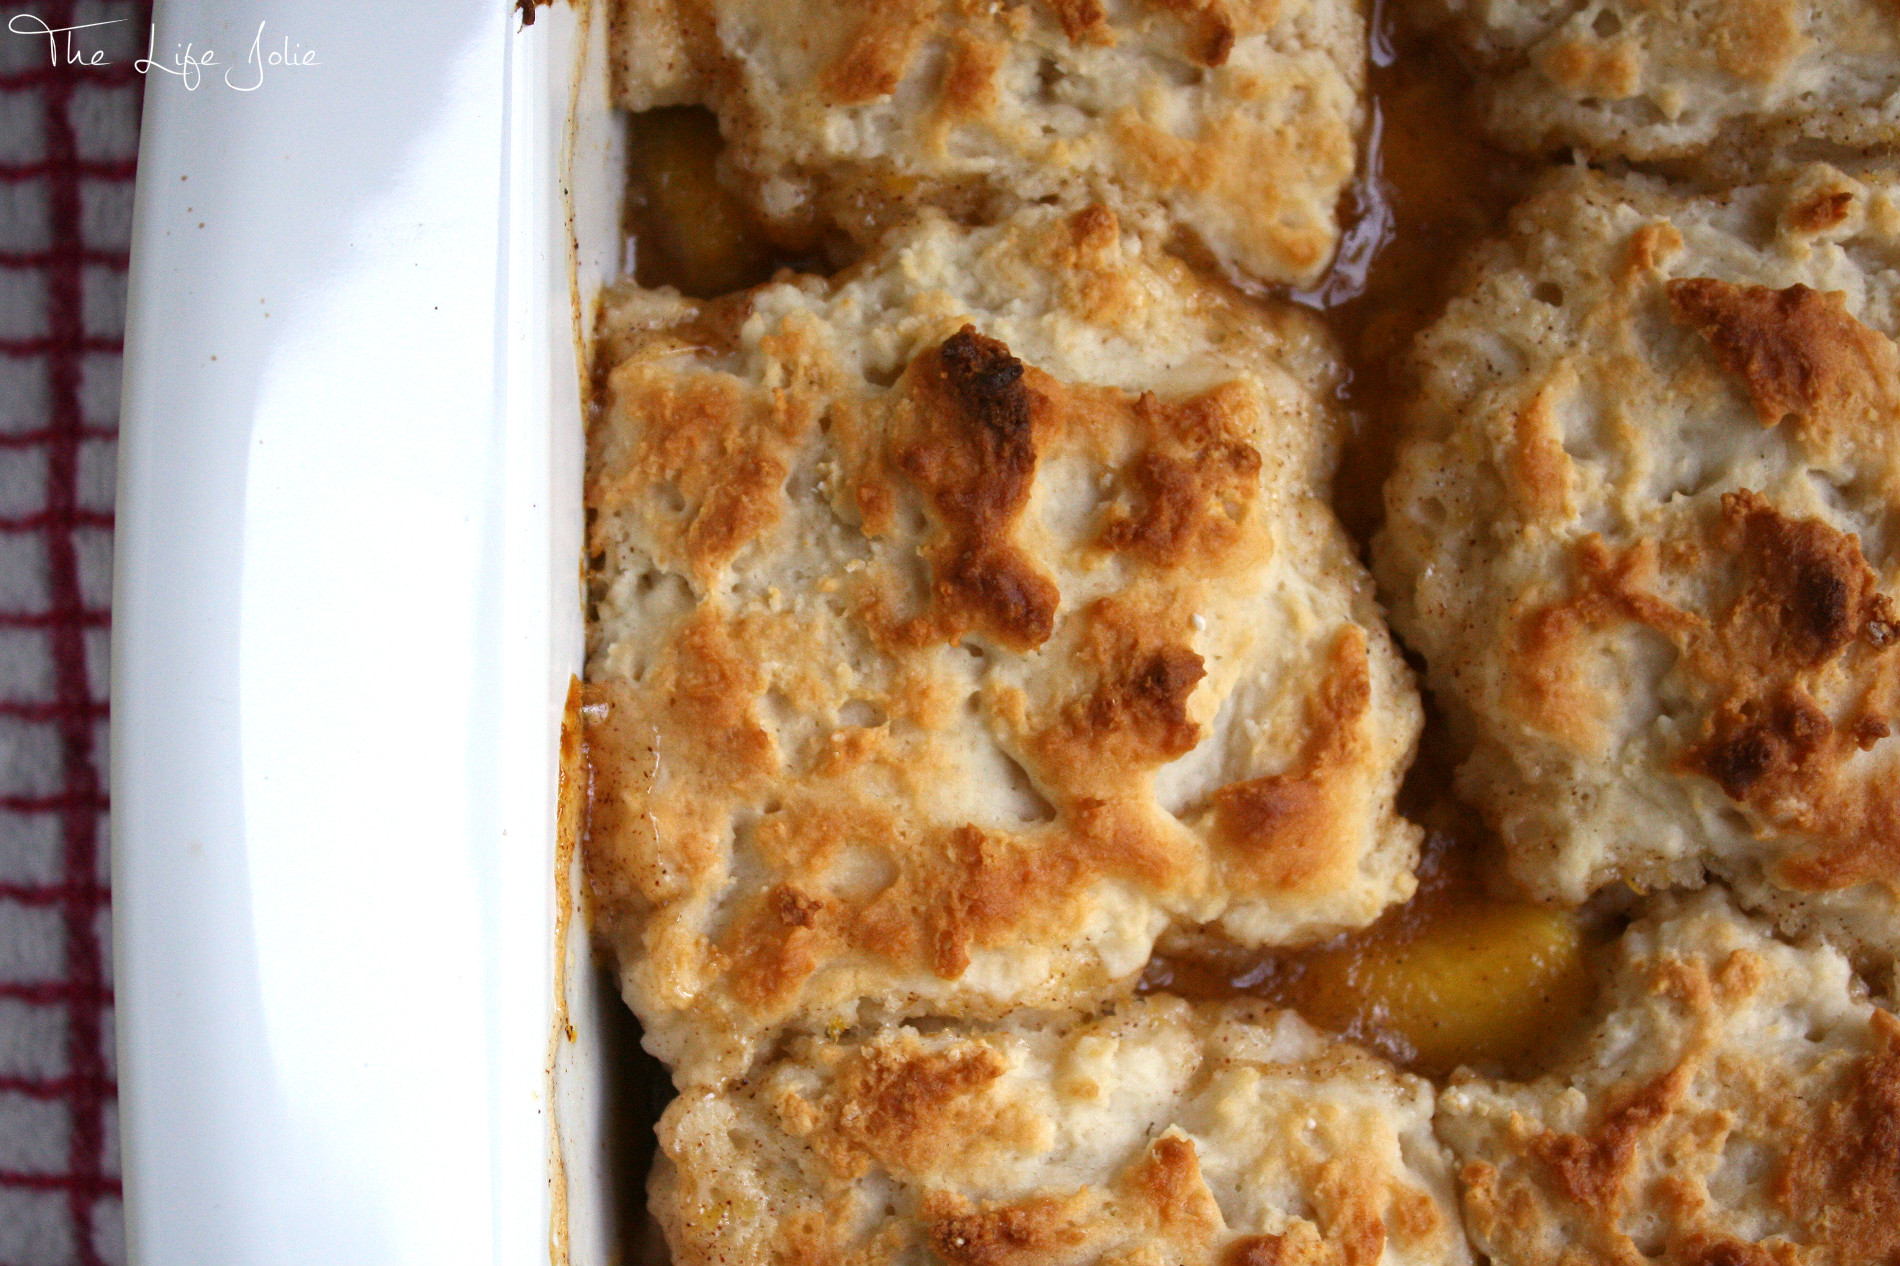
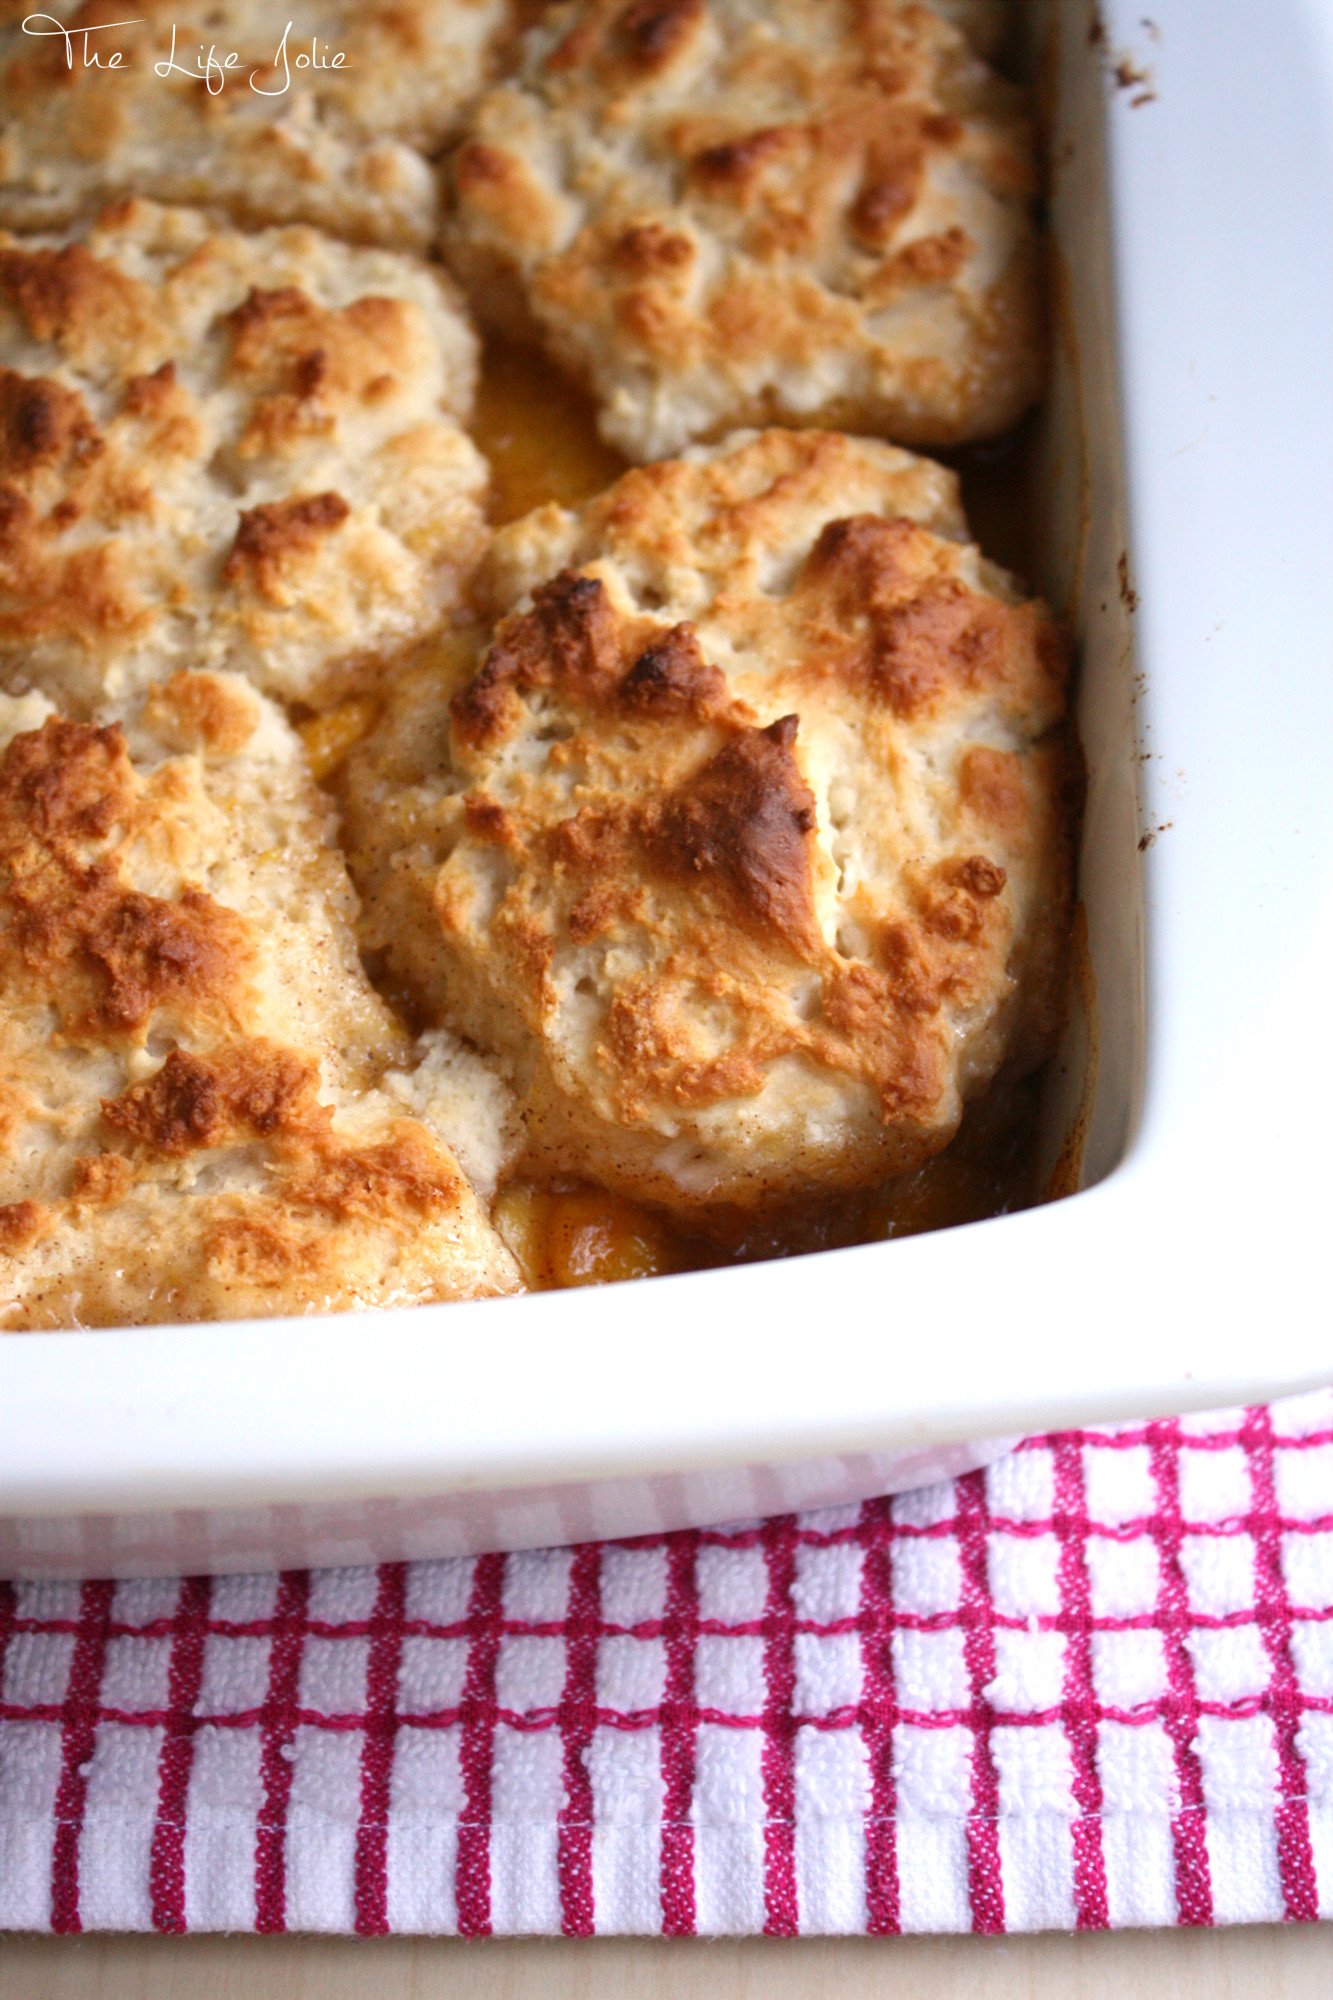
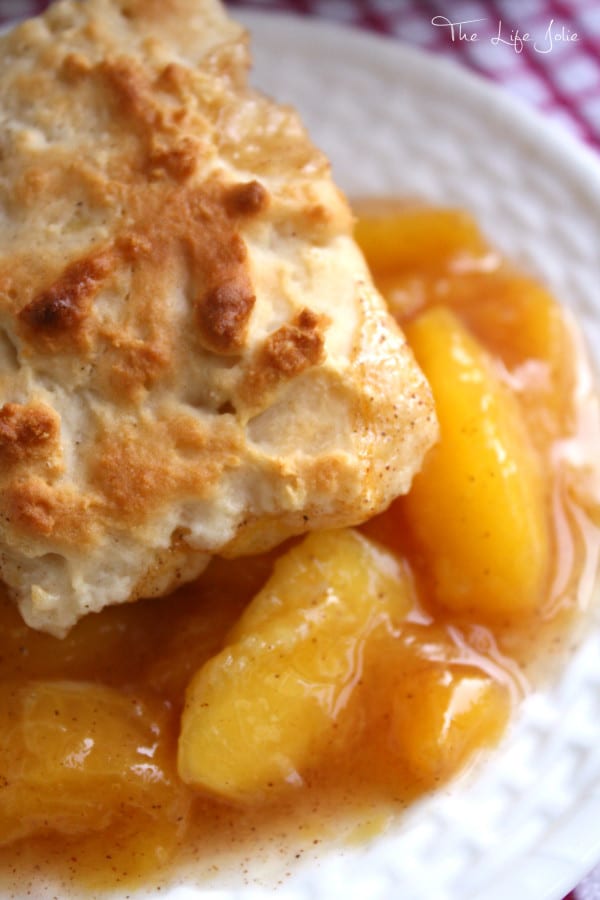
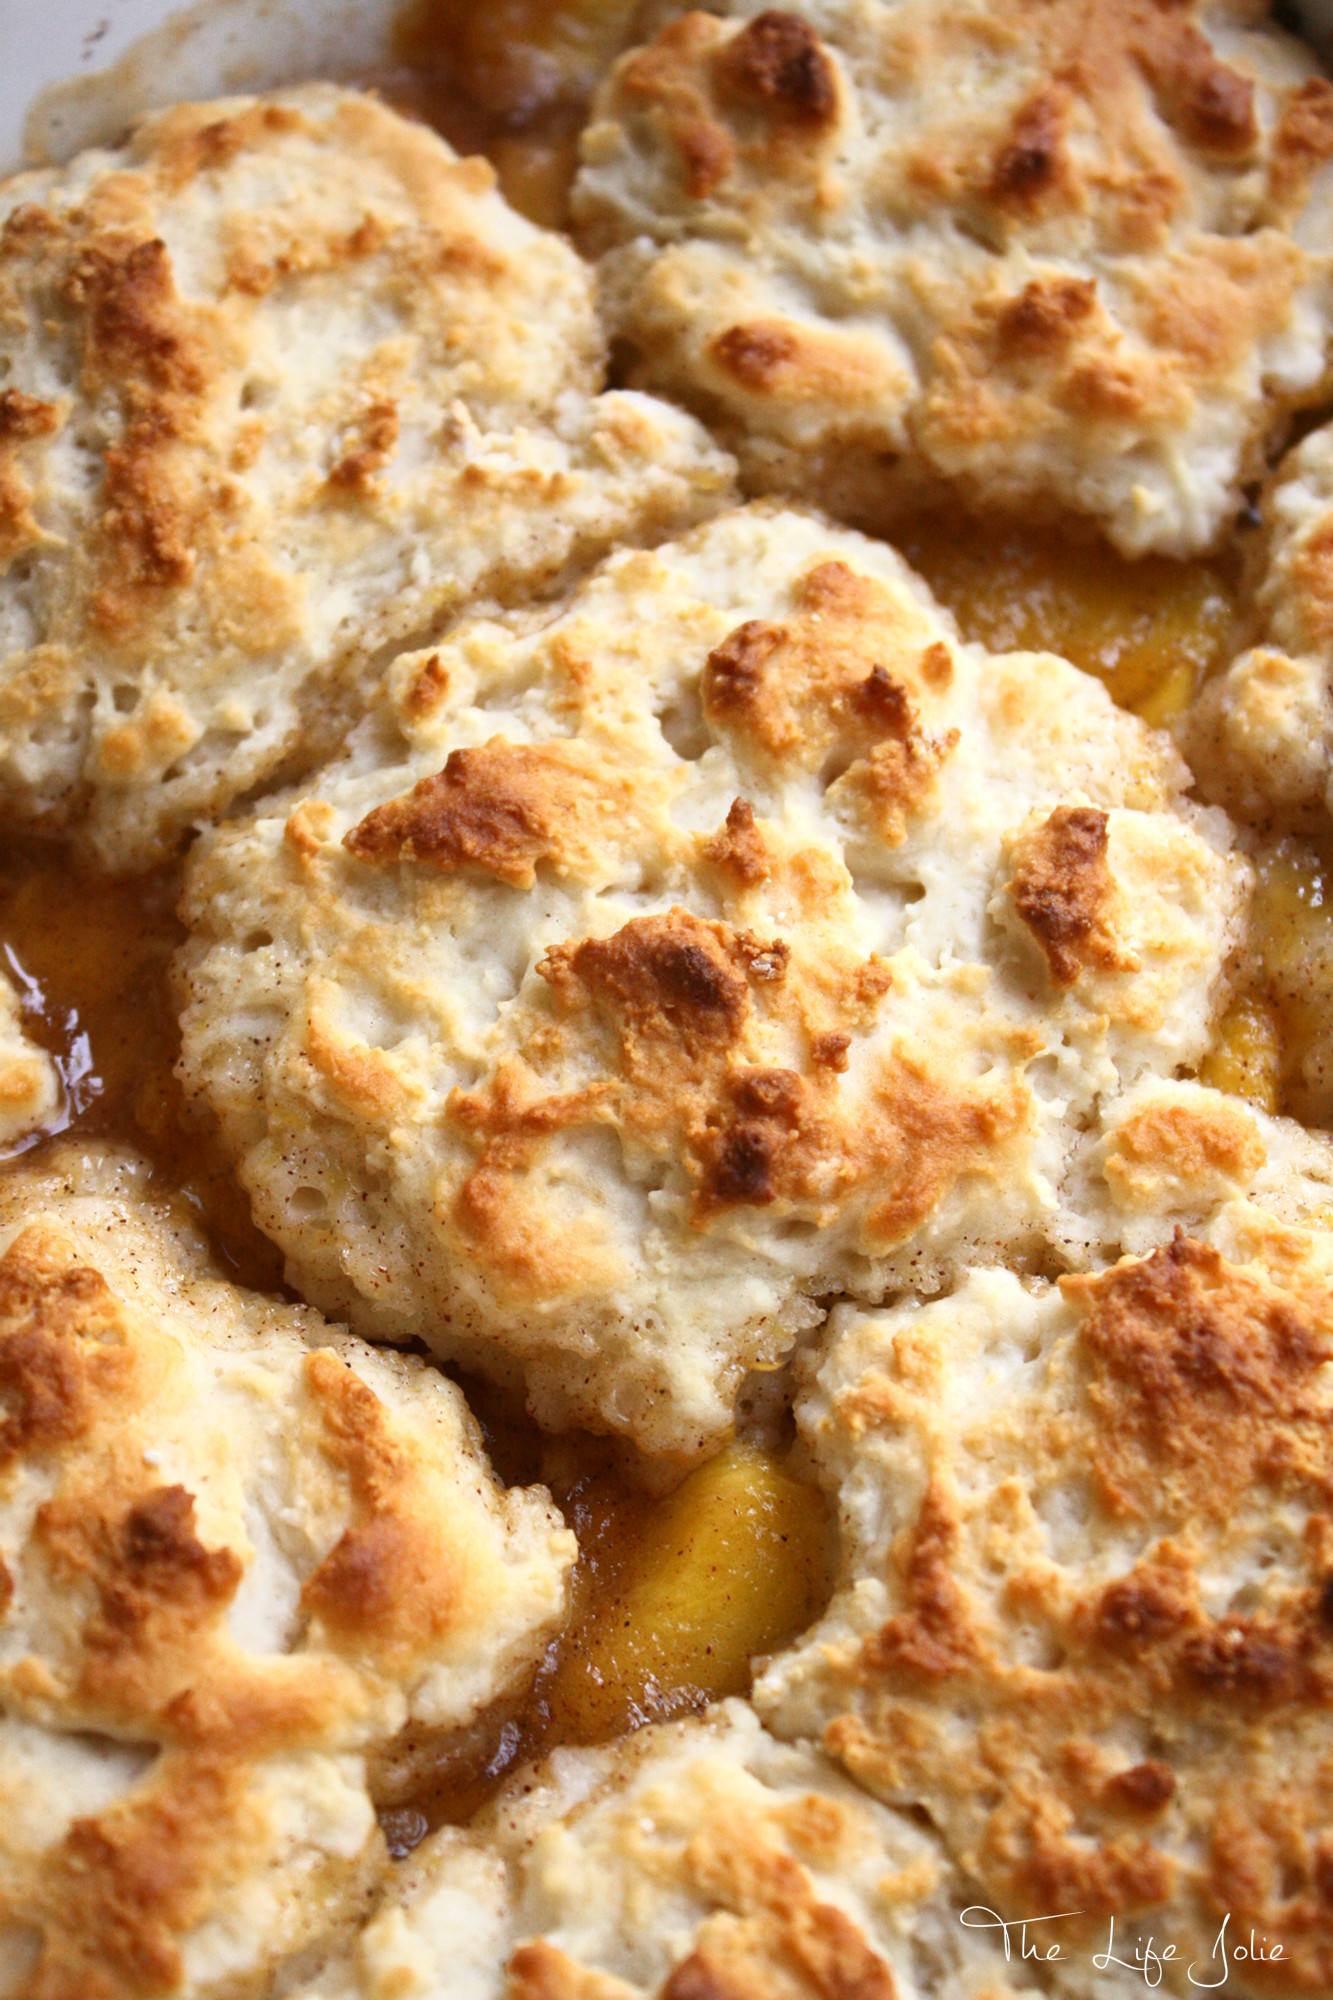
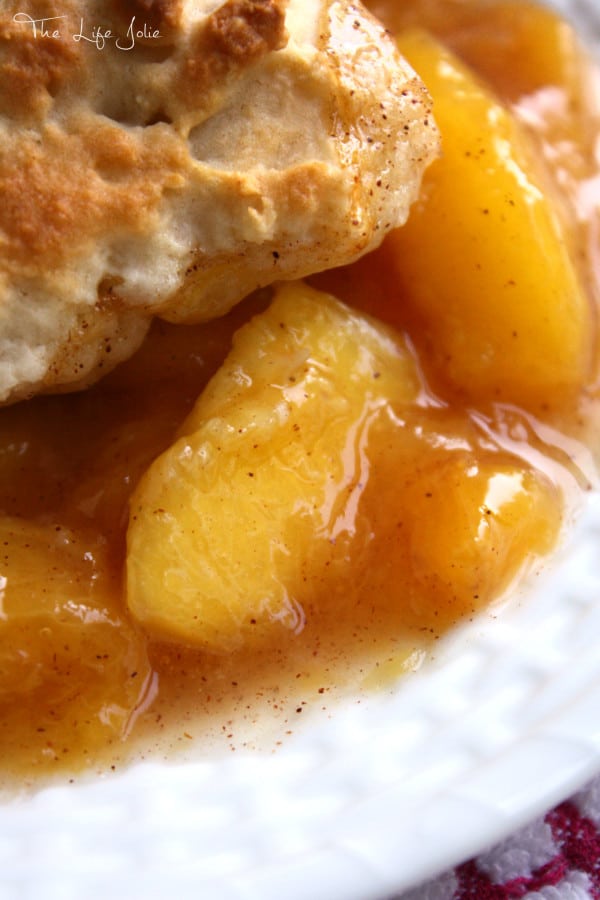
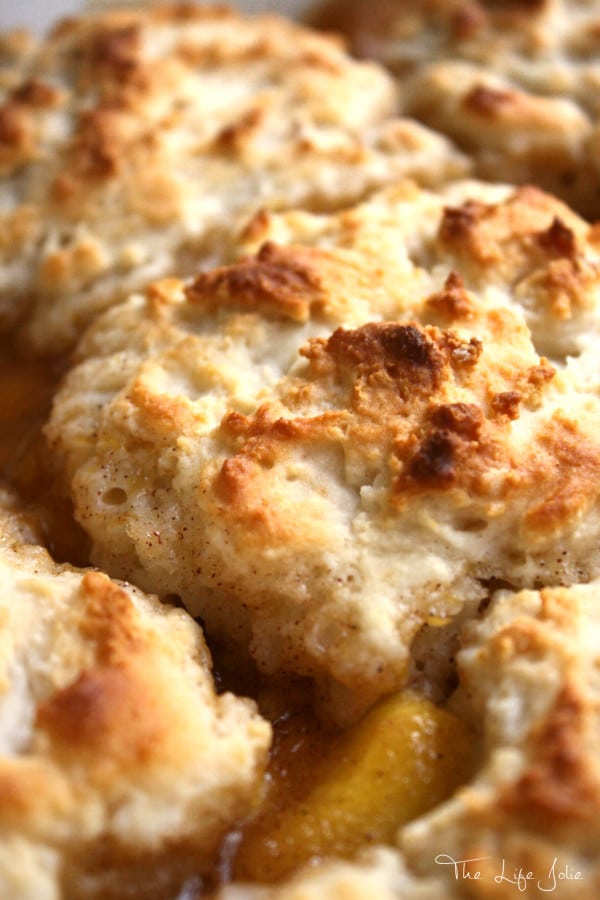
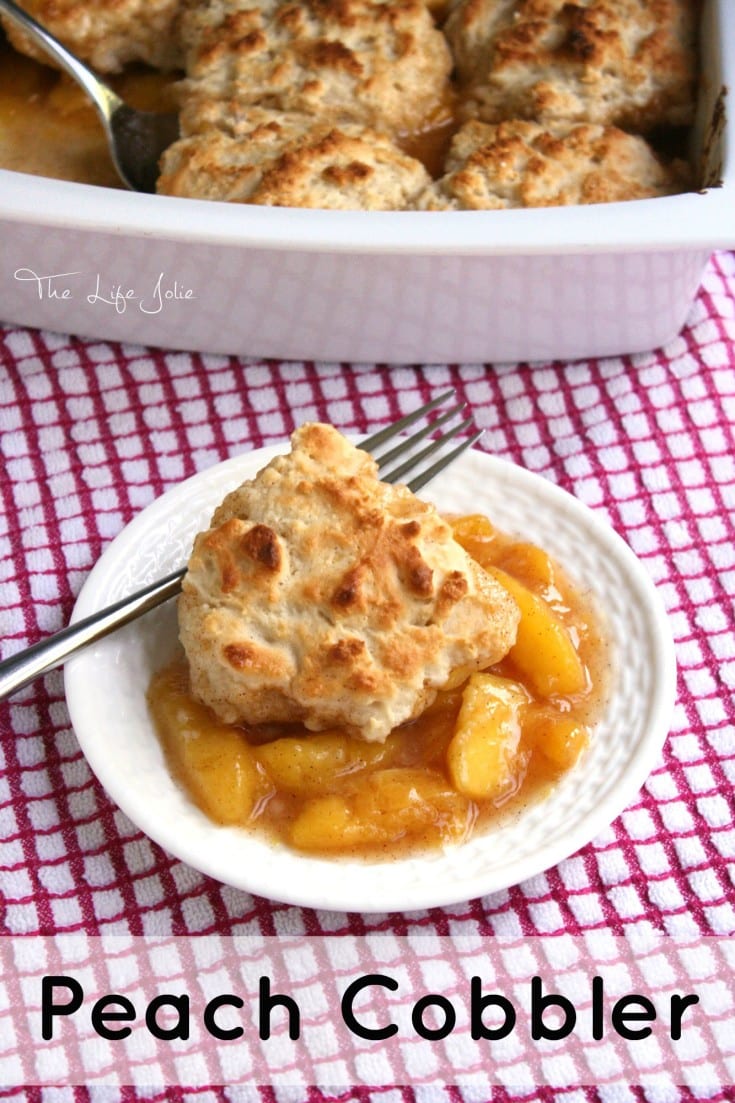
    This peach cobbler is everything that summer is about- It's quick and easy to make, the peaches are bursting with flavor and the dough is light as a feather! Click on the photo to read more...

    It is not summer without peaches. It's just not. Studies have shown. I couldn't tell you where these studies have been performed, so you'll just have to take my word for it! Right now the peaches are here are simply glorious. And thank goodness, because I can feel Fall's imminent arrival on the horizon and I'm just not ready to let this summer go. Thank God for our public market full of all these gorgeous peaches and the pure happiness that is Peach Cobbler.

    This peach cobbler is everything that summer is about- It's quick and easy to make, the peaches are bursting with flavor and the dough is light as a feather! Click on the photo to read more...

    Growing up, a happy family picnic in August was never complete without my Grandma Eve's Peach Cobbler. Biting into it, you could taste the love that was put into making it; from peeling every peach to mixing the dough. The great thing is, this dish is actually super simple to assemble. Honestly, the hardest part was peeling the peaches and even that was super quick and easy.

    This peach cobbler is everything that summer is about- It's quick and easy to make, the peaches are bursting with flavor and the dough is light as a feather! Click on the photo to read more...
    This peach cobbler is everything that summer is about- It's quick and easy to make, the peaches are bursting with flavor and the dough is light as a feather! Click on the photo to read more...
    This peach cobbler is everything that summer is about- It's quick and easy to make, the peaches are bursting with flavor and the dough is light as a feather! Click on the photo to read more...

    As we all know, I am all about simple food with simple ingredients. While I could never turn down labor-intensive dishes made from scratch, life is busy. I'm just not in a season of life where I can concern myself with always making everything from scratch. So when I come across a delicious recipe like this which makes my life a little easier by using Bisquick, you can bet I will jump on that train. Especially because the results are consistently amazing.

    This peach cobbler is everything that summer is about- It's quick and easy to make, the peaches are bursting with flavor and the dough is light as a feather! Click on the photo to read more...
    This peach cobbler is everything that summer is about- It's quick and easy to make, the peaches are bursting with flavor and the dough is light as a feather! Click on the photo to read more...
    This peach cobbler is everything that summer is about- It's quick and easy to make, the peaches are bursting with flavor and the dough is light as a feather! Click on the photo to read more...

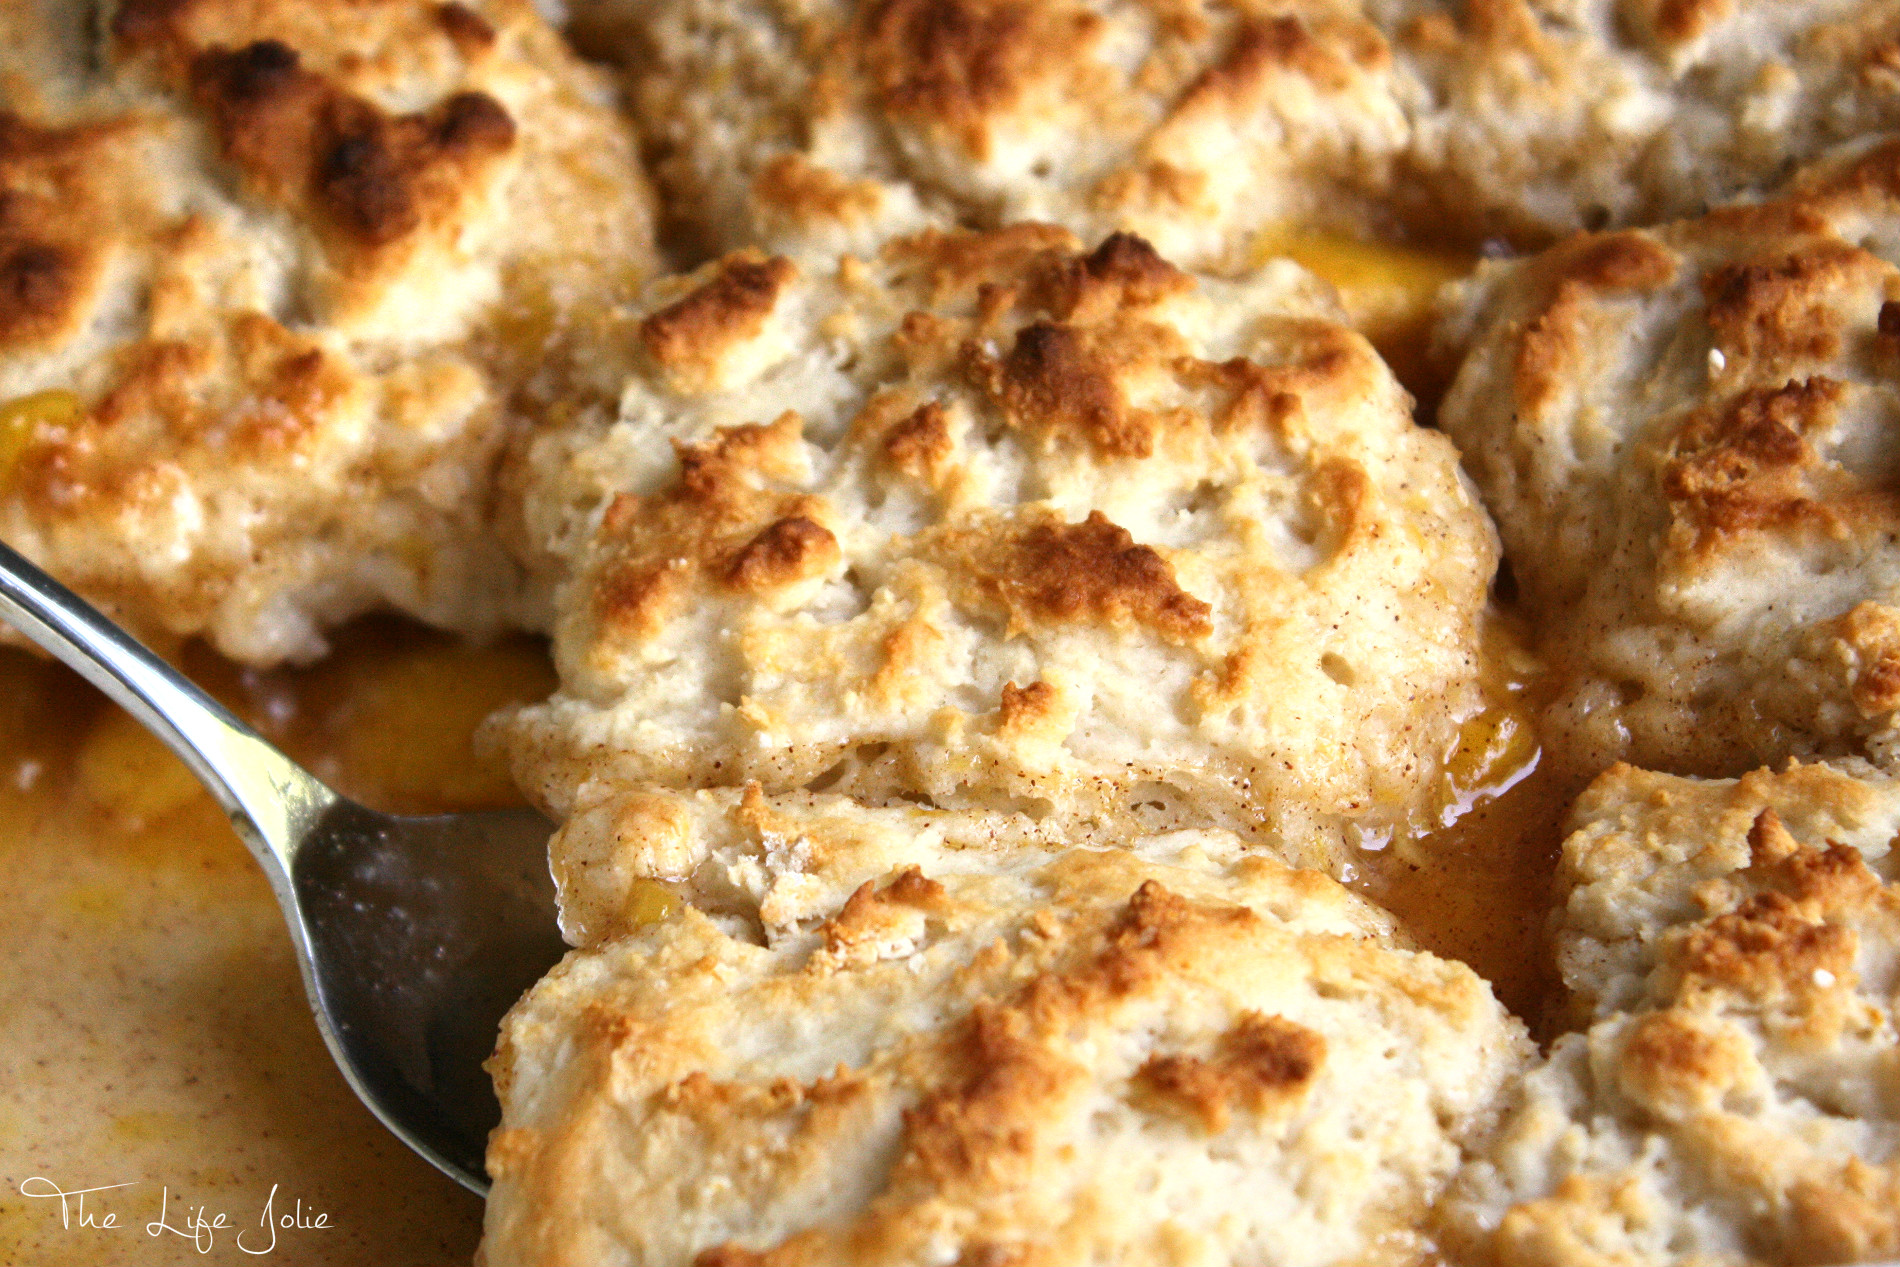
    The perfectly ripe peaches that are available at our local public market really don't need much to make them sing. A little cinnamon and sugar highlight the the natural sweetness of the peaches. A squirt lemon juice adds a lovely brightness. The dollops of dough brown up beautifully in only twenty minutes and are light and fluffy as a feather.
    This peach cobbler is everything that summer is about- It's quick and easy to make, the peaches are bursting with flavor and the dough is light as a feather! Click on the photo to read more...
    This peach cobbler is everything that summer is about- It's quick and easy to make, the peaches are bursting with flavor and the dough is light as a feather! Click on the photo to read more...
    This peach cobbler is everything that summer is about- It's quick and easy to make, the peaches are bursting with flavor and the dough is light as a feather! Click on the photo to read more...

    I took some liberties with this recipe. I didn't change any ingredients because they're perfect, but this originally had three cups of peaches instead of four. Additionally, I doubled the dough recipe. I did all of this because the recipe just felt very much out of proportion. There were not enough peaches to fill the pan and hardly any dough to begin with. This recipe calls for a 10 inch pan or a 9 x 13 pan. I used a 9 x 9 pan and it worked out fine, though I think the amounts I used are better suited for the 10 inch pan (I'm kicking myself for not using my cast iron pan). My mom says that she doesn't actually measure the peach mixture, just eyeballs it based on the amount of people she's cooking for and the doubles or triples the dough recipe accordingly.

    This peach cobbler is everything that summer is about- It's quick and easy to make, the peaches are bursting with flavor and the dough is light as a feather! Click on the photo to read more...
    This peach cobbler is everything that summer is about- It's quick and easy to make, the peaches are bursting with flavor and the dough is light as a feather! Click on the photo to read more...

    This peach cobbler is everything that summer is about- It's quick and easy to make, the peaches are bursting with flavor and the dough is light as a feather! Click on the photo to read more...

    Peach Cobbler

    Jessy Freimann
    This summer dessert is a total winner- Grandma's Peach Cobbler is a great way to enjoy summer's finest offerings.
    No ratings yet
    Print Recipe Pin Recipe
    Prep Time 10 minutes mins
    Cook Time 20 minutes mins
    Resting time 10 minutes mins
    Total Time 40 minutes mins
    Course Dessert
    Cuisine American
    Servings 8 servings
    Calories 279 kcal

    Equipment

    • 1 9 inch Baking dish
    • 1 cutting board
    • 1 chefs knife
    • 1 Measuring cups and spoons
    • 1 mixing bowl
    • 1 Large pot

    Ingredients
      

    Peaches

    • 4 cups peaches skinned and sliced
    • 1 Tablespoon lemon juice
    • ½ cup granulated sugar
    • ½ teaspoon ground cinnamon
    • ½ cup water
    • 1 Tablespoon cornstarch

    Biscuits

    • 2 cups Bisquick
    • 2 Tablespoon granulated sugar
    • ½ cup whole milk
    • ½ cup sour cream

    Instructions
     

    • Preheat oven to 425 degrees F.
    • In a pot over medium heat, mix together the peaches, lemon juice, sugar, cinnamon and water. Bring to a boil.
    • Once boiling, add the cornstarch. After a few minutes when the mixture thickens, turn off the heat and let it sit.
    • In a different bowl, mix all dough ingredients until well incorporated (it will be sticky).
    • Grease your pan and place the peaches in the pan and then drop dollops on top of the peach mixture.
    • Bake uncovered for 20 minutes. Cool 10 minutes and serve.

    Notes

    Leftovers last up to 3 days covered in the refrigerator.

    Nutrition

    Serving: 1servingCalories: 279kcalCarbohydrates: 49gProtein: 4gFat: 8gSaturated Fat: 3gPolyunsaturated Fat: 1gMonounsaturated Fat: 3gCholesterol: 11mgSodium: 409mgPotassium: 233mgFiber: 2gSugar: 30gVitamin A: 492IUVitamin C: 6mgCalcium: 94mgIron: 1mg
    Tried this recipe?Let us know how it was!

    You can find a full index of my recipes here.

    Don't forget to follow The Life Jolie on Pinterest for more recipe inspiration!

    This peach cobbler is everything that summer is about- It's quick and easy to make, the peaches are bursting with flavor and the dough is light as a feather! Click on the photo to read more...

    Garlic Scape Pesto

    Jul 27, 2015 · 16 Comments

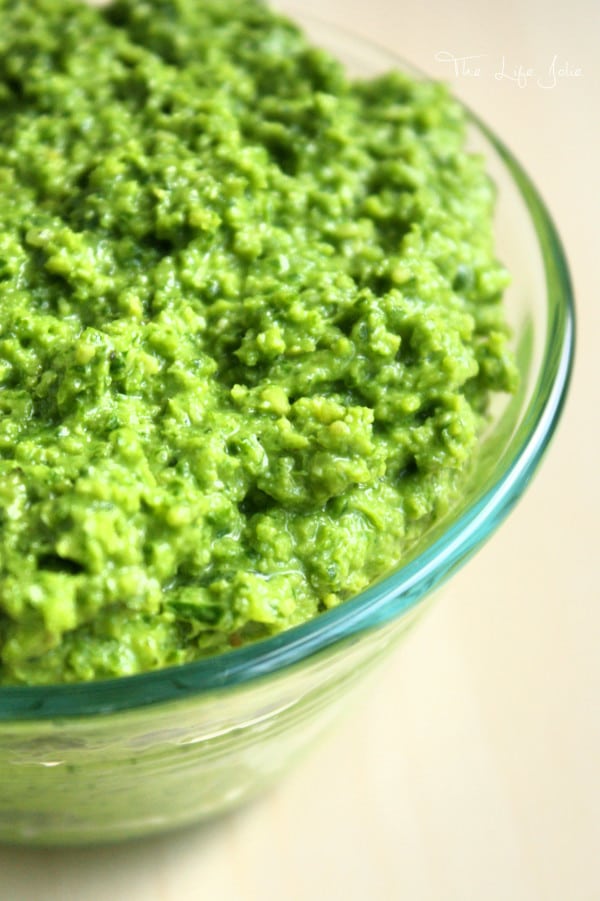
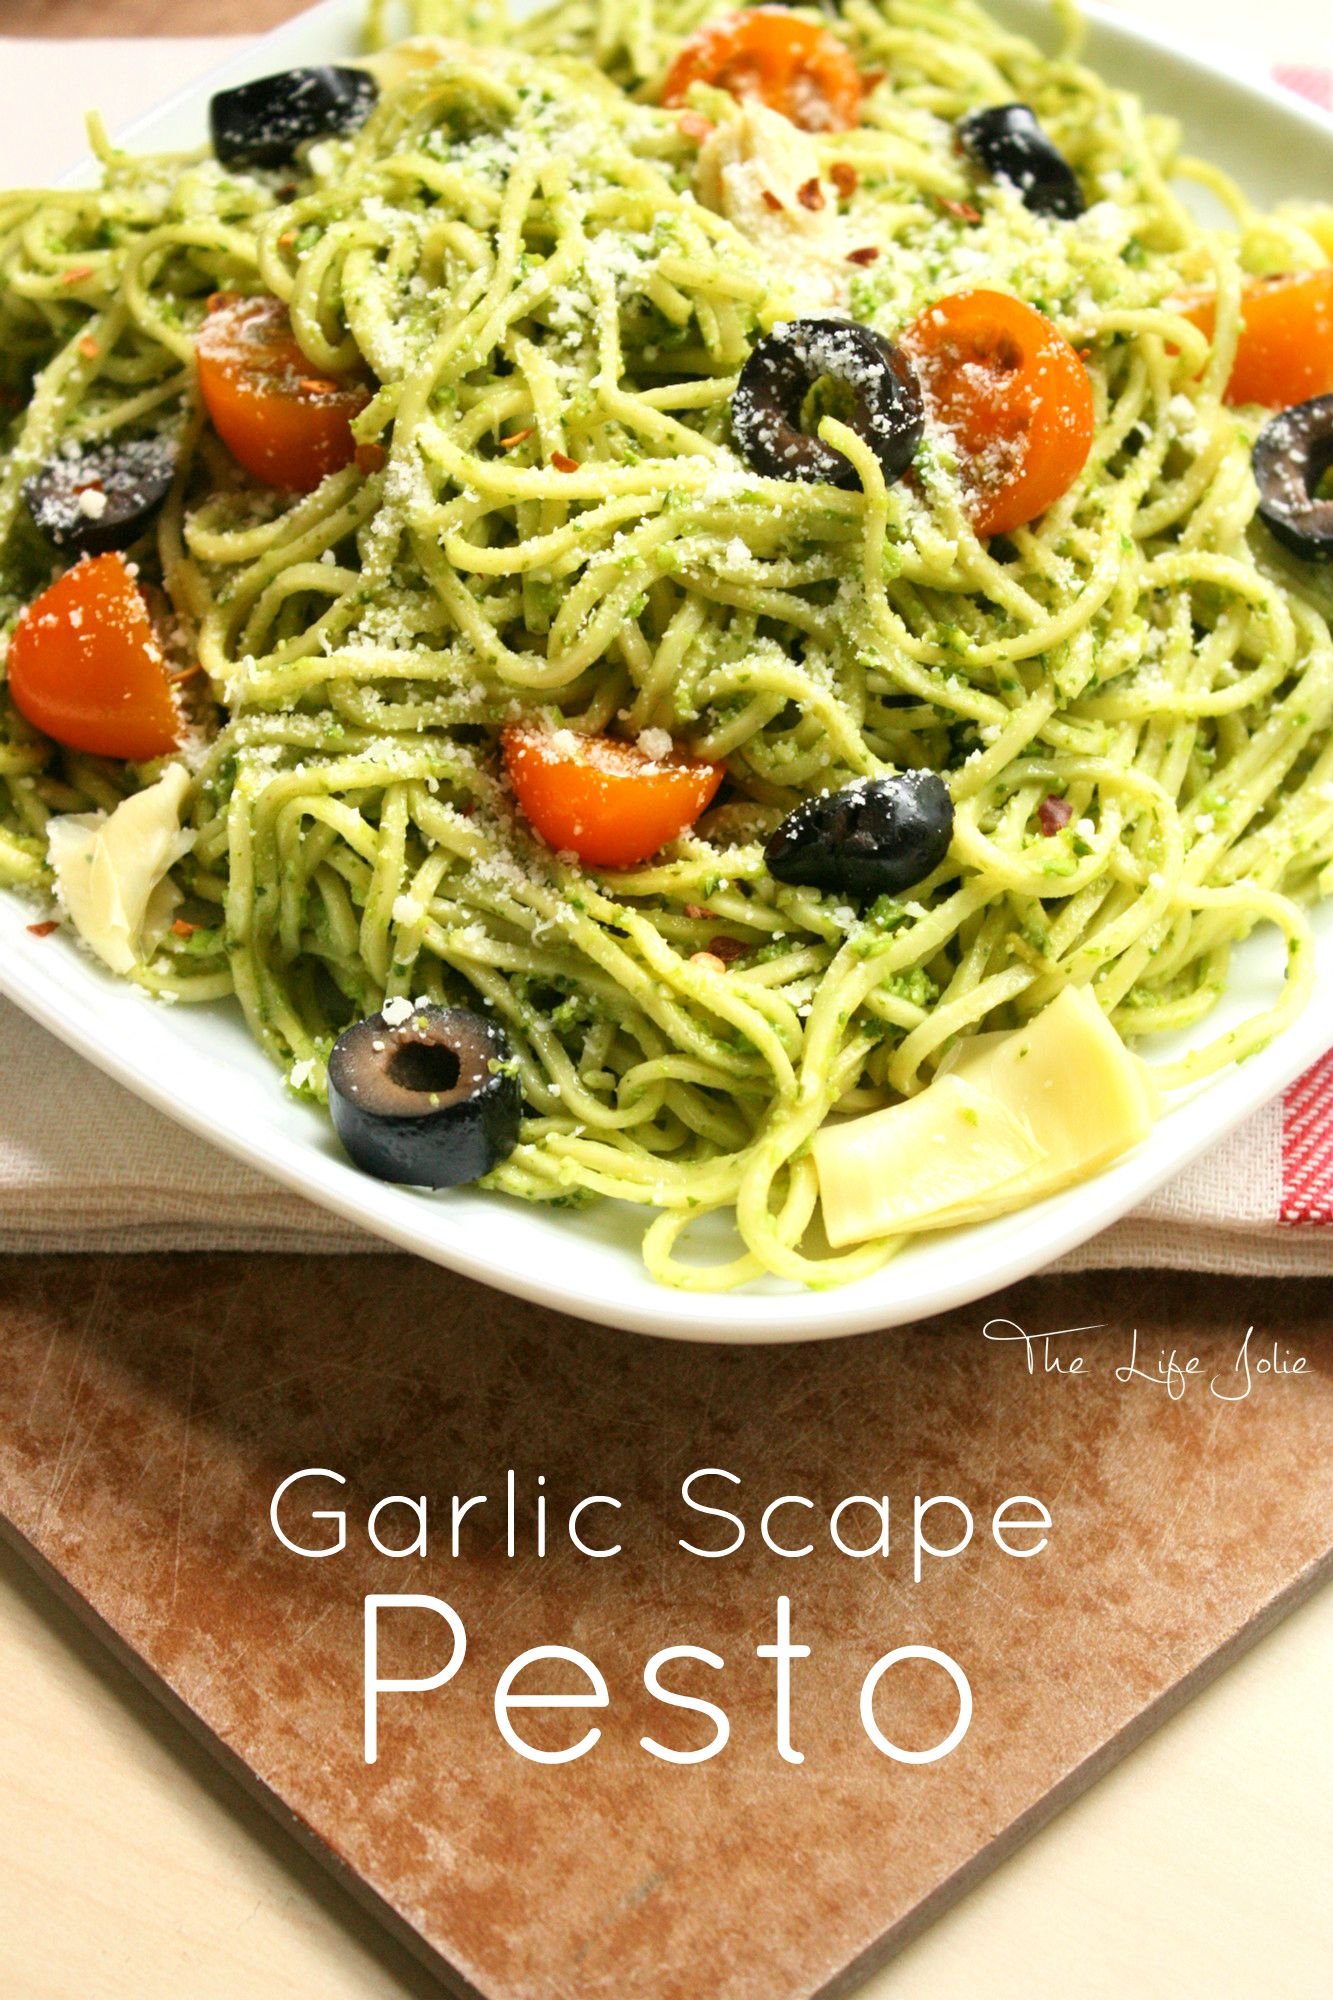
    Garlic Scape Pesto is a tasty twist on a regular pesto. If you like garlic, you have got to try this! It's great over pasta as well as on meat. Click on the photo to read more...

    Have you noticed Garlic Scapes at your local public market? They look like curvy, scallions/green beans. They are actually the flower bud of the garlic plant. Think of them like the green onions of garlic. They have the same strong and tasty garlic flavor and can be used in the same fashion. For years I've been fascinated by these, but haven't had the nerve to actually try cooking with them. Until this past weekend, when I succumbed to my urge to purchase a bunch and give them a shot. And thus, I give you Garlic Scape Pesto.

    Garlic Scape Pesto is a tasty twist on a regular pesto. If you like garlic, you have got to try this! It's great over pasta as well as on meat. Click on the photo to read more...

    Now I'd be lying if  I told you that I cooked up the idea for Garlic Scape Pesto on my own (see what I did there?). This was actually inspired by a Garlic Scape Pesto Pasta that I enjoyed one day at work, of all places! We are lucky enough have a talented group of professionals who make some pretty amazing things in our cafeteria. I thought it was pretty delicious and when I saw the Garlic Scapes once again at my weekly Public Market trip, I immediately remembered the pasta and decided to give it a shot.

    Garlic Scape Pesto is a tasty twist on a regular pesto. If you like garlic, you have got to try this! It's great over pasta as well as on meat. Click on the photo to read more... Garlic Scape Pesto is a tasty twist on a regular pesto. If you like garlic, you have got to try this! It's great over pasta as well as on meat. Click on the photo to read more...

    Now, if you're not a garlic lover, I'd encourage you to stick with traditional Pesto, as this is pretty garlicky. You will be extra make-out-able when you finish eating this (yes, this is a word now. You're welcome.). If you do like all things garlic/pesto/pasta you will be a very happy camper.

    Garlic Scape Pesto is a tasty twist on a regular pesto. If you like garlic, you have got to try this! It's great over pasta as well as on meat. Click on the photo to read more... Garlic Scape Pesto is a tasty twist on a regular pesto. If you like garlic, you have got to try this! It's great over pasta as well as on meat. Click on the photo to read more...

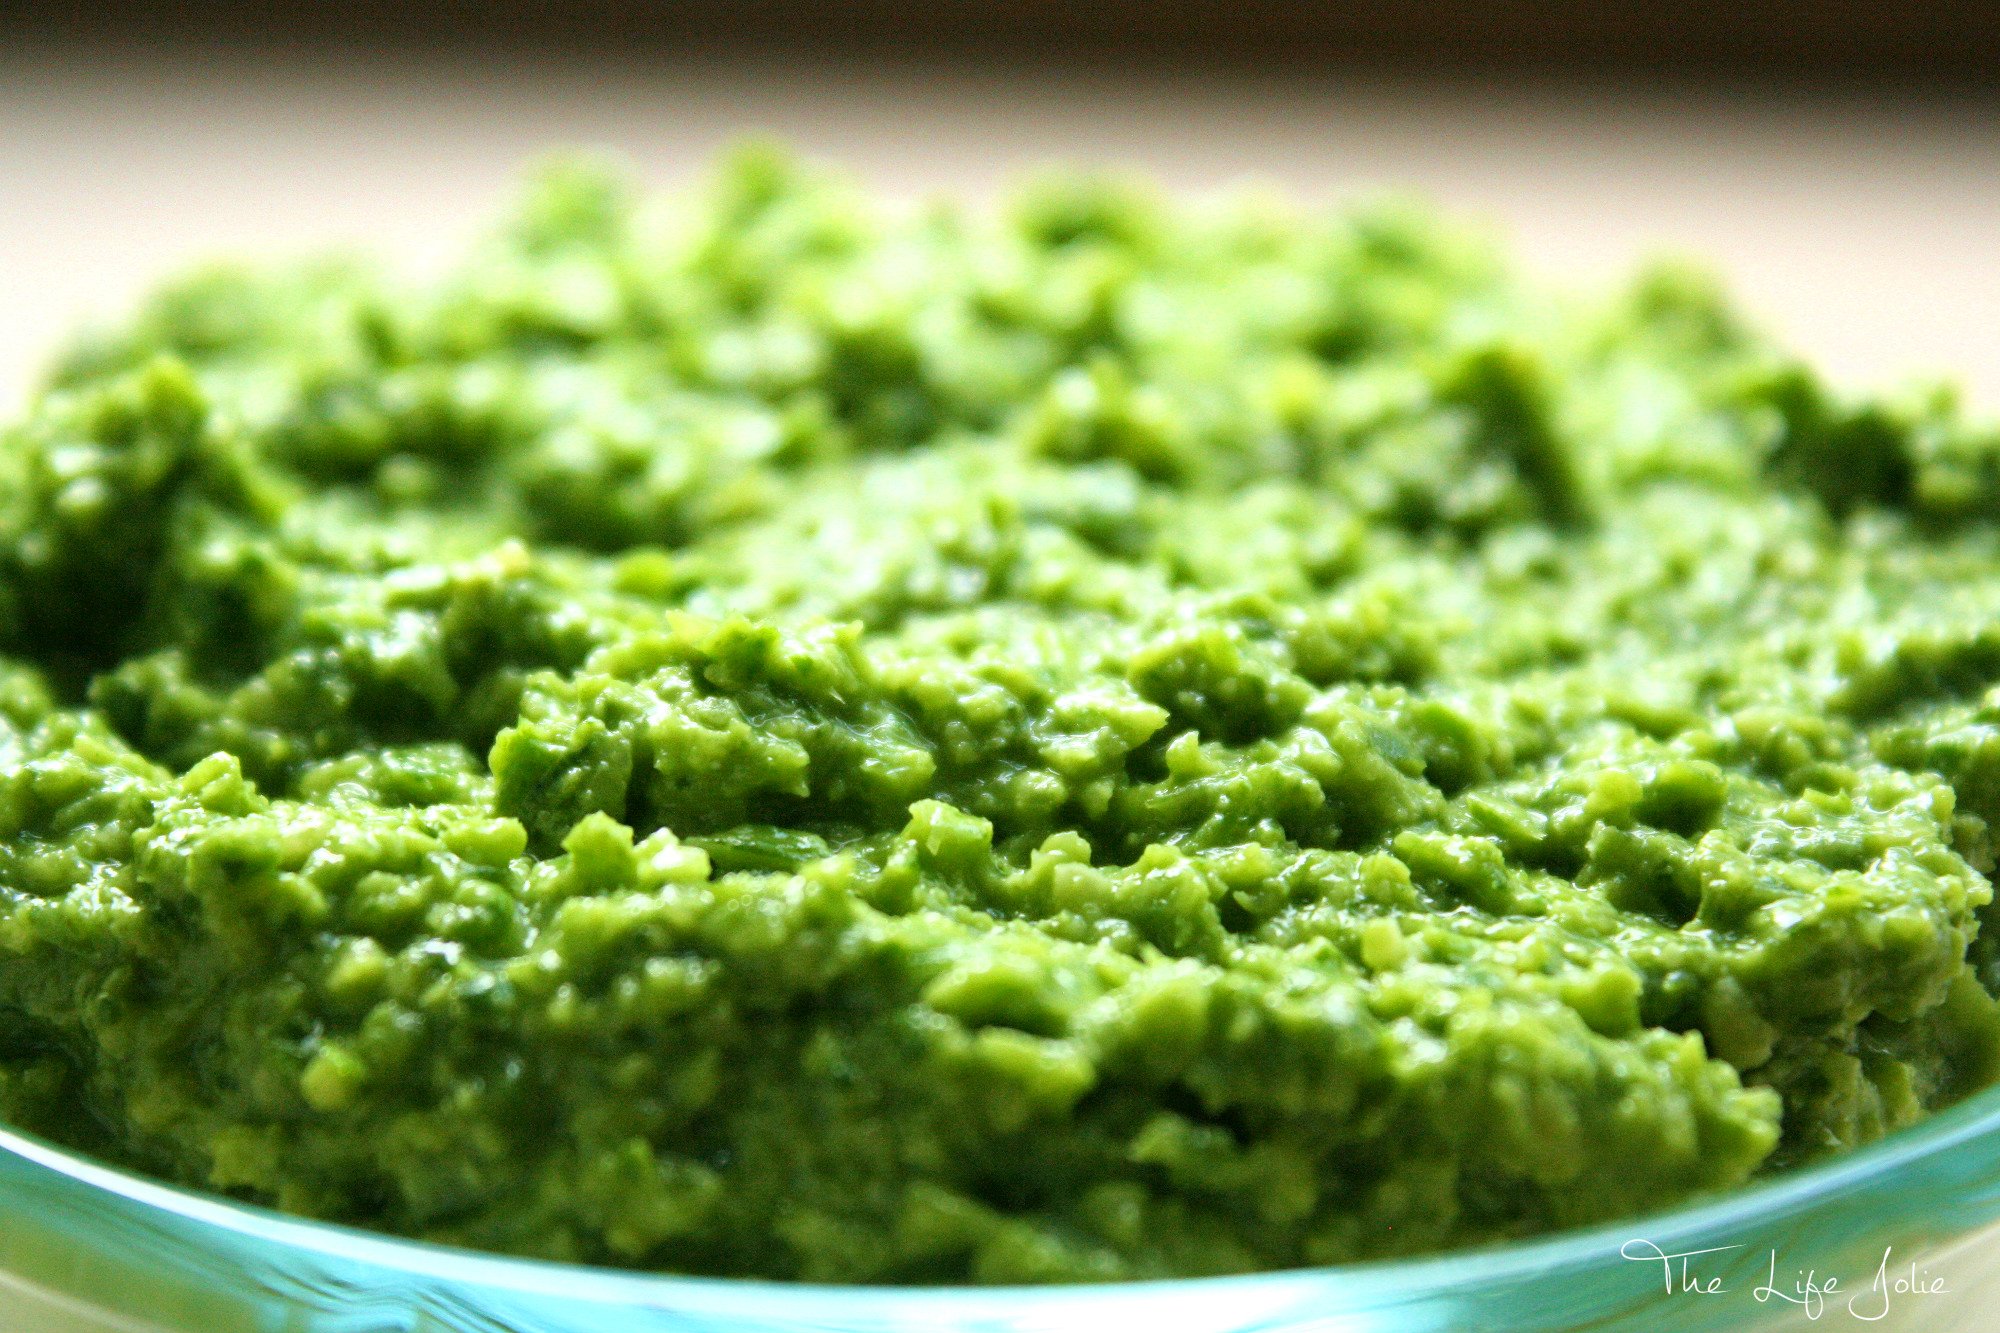
    I toasted my pine nuts first to really bring out their delicious flavor. I also added a good amount of basil to try and balance out the garlicky flavor. Feel free to go lighter or heavier on certain ingredients based on your personal tastes. You'll notice that the consistency isn't as liquid-y as one might expect. I was afraid to go too heavy on the oil because I like to add some extra olive oil to my pasta to keep it from sticking and didn't want it to be too greasy.

    Garlic Scape Pesto is a tasty twist on a regular pesto. If you like garlic, you have got to try this! It's great over pasta as well as on meat. Click on the photo to read more... Garlic Scape Pesto is a tasty twist on a regular pesto. If you like garlic, you have got to try this! It's great over pasta as well as on meat. Click on the photo to read more...

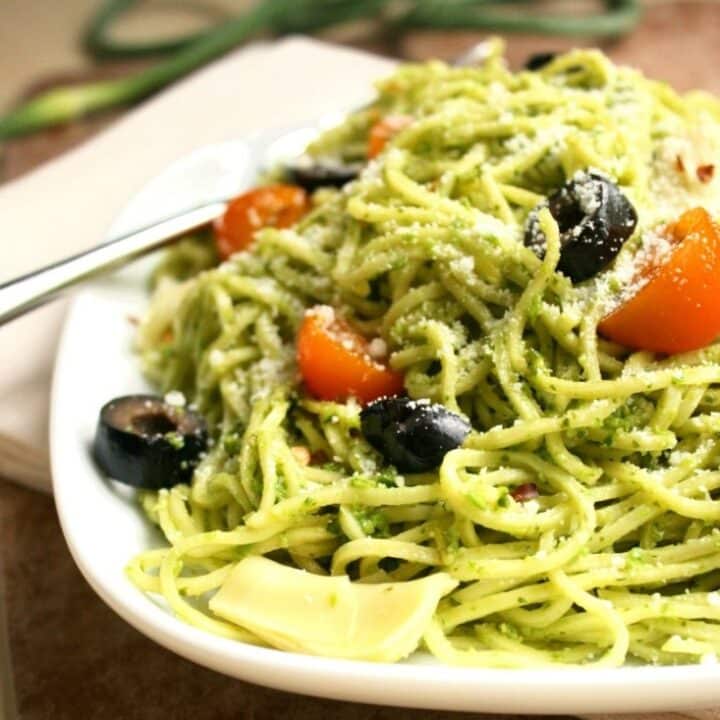
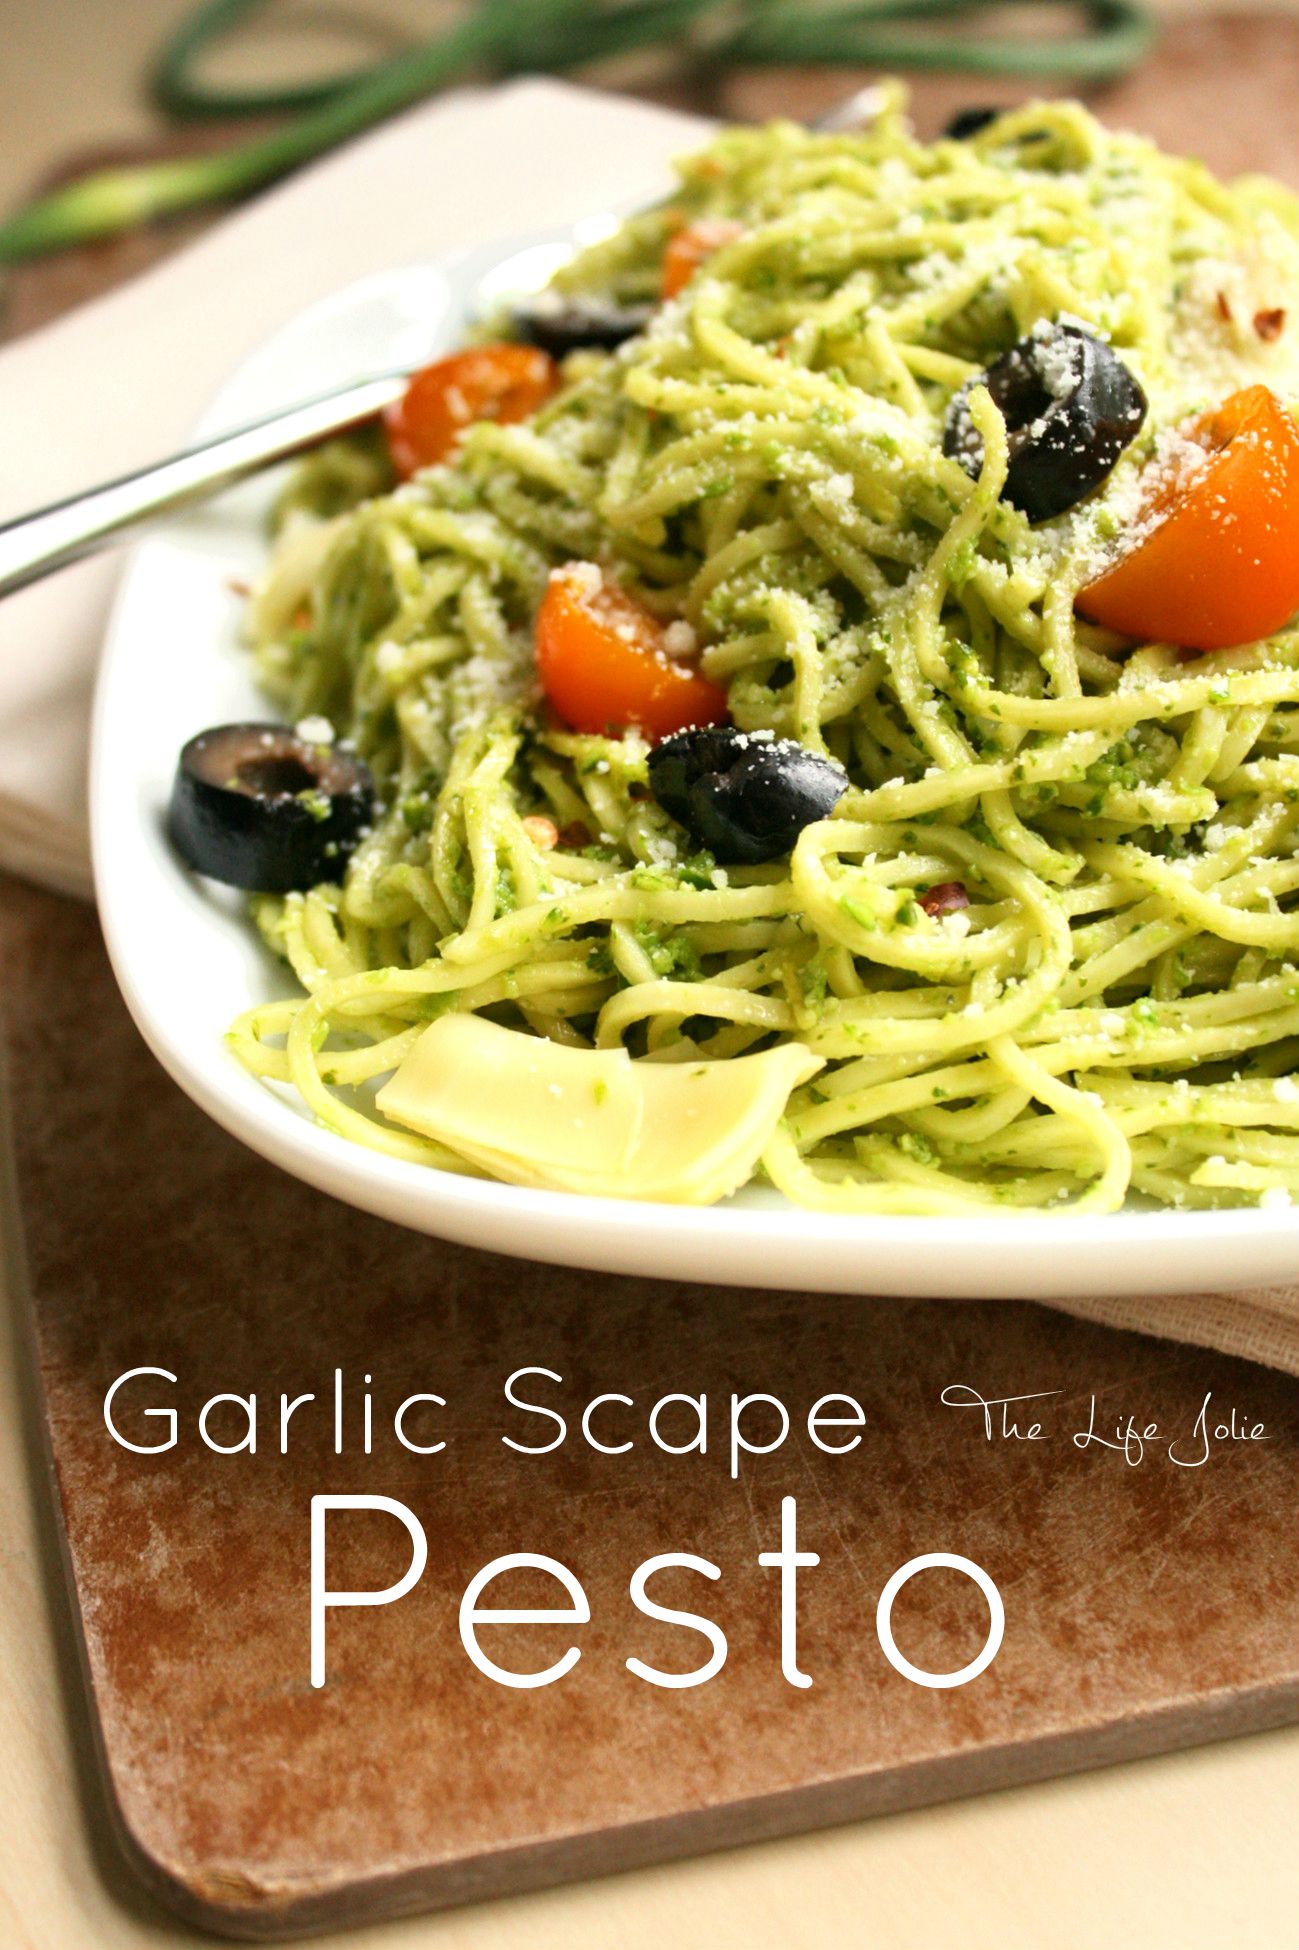
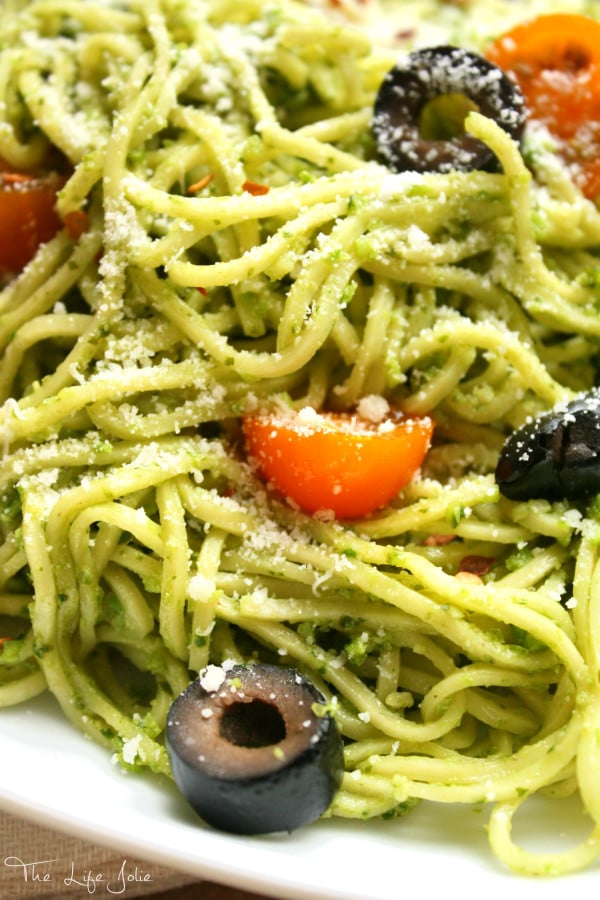
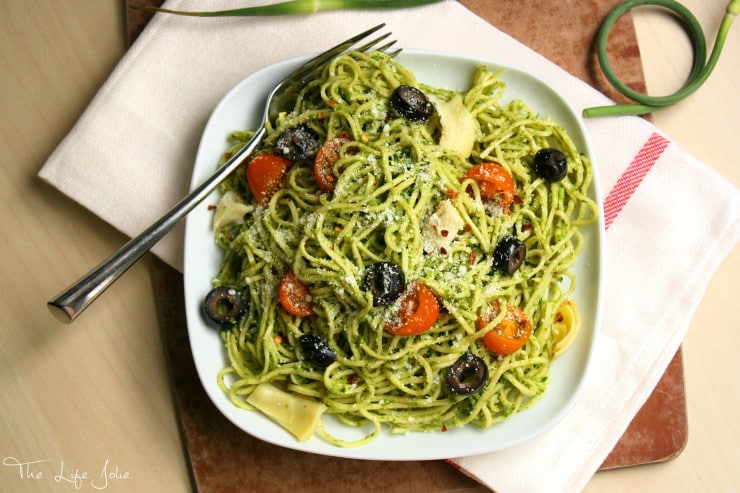
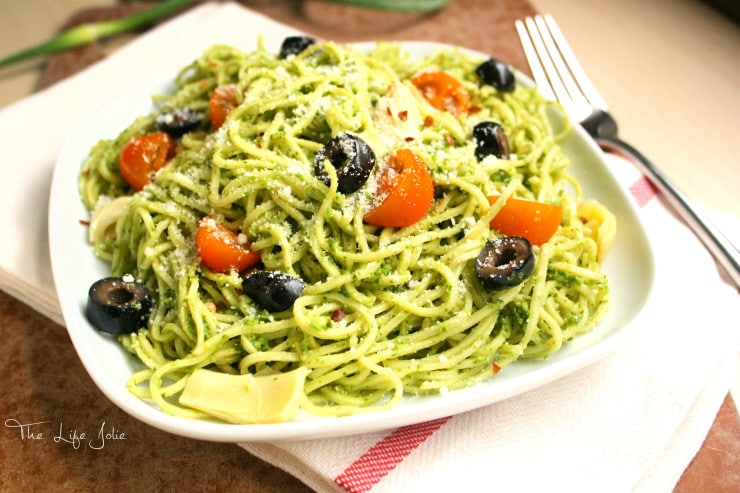
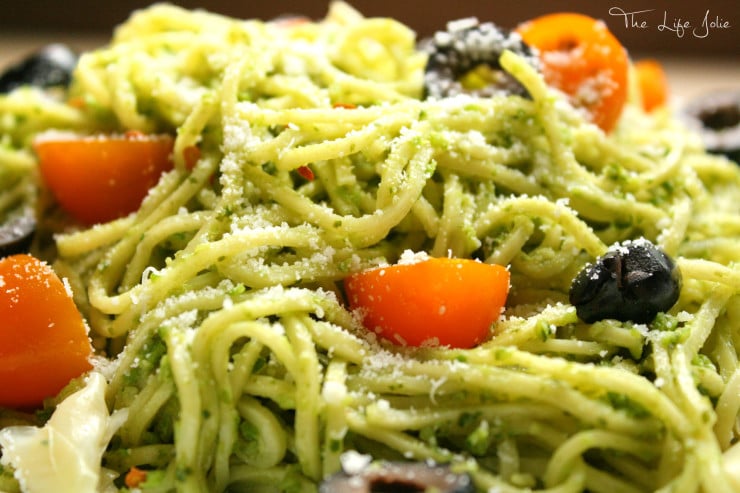
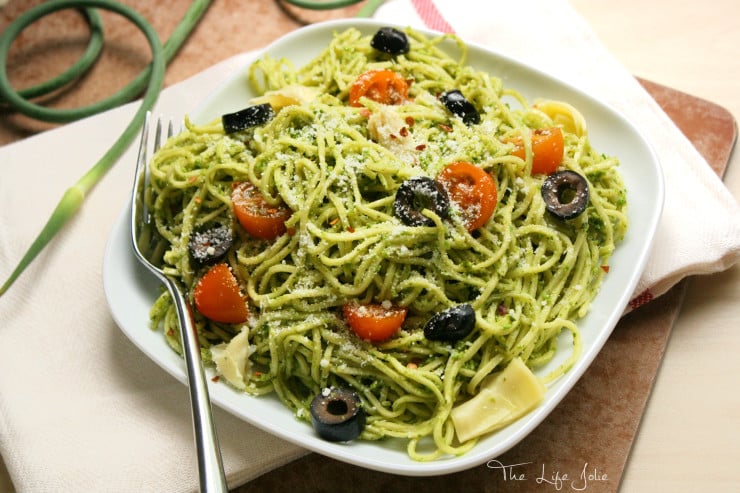
    I served this over the fresh pasta of my choice (ie- what was living in my refrigerator) and tossed it with fresh tomatoes, artichoke hearts and black olives followed by a generous sprinkle of Romano cheese and crushed red pepper. I bet it would be delicious on grilled fish or chicken as well.

    Garlic Scape Pesto is a tasty twist on a regular pesto. If you like garlic, you have got to try this! It's great over pasta as well as on meat. Click on the photo to read more...

    Garlic Scape Pesto

    Source: The Life Jolie

    Ingredients:

    • A large handful of garlic scapes, with the ends trimmed and washed
    • A large handful of basil leaves, washed
    • ½ cup of Romano cheese
    • 3 Tbsp. of toasted pine nuts
    • 6 Tbsp. of olive oil (or more for a looser consistency)

    Mix first 4 ingredients into your food processor and process until well combined.

    While the food processor is running, drizzle in the olive oil until the consistency is more of a thick sauce.

    Serve over pasta or meat of your choice or freeze for later use. This will last a couple days in the refrigerator.

    You can find a full index of my recipes here.

    Don't forget to follow The Life Jolie on Pinterest for more recipe inspiration!

    Garlic Scape Pesto is a tasty twist on a regular pesto. If you like garlic, you have got to try this! It's great over pasta as well as on meat. Click on the photo to read more... Garlic Scape Pesto is a tasty twist on a regular pesto. If you like garlic, you have got to try this! It's great over pasta as well as on meat. Click on the photo to read more...Linked up at:

    Monday: Frugal Crafty Home, Inspiration Monday, Motivation Monday

    Tuesday: The Scoop, Create Link Inspire

    Wednesday: Whimsy Wednesday, One Project at a Time, Wonderful Wednesday, Hit Me With Your Best Shot

    Peppers and Eggs

    Jun 29, 2015 · 4 Comments

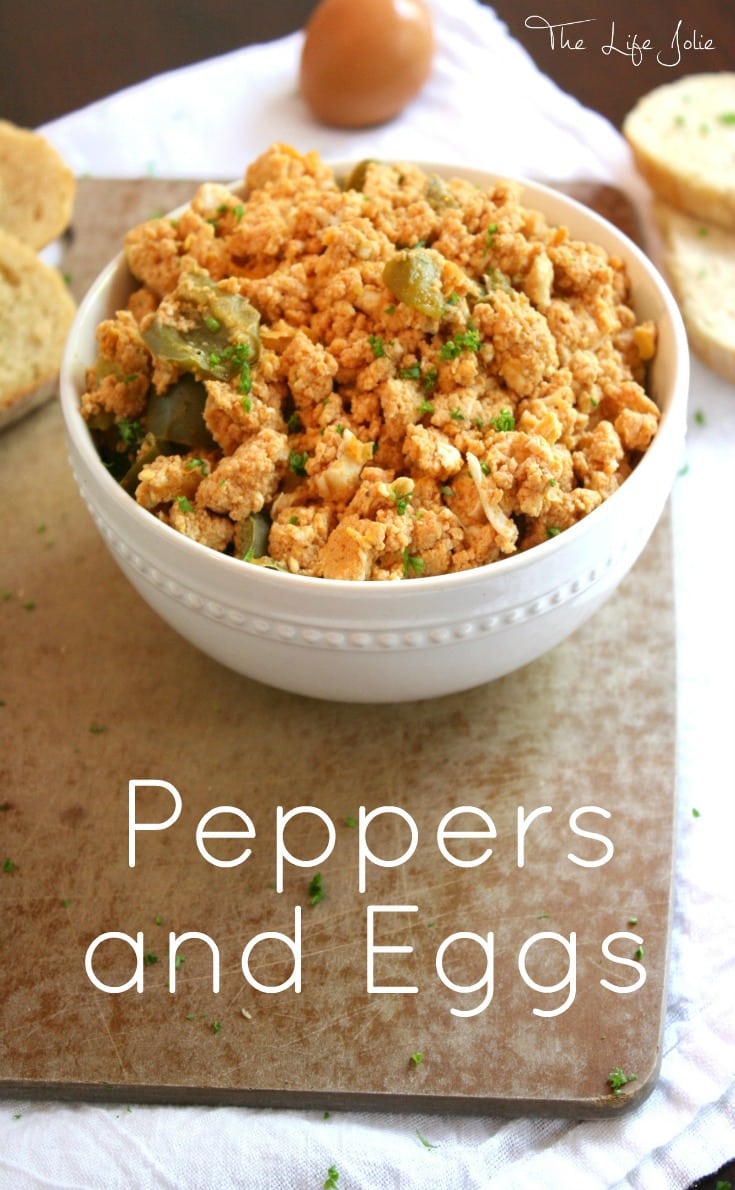
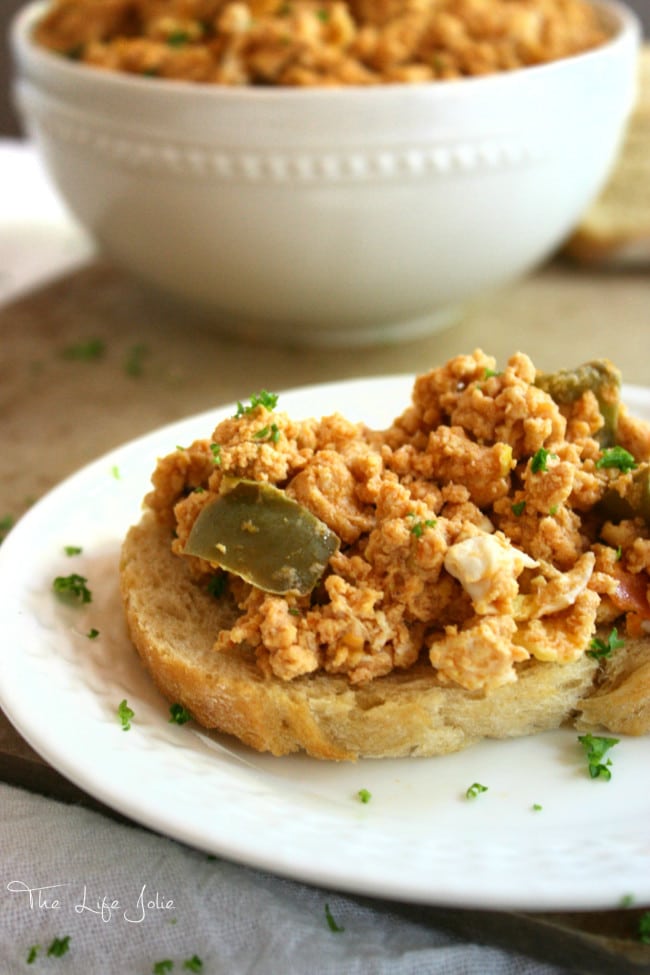
    This Peppers and Eggs recipe is such a simple, delicious dinner or lunch. It combines a few basic ingredients and is very cost-efficient. I like to serve it hot or cold over fresh Italian bread. Click on the photo to learn more...

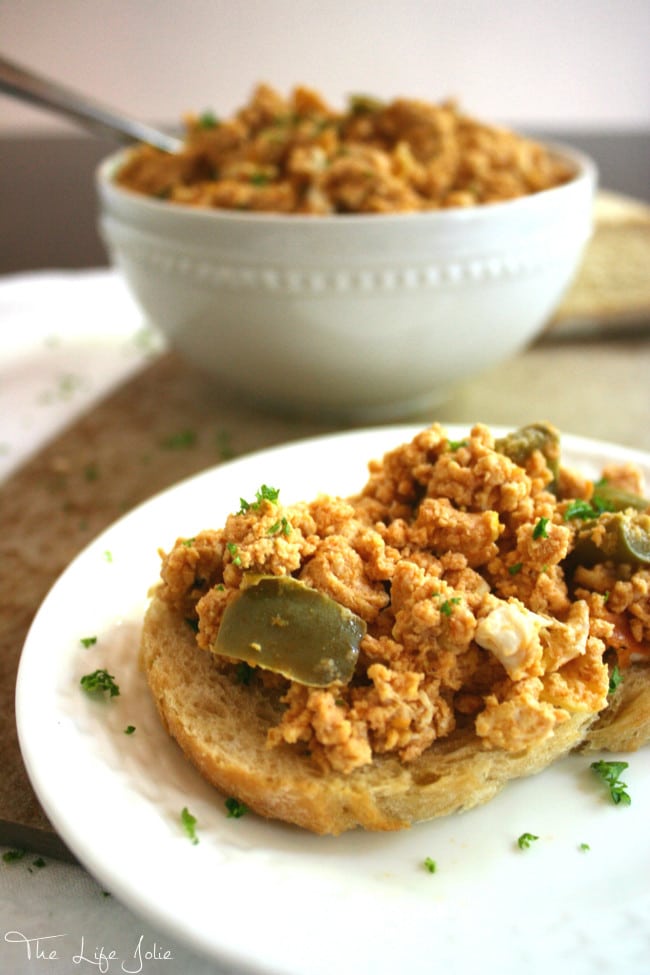
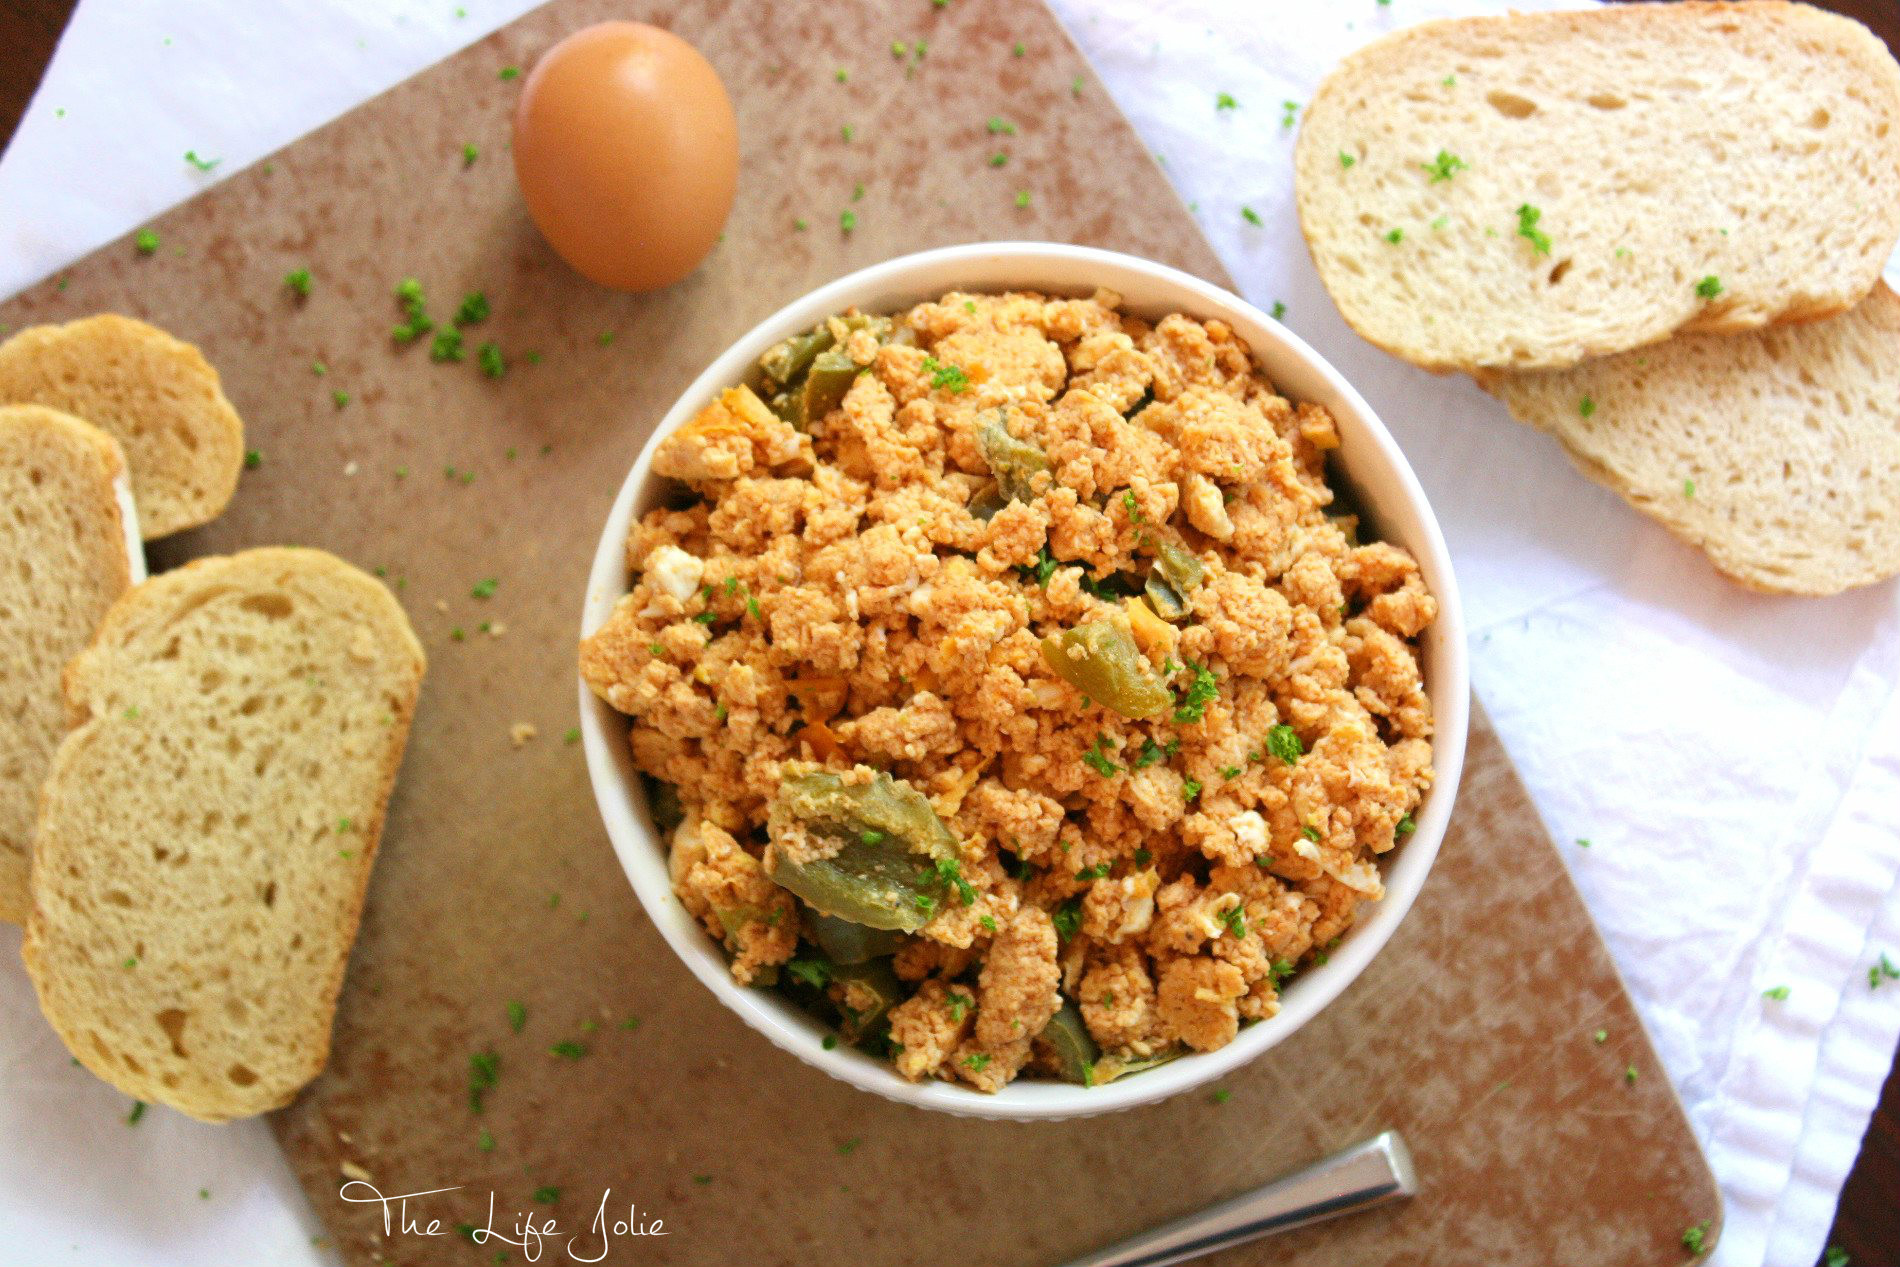
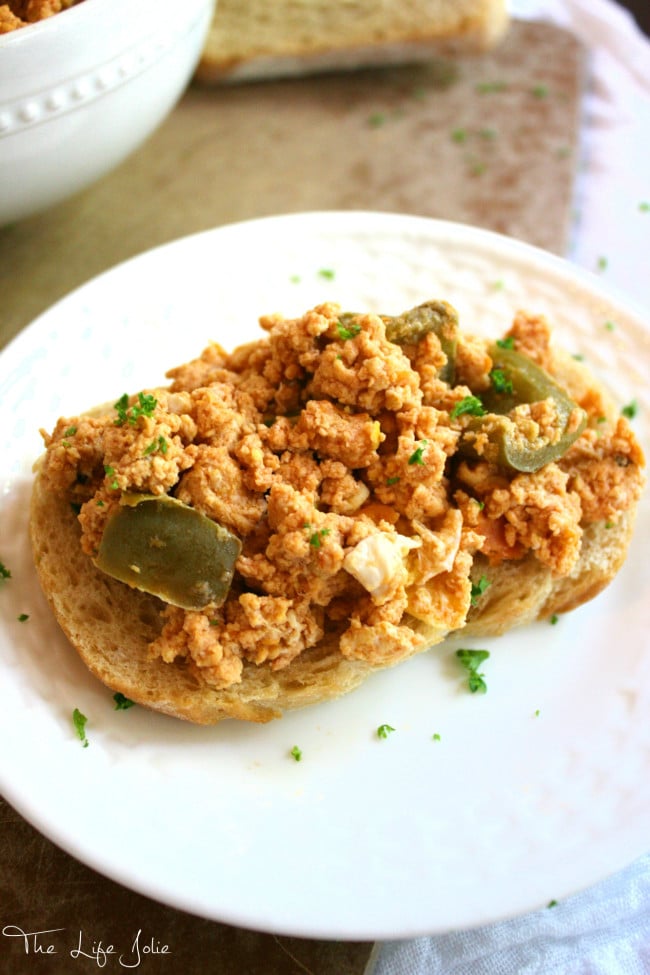
    This Peppers and Eggs recipe is such a simple, delicious dinner or lunch. It combines a few basic ingredients and is very cost-efficient. I like to serve it hot or cold over fresh Italian bread. 

    Peppers and Eggs. Probably not the first direction you'd go when you're looking for a simple, cost-efficient lunch, right? I get it. I'm personally a big soup gal, and I love a good sandwich or salad as well. And don't get me started on my love for all things meat. My little carnivorous heart flutters at the thought of a nice roast beef sandwich with horsey mayo! But that is another post for another day. Today, I want to talk to you about Peppers and Eggs.

    This Peppers and Eggs recipe is such a simple, delicious dinner or lunch. It combines a few basic ingredients and is very cost-efficient. I like to serve it hot or cold over fresh Italian bread. Click on the photo to learn more...

    Peppers and Eggs falls under that category of simple food. As you'll note from many of the family recipes that I post, I grew up on a lot of simple food. It is easy to prepare. Has minimal ingredients. And most importantly, it's delicious. There's just something about being able to take a few basic ingredients and really make them sing. Some other examples of simple food are Rosie's Famous Zucchini (which was often served along side the Peppers and Eggs- I can never get enough eggs!), Whole Roasted Chicken, and Sandwich Steaks. I really, truly believe that many of the best things in life are the simple things.

    This Peppers and Eggs recipe is such a simple, delicious dinner or lunch. It combines a few basic ingredients and is very cost-efficient. I like to serve it hot or cold over fresh Italian bread. Click on the photo to learn more... This Peppers and Eggs recipe is such a simple, delicious dinner or lunch. It combines a few basic ingredients and is very cost-efficient. I like to serve it hot or cold over fresh Italian bread. Click on the photo to learn more...

    My Grandma Rose used to whip up Peppers and Eggs often and I can remember many happy lunches enjoying them on fresh Italian bread. Coming into her house and later apartment, we were always greeted with the most delicious smells. These taste great served hot or cold. I've been known to enjoy them at all hours of the day and night. This recipe is great to make to your tastes. If you like a lot of peppers, by all means add more. If you want them to be a little drier, add an extra egg. Or you can make them with one less egg. But if you're looking for a simple dish that is inexpensive and easy to prepare, this is a great option.

    This Peppers and Eggs recipe is such a simple, delicious dinner or lunch. It combines a few basic ingredients and is very cost-efficient. I like to serve it hot or cold over fresh Italian bread. Click on the photo to learn more... This Peppers and Eggs recipe is such a simple, delicious dinner or lunch. It combines a few basic ingredients and is very cost-efficient. I like to serve it hot or cold over fresh Italian bread. Click on the photo to learn more...

    Peppers and Eggs

    Source: Rose Scuteri

    Ingredients:

    • Olive oil
    • 1 pepper, seed removed and cut into 1 inch chunks
    • 1 small can of tomato sauce (8 oz. can)
    • Garlic powder
    • Salt
    • Pepper
    • 6-8 eggs

    Over medium heat, heat a couple swigs of olive oil (don't skimp on this).

    Add your peppers and season with salt, pepper and garlic powder to taste (be liberal with your seasonings).

    Let the peppers saute for a couple minutes, making sure that they don't brown or fry. (if they start to, reduce your heat a bit.

    Add some water to "steam" the peppers and reduce until most of the liquid is gone and the peppers are soft. If they are not soft enough after the first waters reduces, add more and do it again. I reduced it twice.

    Pour your tomato sauce over the peppers and saute for a couple of minutes, stirring to combine.

    Raise your heat a bit to medium high and crack in your eggs, stirring to scramble and combine. Keep turning them periodically until eggs are cooked and are a more solid consistency. Start with less eggs and add more as you don't want it to get too dry. The eggs absorb the sauce to create a really nice flavor.

    Serve immediately or refrigerate and eat over the next few days.

    You can find a full index of my recipes here.

    Don’t forget to follow The Life Jolie on Pinterest for more recipe inspiration!

    Linked up at:

    Monday: Frugal Crafty Home, Inspiration Monday, Motivation Monday

    Tuesday: The Scoop, Totally Talented Tuesdays

    Wednesday: Whimsy Wednesday, One Project at a Time, Wonderful Wednesday, Hit Me With Your Best Shot

    Thursday: Showcase Your Talent Thursdays, Cook it! Craft it! Share it!, Thursday Favorite Things

    Friday: Lovely Little Link Party, Weekend Re-Treat, Creativity Unleashed, Foodie Friday and Everything Else, Let's Get Real Link Up

    Grandma Hinz's Apple Pancakes

    Feb 10, 2015 · 18 Comments

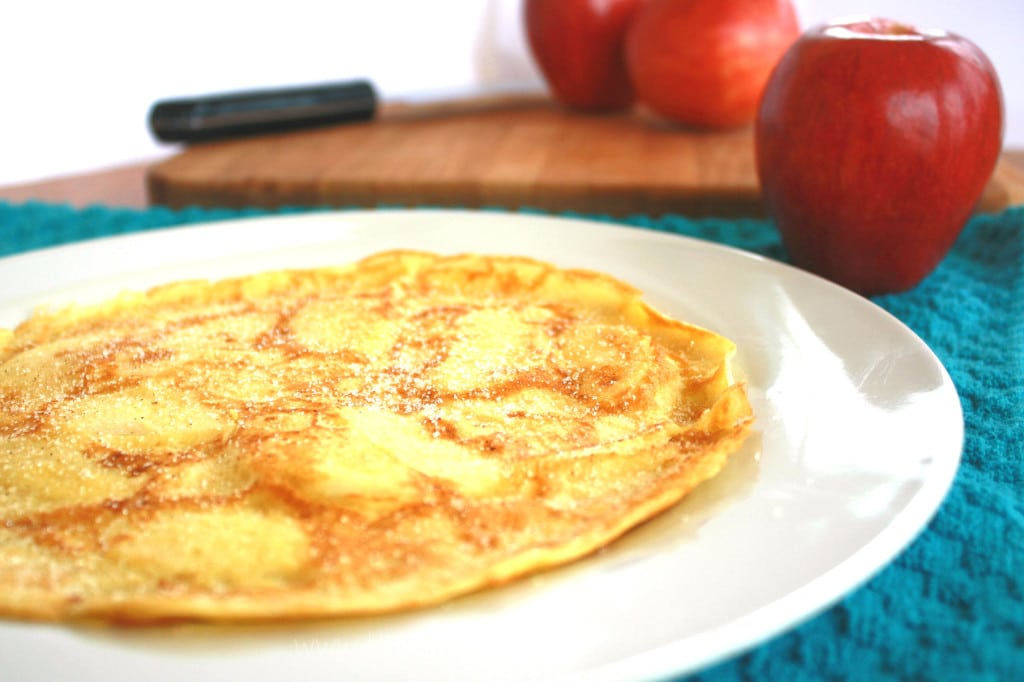
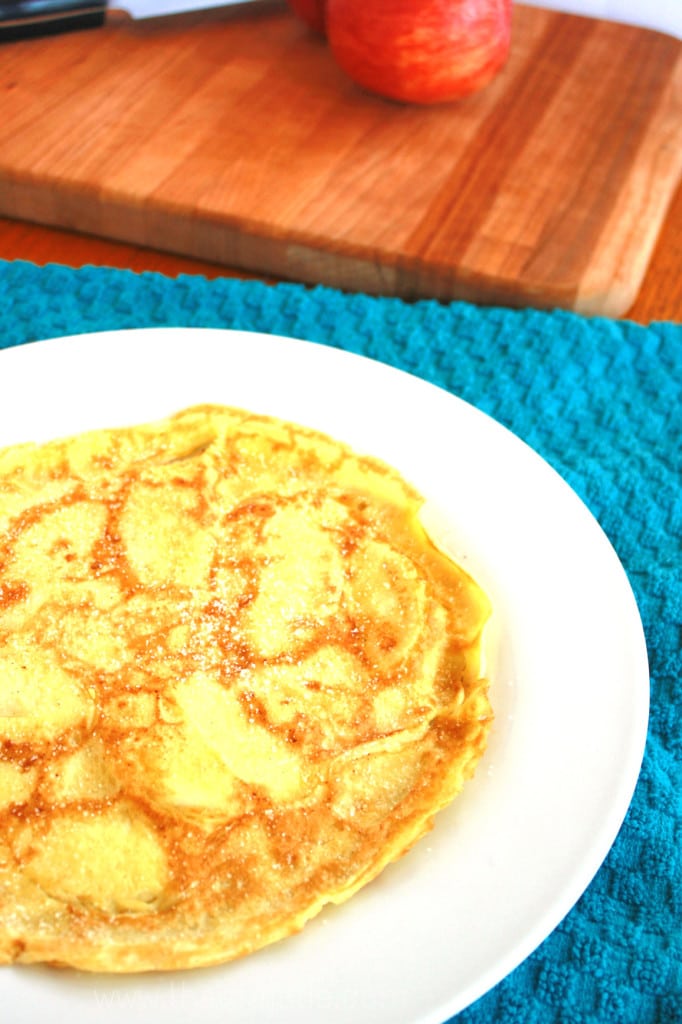
    Grandma Hinz's Apple Pancakes | The Life Jolie

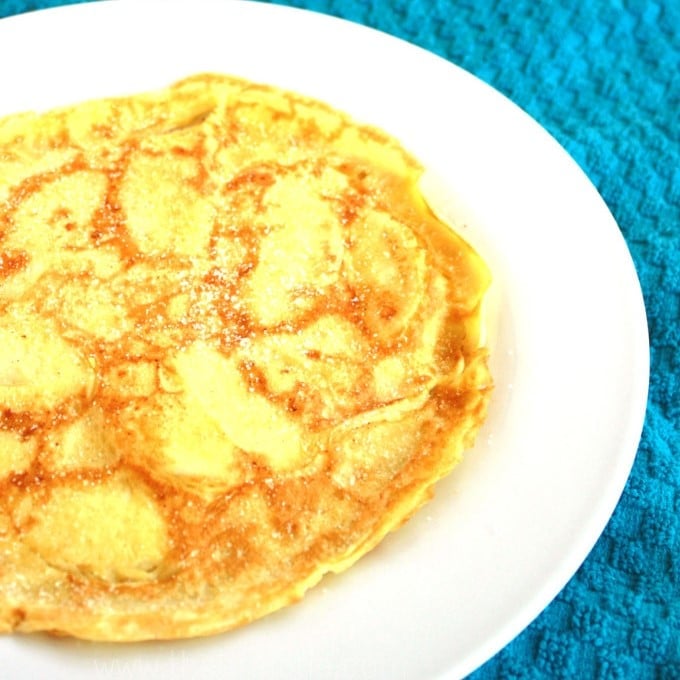
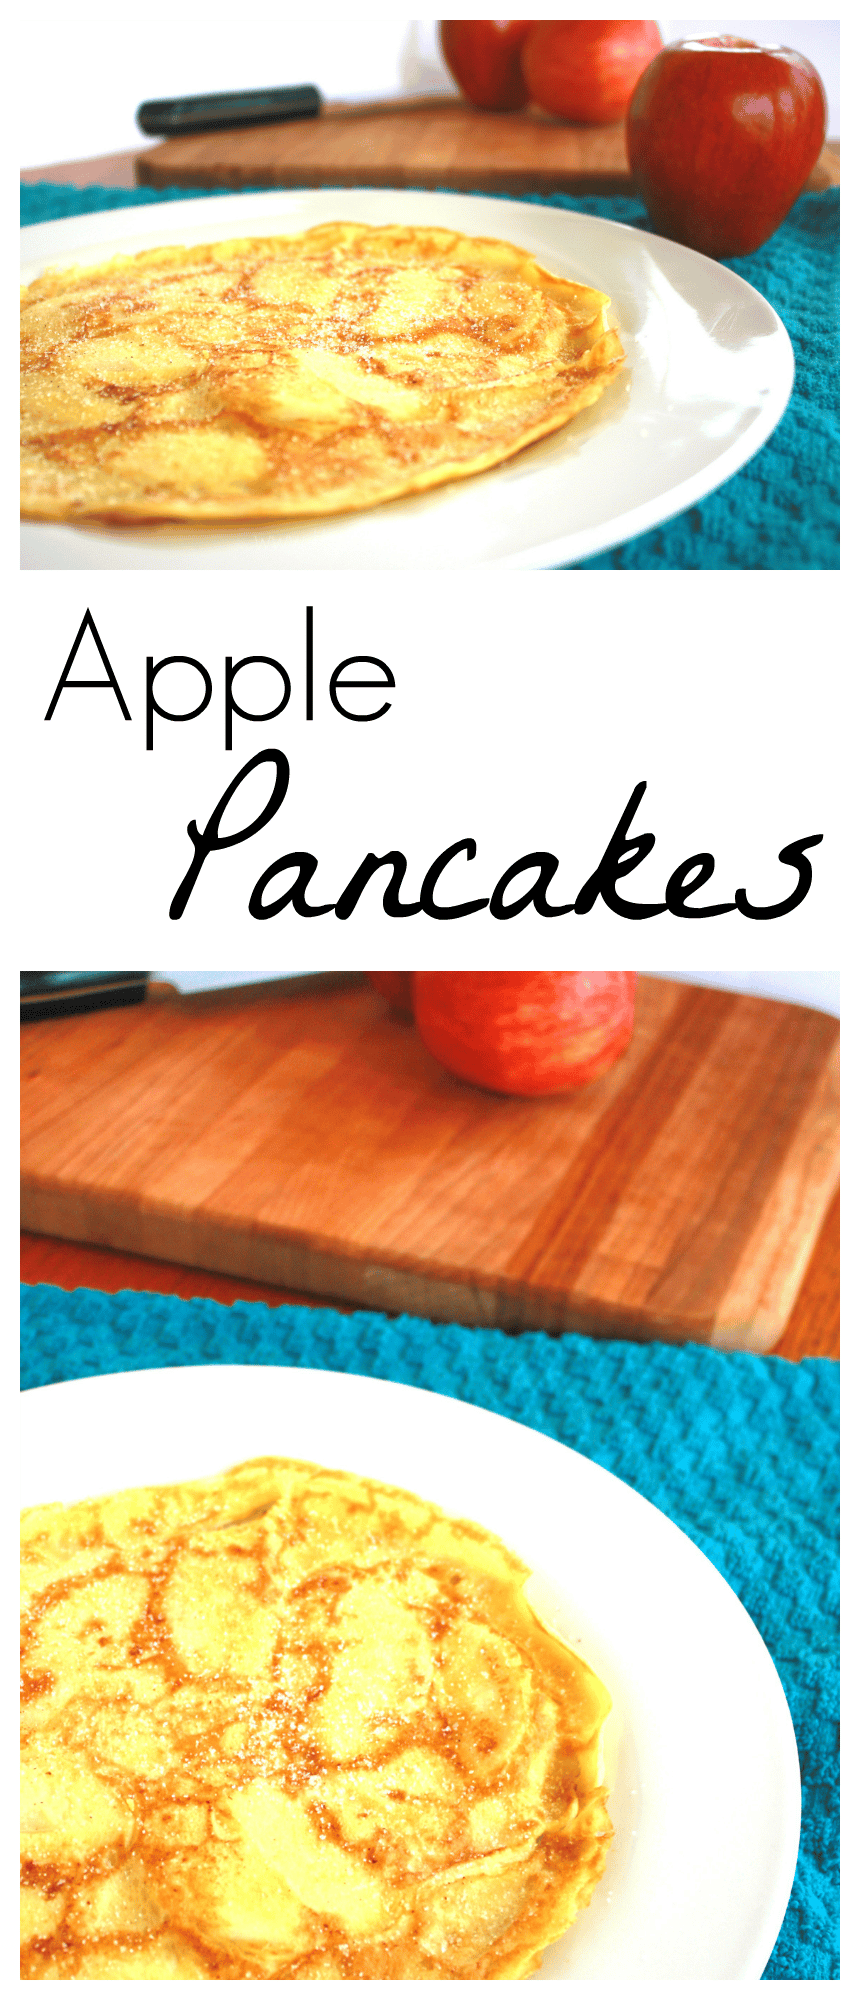
    This recipe is a family favorite- my Great Grandma's Apple Pancakes are such an amazing, subtly-sweet breakfast option. You cannot eat just one!

    Sometimes a delicious breakfast is worth a bit of extra work. My Great Grandma Hinz's Apple Pancakes aren't the most simple breakfast, but they're aren't insanely hard either, there are just a few extra steps. Turning them is a skill that you develop as you go along (be warned, the first one never comes out very good).This recipe is a family favorite- my Great Grandma's Apple Pancakes are such an amazing, subtly-sweet breakfast option. You cannot eat just one!But there is something about the sweet/tart peeled and thinly sliced apples mixed right into the not-overly-sweet batter that gets me every time. The Apple Pancakes aren't particularly thick. In fact, if it weren't for the apples, I'd say these would be more similar to crepes. I like to keep it simple topping them with a bit of cinnamon and sugar. I'd imagine powdered sugar might be nice on them. Or, if you're like my Grandma Eve, you could put maple syrup. But I love how the cinnamon and sugar add a tiny bit of sweetness without destroying the subtle flavors of the apples mixed with the that light batter. Add some bacon for a nice savory note and some fresh coffee and you've got yourself a beautiful breakfast.
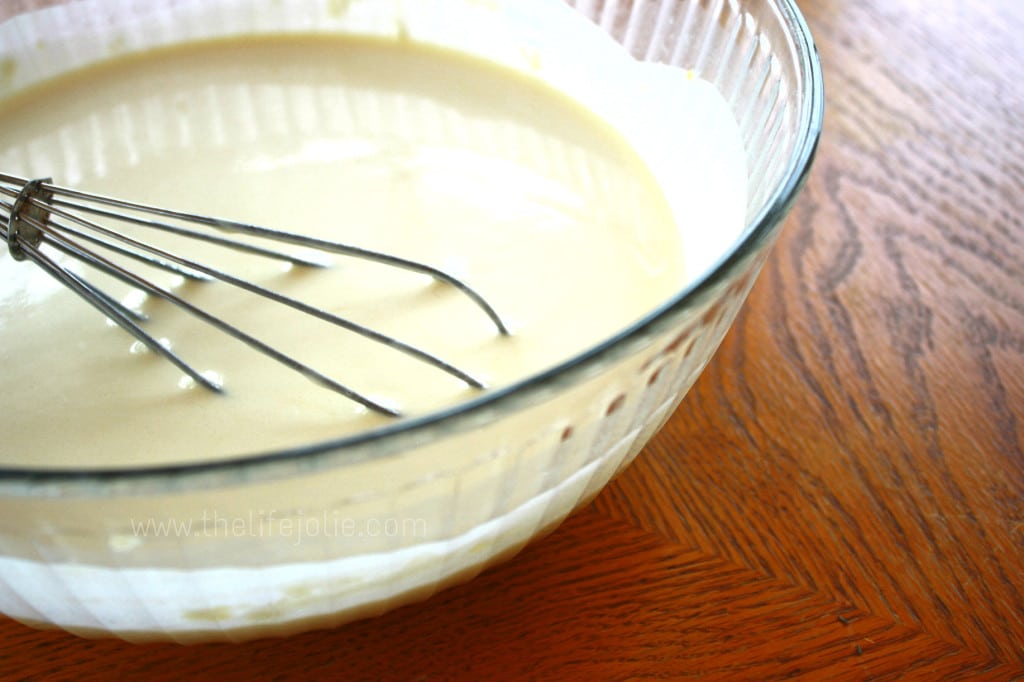
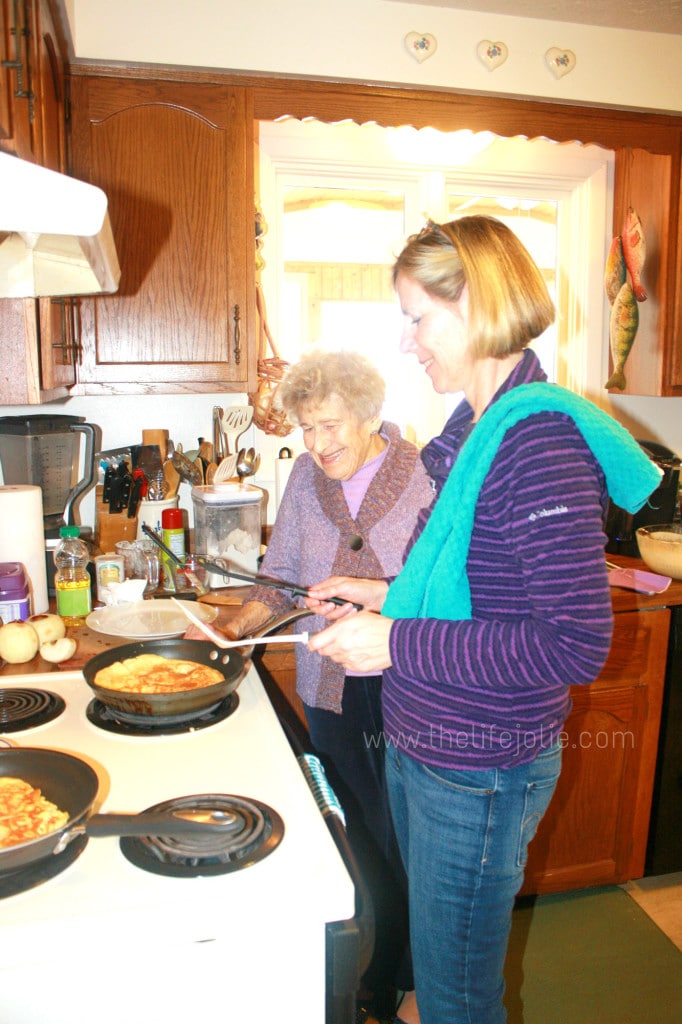
    Which is exactly what Alice, my Mom, my Grandma and my Aunt did this weekend (and later my uncle and Dad enjoyed some as well). It was a nice way to spend a morning with some of the special ladies in our family. We were missing a few key ladies, but it was still a great time and A is now an Apple Pancake enthusiast.

    Grandma Hinz's Apple Pancakes | The Life Jolie

    Grandma Hinz's Apple Pancakes | The Life Jolie

    Grandma Hinz's Apple Pancakes | The Life Jolie

    Grandma Hinz's Apple Pancakes | The Life Jolie  Grandma Hinz's Apple Pancakes | The Life Jolie

    Grandma Hinz's Apple Pancakes | The Life Jolie

    Grandma Hinz's Apple Pancakes

    Source: Eve Repp

    Ingredients:

    • ⅔ of a cup of flour
    • 2 eggs
    • 1 cup of milk (2%)
    • 2 Tbsp. of oil
    • ½ tsp. of baking powder
    • 2 or more apples, peeled and thinly sliced
    • Cooking spray for your pan

    Mix the first five ingredients to make your batter.

    Stir in your apples.

    Spray your frying pan with cooking spray (nonstick if you have it) and heat just below medium heat.

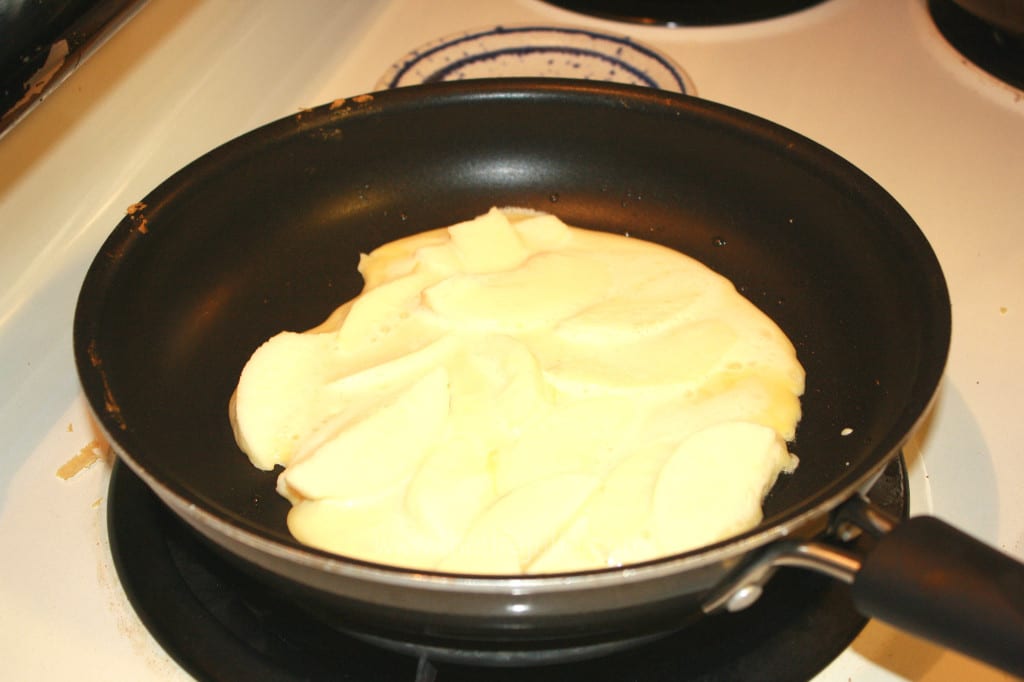
    Put a thin layer of your batter and apple mixture, making sure to spread your apples out evenly before it solidifies and rotating the pan to evenly distribute the batter.

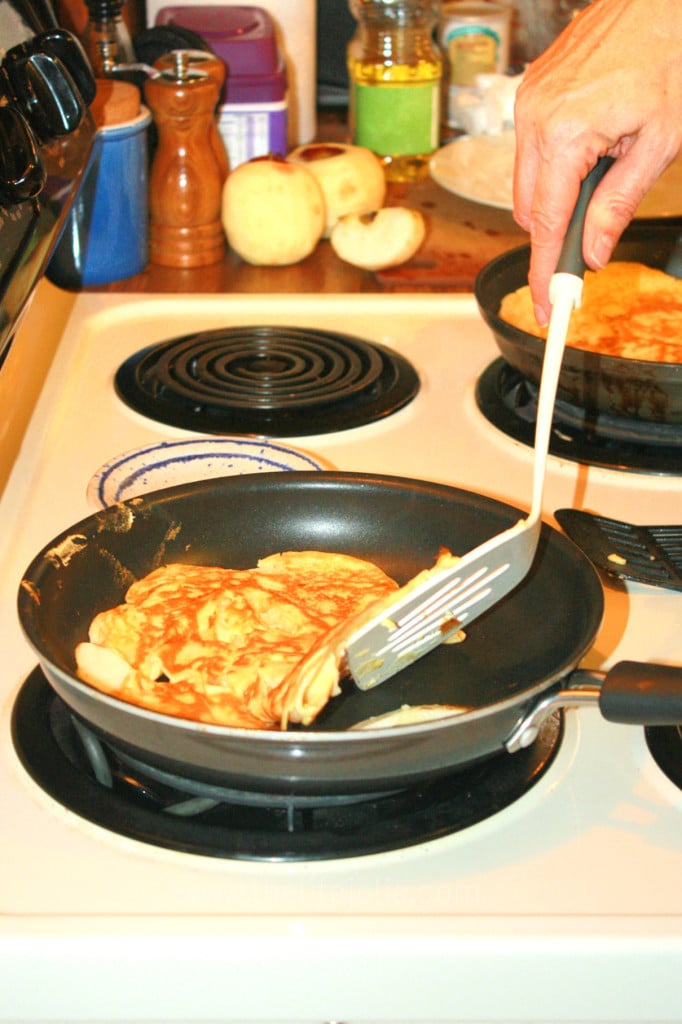
    Once the down side of the pancake is golden brown, carefully turn it. This is not easy, because it takes up the majority of the pan. I found that using a larger spatula along with a smaller one worked best.

    Once the other side is golden, keep on a plate in a warm oven until you're done cooking them.

    Serve immediately with the toppings of your choice

    Serves 2 people.

    Notes:

    • This recipe calls for an 8 inch pan, but my mom was saying she'd prefer to try a smaller pan next time as turning them was difficult.
    • the big thing is to keep these thin.
    • We actually tripled this recipe and there was plenty of food for about 6 people and a very hungry baby.
    • We found that cooking spray worked much better than oil in the pan.

    Buffalo Chicken Quesadilla

    Jan 26, 2015 · 6 Comments

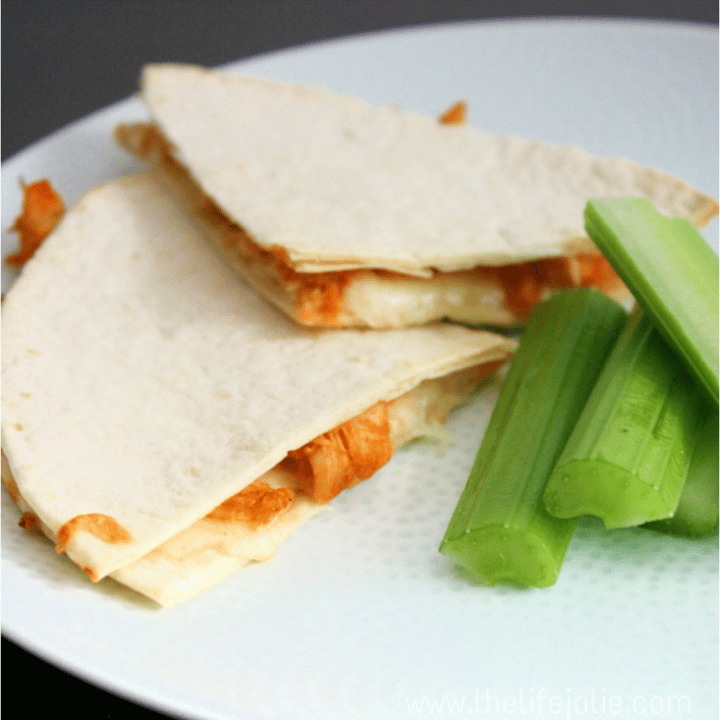
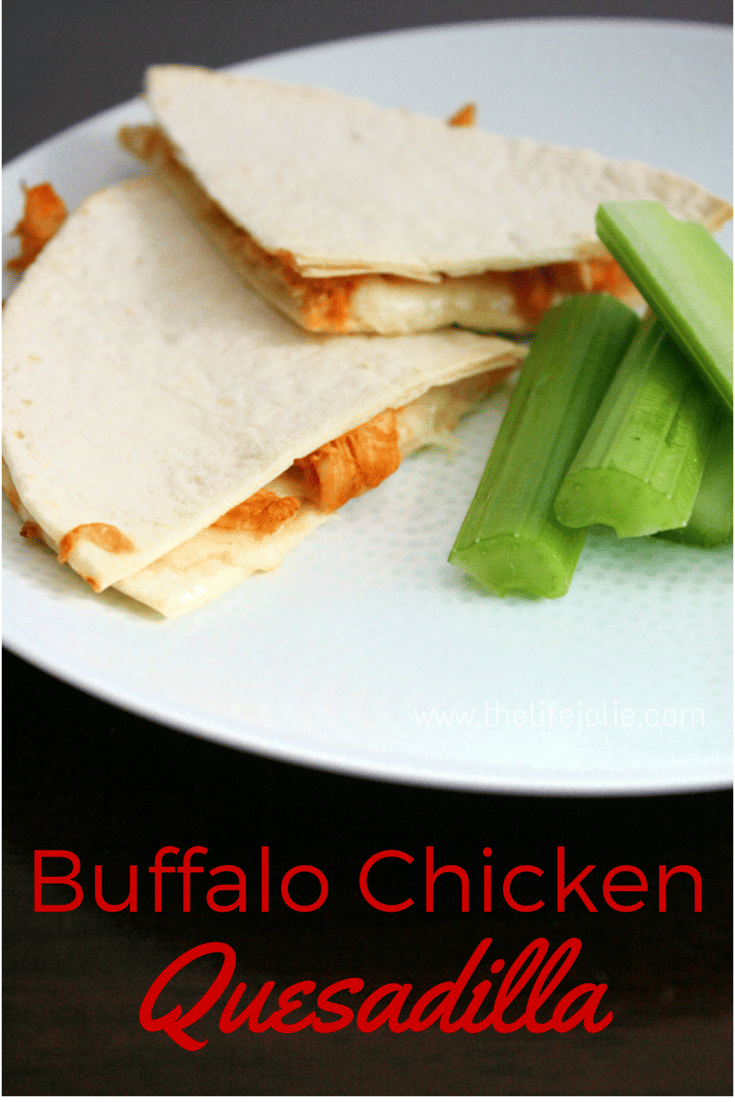
    Buffalo Chicken Quesadilla | The Life Jolie

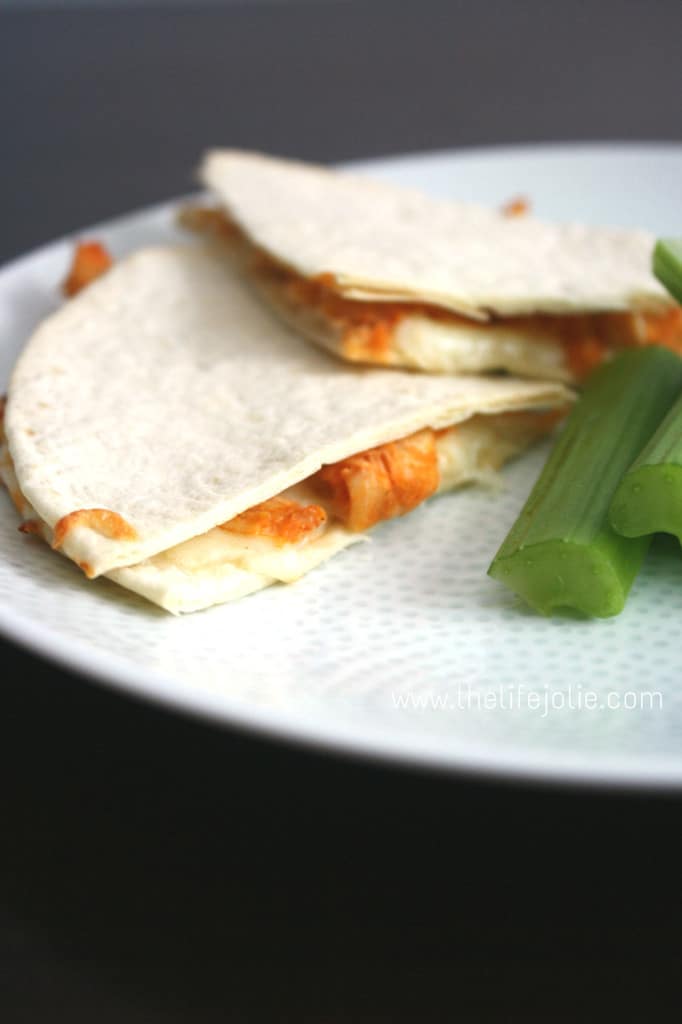
    Who doesn't love Buffalo Chicken? There are some many tasty ways to use it but one of my favorites is to make Buffalo Chicken Quesadillas. This recipe is really easy which makes it a delicious weeknight meal option and the perfect game day snack as well!

    In honor of the fact this this Sunday is the Super Bowl, I plan to spend the week inundating you with game day recipes. I can't promise that they'll all be healthy (most won't) but they will be delicious.

    Who doesn't love Buffalo Chicken? There are some many tasty ways to use it but one of my favorites is to make Buffalo Chicken Quesadillas. This recipe is really easy which makes it a delicious weeknight meal option and the perfect game day snack as well!

    I cannot think of a snack flavor that is more loved or desired by the masses than Buffalo Chicken. And really, whats not to love. You have a flavor profile that is savory with a nice, spicy kick. The are about a billion (exactly a billion) variations and routes that you can take this- I actually haven't found a variation that I haven't liked.

    Buffalo Chicken Quesadilla | The Life Jolie

    With this in mind, it seems only natural to start this week full of game day recipes off with a buffalo chicken recipe. It's not particularly fancy, or inventive. It's not extremely pretty. But it is delicious and easy to make for a crowd. You can even assemble everything the day before and finish them off on game day.

    Buffalo Chicken Quesadilla | The Life Jolie

    This recipe makes a good amount of food and therefore makes a great dish to pass at your next party (likely best if you're the host so that you have full control of the oven). While quesadillas tend to be best of the stove or grill, I'm lazy so I put them in the oven. But by all means if you're feeling the extra step, have at it. The amounts of ingredients are totally flexible, I happened to be cooking for more people than J and I. But you can also cut it down for less.

    Buffalo Chicken Quesadilla | The Life Jolie

    Buffalo Chicken Quesadilla

    Source: The Life Jolie, inspired by Mark Frisicano and his undying love for all things Buffalo

    Ingredients:

    • 3-4 large chicken breasts, cooked and shredded (I put them in the slow cooker, in water, on high for 4-6 hours so that they shred up easily)
    • 1 bottle of Franks Red Hot Wing Sauce in Buffalo flavor, more or less depending on how saucy you like your buffalo chicken (make sure that it's the wing sauce!)
    • 2-3 tablespoon of ranch seasoning
    • Shredded mozzarella cheese
    • Flour tortillas

    Preheat your oven to 350 degrees

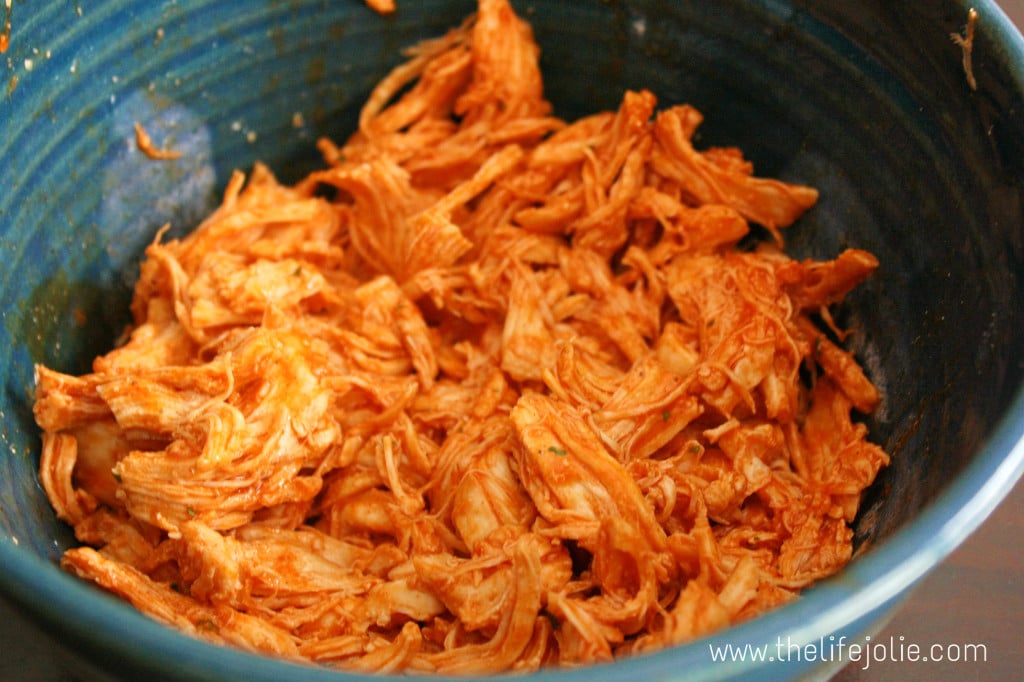
    Mix the wing sauce and ranch seasoning in with your chicken- add sauce until it reaches the amount of "sauciness" that you want.

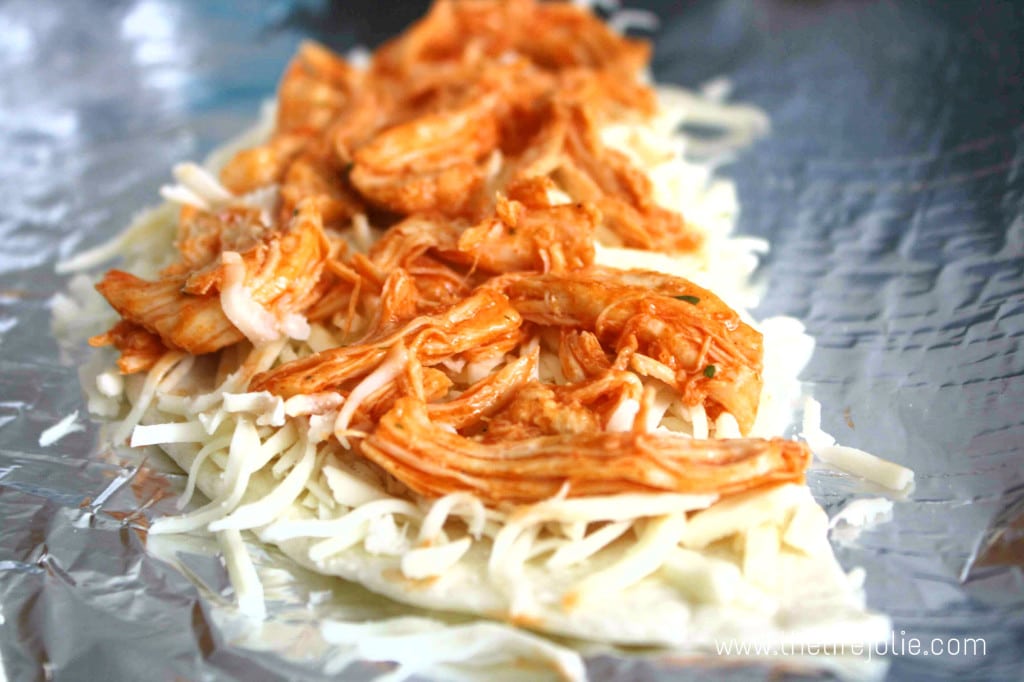
    Line your pans with foil and coat with cooking spray. Lay half of your tortillas on your pans and put a layer of cheese on them.

    Next top with a layer of chicken. If you like it extra saucy, you might consider drizzling more of the wing sauce on, but J and I don't like it extremely saucy, so we skipped this step.

    Finally, throw a bit more cheese on top of the chicken and then top the quesadillas with another tortilla and lightly spray them with cooking spray.

    Bake the quesadillas for 10-15 minutes. Serve with celery, blue cheese dressing and wing sauce on the side.

    Linked up at:

    Monday Madness

    Motivation Monday

    Inspiration Monday

    Modest Mondays

    Much Ado About Mondays

    A Round Tuit

    Mix it up Monday

    Frugal Crafty Home Blog Hop

    Made by you Monday

    Mom-2-Mom Monday 

    Monday Musings Blog Hop

    Totally Talented Tuesdays

    One Project at a Time

    Create Link Inspire Party

    Titus 2 Tuesday

    Handmade Tuesdays

    Too Cute Tuesday Linky Par-Tay

    Simple Supper Tuesday Link Party

    What's Cooking Wednesday

    Hit Me With Your Best Shot

    Wicked Awesome Wednesday

    Whimsy Wednesday

    Not Just Homemaking Party

    Showcase Your Talent Thursdays

    • « Go to Previous Page
    • Page 1
    • Interim pages omitted …
    • Page 19
    • Page 20
    • Page 21

    Primary Sidebar

    Jessy in a kitchen holding a white casserole pan and smiling.
    Hi, I'm Jessy!

    Welcome to The Life Jolie! I share simple, delicious recipes and ingredient prep tips to make your weeknight cooking a breeze!

    More about me →

    Easy Dinner Recipes

    • An overhead image of a Mexican Shrimp Quinoa Bowl.
      Shrimp Quinoa Bowls
    • A bowl of asian soup with meatballs with a spoon and noodles in it.
      Asian Soup with Cabbage and Meatballs
    • A close up of roasted red potatoes on a pan.
      Roasted Red Potatoes Recipe
    • A spoon lifting up a scoop of eggplant parm bake with melt cheese trailing behind it.
      Eggplant Parm Bake
    • A close up of a drum chicken wing in a pile of other wings.
      Oven Baked Chicken Wings
    • An overhead image of a bowl of minestrone soup.
      Traditional Minestrone Soup Recipe

    Popular Recipes

    • A glass bowl of melted chocolate with a spatula dripping some back into the bowl.
      How To Melt Chocolate Chips In The Microwave
    • Italian Stuffed Zucchini Boats are the healthy weeknight meal you'll want to make again and again. This is a seriously easy recipe that's full of delicious flavor without all the guilt!
      Italian Stuffed Zucchini Boats
    • A close up shot of the side of a shallow bowl of shrimp mac salad.
      Shrimp Macaroni Salad
    • A white pan pouring cheese sauce over a bowl of steamed broccoli.
      Cheese Sauce for Broccoli Recipe
    • An overhead image of a plate of chicken lettuce wraps with peanut sauce next to it and all the fixings surrounding it.
      Copycat Cheesecake Factory Thai Chicken Lettuce Wraps
    • A close up image of a piece of greek marinated chicken on a white plate with lemons on the plate and in the background.
      Greek Yogurt Chicken
    Jessy in a kitchen holding a white casserole pan and smiling.
    Hi, I'm Jessy!

    Welcome to The Life Jolie! I share simple, delicious recipes and ingredient prep tips to make your weeknight cooking a breeze!

    More about me →

    Easy Dinner Recipes

    • A close up of a bagel pizza with mini pepperonis on a pan.
      Bagel Pizzas Recipe
    • A bowl of chicken and orzo soup with a spoon in it.
      Chicken and Orzo Soup
    • A bowl of Swedish meatballs and noodles.
      Swedish Meatballs And Noodles
    • A close up image of a piece of coconut shrimp on top of others.
      Coconut Shrimp With Sauce
    • An overhead image of taco soup in a bowl.
      Crockpot Taco Chicken Soup
    • A spoon pulling up a scoop of skillet lasagna with melted cheese stretching behind it.
      No Bake Lasagna Skillet

    Popular Recipes

    • A glass bowl of melted chocolate with a spatula dripping some back into the bowl.
      How To Melt Chocolate Chips In The Microwave
    • Italian Stuffed Zucchini Boats are the healthy weeknight meal you'll want to make again and again. This is a seriously easy recipe that's full of delicious flavor without all the guilt!
      Italian Stuffed Zucchini Boats
    • A close up shot of the side of a shallow bowl of shrimp mac salad.
      Shrimp Macaroni Salad
    • A white pan pouring cheese sauce over a bowl of steamed broccoli.
      Cheese Sauce for Broccoli Recipe
    • An overhead image of a plate of chicken lettuce wraps with peanut sauce next to it and all the fixings surrounding it.
      Copycat Cheesecake Factory Thai Chicken Lettuce Wraps
    • A close up image of a piece of greek marinated chicken on a white plate with lemons on the plate and in the background.
      Greek Yogurt Chicken

    Footer

    ↑ back to top

    About

    • About Me
    • Privacy Policy + Disclaimer

    Newsletter

    • Sign Up! for emails and updates

    Contact

    • Contact
    • Video Production

    As an Amazon Associate I earn from qualifying purchases.

    Copyright 2014-2021 - Jolie Ventures, LLC. All Rights Reserved. Privacy Policy.

    Rate This Recipe

    Your vote:


    A rating is required
    A name is required
    An email is required